A rectangle trampoline is a great way to get some exercise, have fun, and spend time with family and friends. Here are some tips on how to build your own rectangle trampoline.
- Purchase a rectangle trampoline kit from a reputable manufacturer
- Most kits will come with the necessary parts and instructions for assembly
- Follow the instructions included in the kit to assemble the frame of the trampoline
- Make sure all connections are secure and tightened properly
- Once the frame is complete, stretch the trampoline fabric over it and secure it in place with spring hooks or similar fasteners
- Hang the safety netting around the perimeter of the trampoline, attaching it to the top of the frame with zip ties or other sturdy fasteners
- Place the mat onto theframe and stretch it out so that it lays flat against all sides ofthe trampoline bed
- Secure it in place with spring hooks or similar fasteners along its edges
How to Assemble the Rectangular Trampoline 520 | Decathlon Singapore
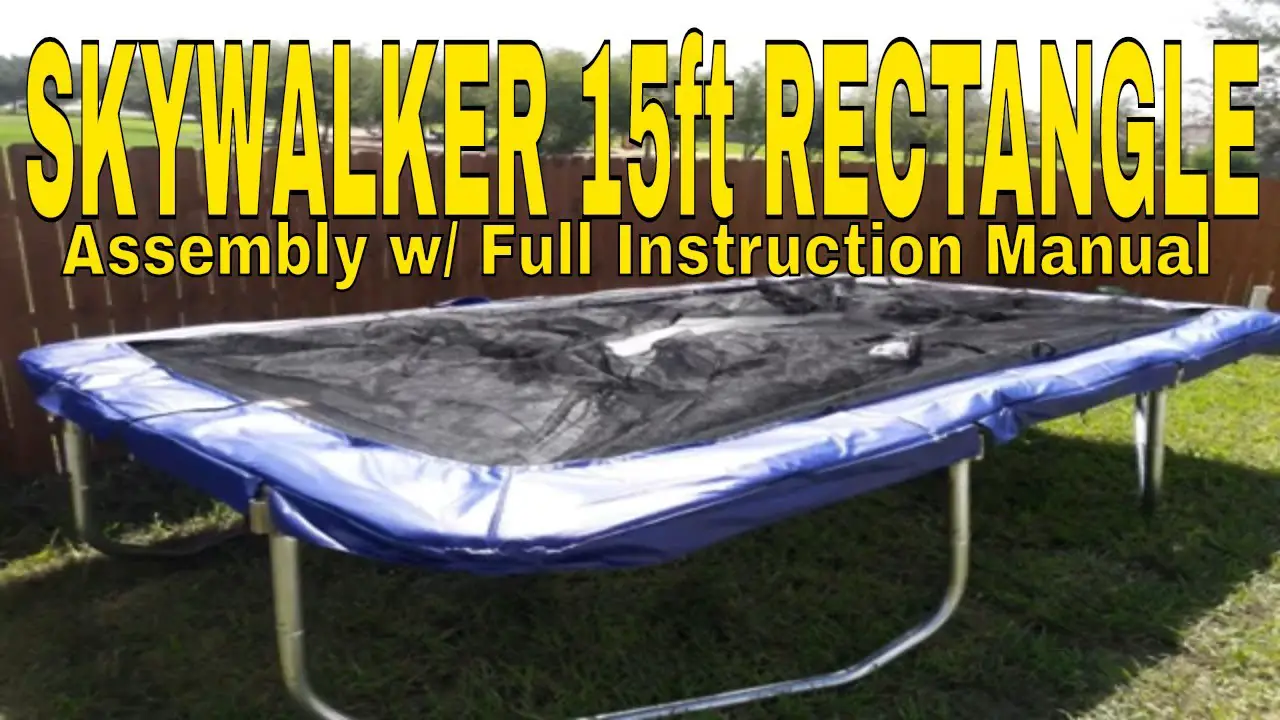
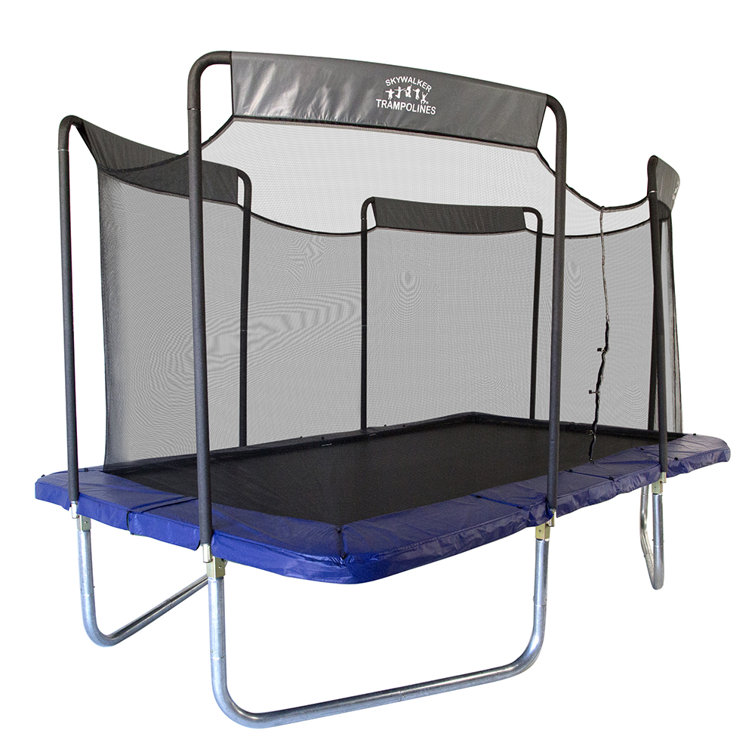
Skywalker Rectangle Trampoline Instructions
If you’re looking for a great way to get your kids active this summer, a Skywalker Rectangle Trampoline is the perfect solution! Not only will they have hours of fun bouncing around, but you’ll also get peace of mind knowing that they’re safe and secure while doing so. Here’s everything you need to know about setting up your new trampoline.
First, make sure that you have all of the necessary tools and materials on hand. You’ll need a Phillips head screwdriver, a hammer, and pliers. In addition, you’ll need the following parts: (4) corner brackets with corresponding bolts and washers, (6) legs with foot pads, (1) set of upper frame rails with hardware, (1) lower frame rail with hardware, (2) side frames with braces and hardware.
Next, take a look at the instructions manual to familiarize yourself with the assembly process. Once you have a clear understanding of what needs to be done, begin by attaching the corner brackets to the lower frame rail using the provided bolts and washers. Next, add in the side frames followed by the upper frame rails.
Make sure that everything is tightened down securely before moving on to the next step.
Now it’s time to add in the legs. Start by inserting them into each corner bracket making sure that the foot pads are facing downwards.
Once all six legs are in place, use pliers to tighten down each bolt until it’s snug against the frame. Finally, give everything one last check before letting your kids loose on their new trampoline!
Rectangle Trampoline Net
A rectangle trampoline net is a great way to keep your kids safe while they’re playing on the trampoline. The net will surround the entire perimeter of the trampoline, and it’s made from a durable material that will withstand years of use. Most rectangle trampoline nets are made from polyester or nylon, and they’re available in a variety of colors.
You can also find them in different heights, so you can choose one that’s appropriate for your child’s height.
Jump King Rectangle Trampoline
The Jump King Rectangle Trampoline is a great choice for those who are looking for a trampoline that can provide them with a great workout. This trampoline has a rectangular shape, which makes it easier to jump on and off of than other types of trampolines. The jumping surface is also made from heavy-duty materials, so you can be sure that it will last for many years.
Skywalker Trampoline 15
The Skywalker Trampoline 15 is a great trampoline for kids of all ages. It has a padded frame and mat, making it safe for kids to play on. The trampoline also comes with a handlebar, which makes it easy for parents to hold onto while their children are playing.
Rectangle Trampoline Sizes
There are many factors to consider when purchasing a rectangle trampoline. The size is one of the most important aspects to think about. Here is a breakdown of the different sizes available for rectangle trampolines:
8ft x 14ft – This size is great for small yards or indoor use. It can accommodate up to 4 people at once and has a weight limit of 200 pounds.
10ft x 17ft – This size is perfect for larger yards or outdoor use.
It can accommodate up to 6 people at once and has a weight limit of 300 pounds.
12ft x 21ft – This size is ideal for commercial settings or very large yards. It can accommodate up to 8 people at once and has a weight limit of 400 pounds.
Rectangle Trampoline 20Ft
When it comes to trampolines, there are all sorts of different shapes and sizes that you can choose from. But if you’re looking for a trampoline that’s going to give you plenty of space to bounce around on, then you’ll want to check out the Rectangle Trampoline 20Ft. This trampoline is exactly what it sounds like – a rectangular shaped trampoline that’s 20 feet long.
And with its spacious design, you’ll be able to do all sorts of different tricks and flips without having to worry about running out of space.
But the Rectangle Trampoline 20Ft isn’t just big – it’s also built tough. It features a heavy duty steel frame that’s designed to withstand years of use, as well as 80 8.5-inch springs that will provide you with a smooth and consistent bounce every time.
Plus, the entire trampoline is covered in thick padding to help keep you safe while you’re bouncing around.
So if you’re looking for a large, durable and fun trampoline, then the Rectangle Trampoline 20Ft is definitely worth checking out!
Rectangle Trampoline Costco
Do you love to jump on a trampoline? If so, then you’ll want to check out the Rectangle Trampoline at Costco. This trampoline is great for jumping and bouncing around, and it’s also great for doing tricks and flips.
The rectangle shape of this trampoline provides a stable surface that’s perfect for flipping and other tricks. And with its durable construction, this trampoline will provide years of fun and excitement. So if you’re looking for a great rectangular trampoline, be sure to check out the Rectangle Trampoline at Costco.
Jumpking 10′ X 15′ Rectangular Trampoline
A trampoline is a great way to get some exercise, have fun, and entertain guests of all ages. The Jumpking 10′ X 15′ Rectangular Trampoline is a top quality trampoline that will give you years of enjoyment. This trampoline features a heavy duty galvanized steel frame and 96 6.5″ springs for superior bouncing action.
The mat is made from UV resistant black polypropylene and the frame is powder coated for durability. The safety enclosure netting has been tested to withstand up to 250 pounds of force, so you can be sure your family will be safe while using this trampoline. With a weight limit of 200 pounds, this trampoline is perfect for kids and adults alike.
Order your Jumpking 10′ X 15′ Rectangular Trampoline today and start enjoying the benefits of owning a trampoline!
Credit: www.wayfair.com
How Do You Put the Springs on a Rectangle Trampoline?
If your trampoline has lost its bounce, it might be time to replace the springs. This is a fairly easy process that can be done in an afternoon with just a few tools. Before you begin, make sure to measure the diameter of the springs so you can purchase the correct size.
You will also need pliers and a socket wrench.
To replace the springs on your rectangle trampoline, start by removing the safety pad and spring covers. Then, use the socket wrench to loosen the bolts that connect the frame to the legs.
Next, remove the old springs and install the new ones by hooking them onto the frame. Finally, re-attach everything using the pliers and socket wrench.
How Do You Build a Trampoline by Yourself?
Building a trampoline by yourself is not as difficult as you might think. With a little bit of planning and some elbow grease, you can easily have your very own trampoline up and running in no time!
Here are the steps you’ll need to take:
1. Choose a spot for your trampoline. You’ll need a level piece of ground that’s free of any obstacles or hazards. Once you’ve found the perfect spot, mark out the perimeter of the trampoline with stakes and string.
2. Assemble the frame of the trampoline according to the manufacturer’s instructions. This is typically done by joining together metal tubes with bolts and nuts.
3. Stretch out the spring mat over the frame, attaching it at each corner with zip ties or similar fasteners.
Make sure that there are no gaps between the mat and the frame so that springs don’t pop out during use.
4. Install the safety enclosure around the edge of the trampoline, following any included instructions. This is an important step to help prevent injuries from falls off of the trampoline surface.
5. Hang tarp over top of entire setup for weather protection (optional).
Do Rectangle Trampolines Bounce Higher?
No, rectangle trampolines do not bounce higher. In fact, they have less spring than a round trampoline of the same size. This is because the weight of the jumper is distributed evenly over the entire surface area of the trampoline, rather than being focused on one spot like it is with a round trampoline.
Why are Rectangle Trampolines More Expensive?
If you’re on the hunt for a trampoline, you may have noticed that rectangular ones tend to be more expensive than traditional round models. Why is this? Let’s take a look at some of the reasons why rectangle trampolines are pricier.
For starters, rectangle trampolines offer a larger jumping surface than round trampolines. This means that they can accommodate more jumpers at one time, which is ideal for families or groups who want to use the trampoline together. Additionally, the extra space also allows for more acrobatic and complex jumps, making it a great choice for those who are serious about their jumping skills.
Another reason why rectangle trampolines are more expensive is because they typically come with additional safety features. For instance, many models have enclosed nets that surround the entire perimeter of the jumping area, providing a safe place to land in case you happen to fall off. These nets also help to keep errant balls or other objects from flying off the trampoline and into your yard (or your neighbor’s yard!).
So if you’re looking for a top-of-the-line trampoline with plenty of room to spare and some added safety features, then a rectangle model is probably your best bet. Just be prepared to open your wallet a bit wider than you would for a traditional round model!
Conclusion
Assuming you would like a summary of the blog post titled “How to Build a Rectangle Trampoline”:
The blog post explains how to build a rectangle trampoline using 4×8 foot sheets of plywood, 2×4 lumber, 1/2 inch diameter galvanized steel tubing, 3/8 inch diameter braided nylon rope, and hardware. The first step is to cut the plywood and lumber into the correct sizes needed for the project.
Next, the galvanized steel tubing is cut into lengths and bent into shape. The next step is to tie the tubing together with the nylon rope. Finally, the trampoline is assembled by attaching the plywood and lumber pieces to the tubing.