Assembling a trampoline may seem like a daunting task, but with these easy-to-follow instructions, you’ll have it up and ready to jump in no time! Before you begin, make sure you have all the necessary tools and parts. Once you have everything you need, follow these simple steps and you’ll be bouncing before you know it.
Assembling a trampoline can be quite difficult, especially if you have never done it before. There are many different parts and pieces that need to be put together in order to create a working trampoline. If you’re not careful, it’s easy to make a mistake that could result in the trampoline being unsafe.
The best way to avoid any mistakes is to follow the instructions carefully. Make sure you understand each step before moving on to the next one. It might be helpful to have someone else there to help you, as they can offer guidance and support if needed.
If you take your time and assemble the trampoline correctly, you’ll be able to enjoy hours of safe fun!
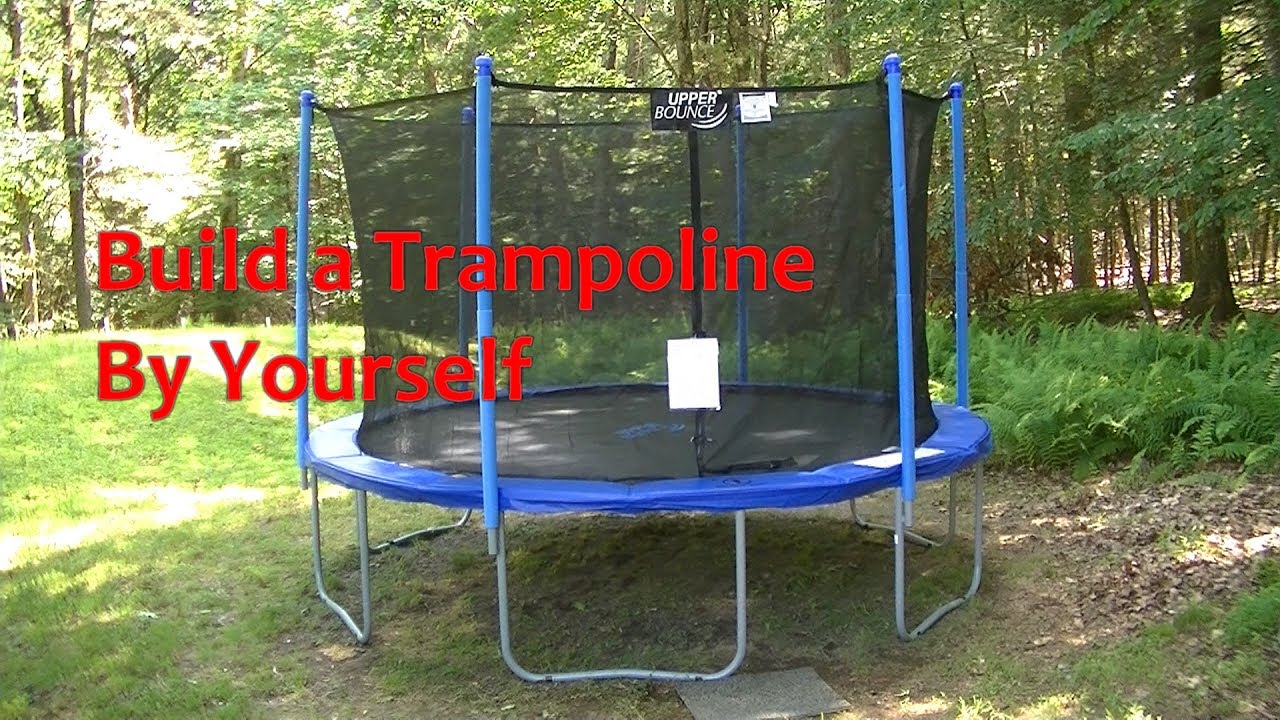
How To Build A Trampoline Set Up A Trampoline By Yourself
Trampoline Assembly Instructions Pdf
Are you looking for a fun activity to do with your family or friends? Why not try assembling a trampoline! Trampolines are great for getting some exercise, fresh air, and spending time together.
Plus, they’re just plain fun!
If you need help putting your trampoline together, we’ve got you covered. Check out our handy PDF assembly instructions below.
These instructions will guide you through the process step-by-step so that you can have your trampoline up and ready to use in no time.
Now all that’s left to do is grab some friends or family members, put on your safety gear, and start bouncing!
12 Ft Trampoline Assembly Instructions
Are you looking for a fun activity to do with your family? A trampoline is a great option! But before you can start bouncing, you need to assemble it.
Here are detailed instructions on how to assemble a 12 ft trampoline.
1. Start by laying out all of the parts in the order that they will be assembled. This will make it easier to keep track of everything and avoid confusion later on.
2. The first step is to attach the legs to the frame. There should be four legs, each with two holes near the top. Line up the holes on the legs with the corresponding holes on the frame and use bolts to secure them in place.
3. Next, add the jump mat onto the frame, making sure that it is centred and evenly stretched out. Then, stretch out and hook one end of the spring onto the edge ofthe jump mat and do likewise with another spring onthe opposite side. Repeat this process until all ofthe springs have been attached (there should be 48 springs in total).
How Long Does It Take to Assemble a Trampoline
If you’ve ever wondered how long it takes to assemble a trampoline, the answer may surprise you. It turns out that it doesn’t take very long at all! In fact, most people can easily assemble a trampoline in less than an hour.
Of course, there are always exceptions to the rule. If you’re working with a particularly large or complicated trampoline, it might take a bit longer to put everything together. And if you’re new to the process, it could take a little while longer as you learn the ropes (pun intended!).
But in general, assembling a trampoline is not a time-consuming task. So if you’re thinking about getting one for your backyard this summer, don’t let the fear of assembly hold you back – it’s really not that big of a deal!
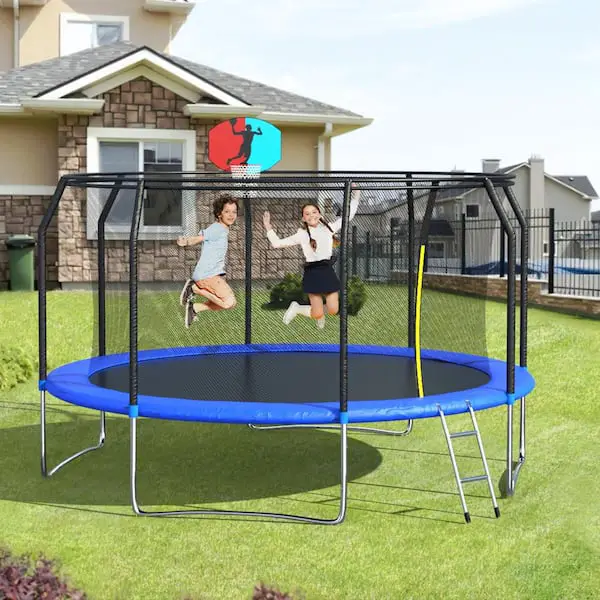
How to Assemble a Trampoline With Net
Building a backyard trampoline is a great way to provide your kids with hours of outdoor fun. But before they can start bouncing, you’ll need to assemble the trampoline. While it may seem like a daunting task, assembling a trampoline is actually pretty straightforward.
Here’s how to do it:
1. Start by laying out all of the parts in your driveway or on another level surface. This will make it easier to see what you need and where everything goes.
2. Begin by attaching the legs to the frame using the bolts provided. Make sure that the legs are evenly spaced and tightened securely.
3. Next, attach the springs to the frame using the hooks provided.
There should be an equal number of springs on each side of the frame.
4. Now it’s time to install the mat onto the frame. Start at one end and work your way around, hooking each spring into place as you go along.
5 . Finally, attach the netting around the outside of the frame using zip ties or other similar fasteners . Be sure that there are no gaps in order to keep everyone safe while playing on the trampoline .
Ensure thatthe entrance opening is large enough for someoneto easily get inand out without havingto duck down low or crawl through . Onceyou’ve securedthe netting , yourtrampoline is readyfor use!
How to Put a Trampoline Together by Yourself
If you’re looking to add a little extra fun to your backyard this summer, a trampoline is a great option! But if you’re planning on putting it together by yourself, there are a few things you’ll need to keep in mind.
First, make sure you have all the tools and materials you’ll need before getting started.
You’ll need a drill, screwdriver, socket wrench set, measuring tape, and level. You should also have the trampoline itself, of course! Make sure to read the instructions that come with your trampoline so you know what size bolts and screws you’ll need.
Once you have everything gathered, take a look at where you plan to put your trampoline. It’s important to choose a level spot in your yard that’s free of obstacles like trees or fences. You also want to make sure there’s enough space around the perimeter of the trampoline so people can safely jump on it without hitting anything.
Now it’s time to start assembling! Begin by attaching the legs to the frame of the trampoline using the bolts and screws provided in your kit. Once all four legs are attached, use the measuring tape and level to make sure they’re even before moving on.
Next, it’s time to attach the jumping mat to the frame using spring clips. Make sure all of the springs are properly connected before testing out your new trampoline!
Trampoline Instructions
If you’re like most people, you probably think of a trampoline as a fun backyard toy. But did you know that trampolines can also be used for exercise and physical therapy? Here are some instructions on how to get the most out of your trampoline.
First, make sure the trampoline is set up in a safe area away from any obstacles. The surface should also be level and free of debris.
Next, check that all the bolts and screws are tight before use.
This will help prevent injuries.
Now it’s time to have some fun! Start by bouncing lightly in the center of the trampoline.
As you get more comfortable, you can try different jumps and tricks. Just be sure to land squarely on your feet to avoid injury.
If you’re using the trampoline for exercise, there are some specific exercises you can do to target different muscle groups.
For example, doing crunches on the trampoline works your core muscles just like it would if you were doing them on the ground. You can also try running or jogging in place on the trampoline for a low-impact cardio workout.
Remember to warm up before exercising on the trampoline and cool down afterwards with some stretches .
And always listen to your body – if something feels uncomfortable or hurts, stop immediately .
10Ft Trampoline Instructions
Looking for a fun way to get some exercise? A 10ft trampoline is a great option! Here are some things to keep in mind when using a 10ft trampoline:
– Make sure the area around the trampoline is clear of any obstacles.
– Always have someone else present when using the trampoline.
– Use caution when getting on and off of the trampoline.
– Be sure to jump in the center of the trampoline for optimal performance.
14 Ft Trampoline Assembly Instructions
If you’re looking for a great trampoline that will provide hours of fun for the whole family, look no further than the 14 ft. trampoline! This trampoline is perfect for those who have a lot of space to work with, and it’s easy to assemble too – all you need is a few simple tools and these step-by-step instructions and you’ll have your new trampoline up and ready to go in no time.
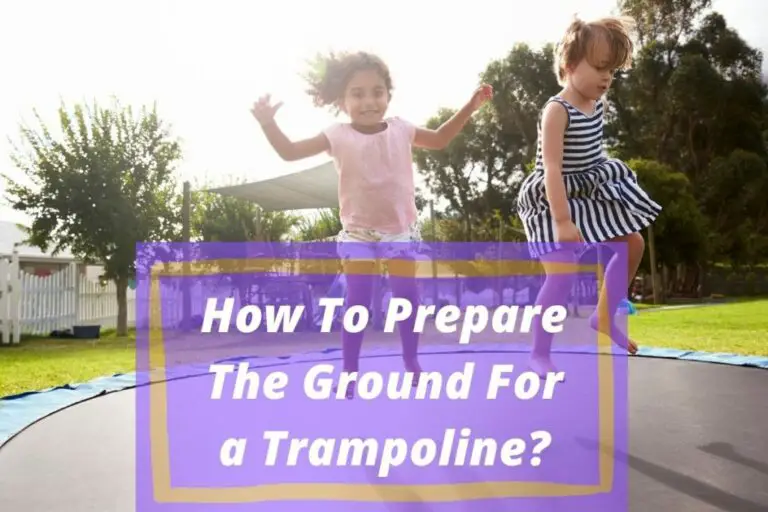
First, start by placing the base of the trampoline on level ground.
If you’re not sure if your ground is level enough, use a leveler to check before proceeding. Once you’ve found the perfect spot, lay out all of the frame pieces so that they’re easy to find and put together. Take your time connecting each piece – if any of the connections are loose, the entire structure could be compromised.
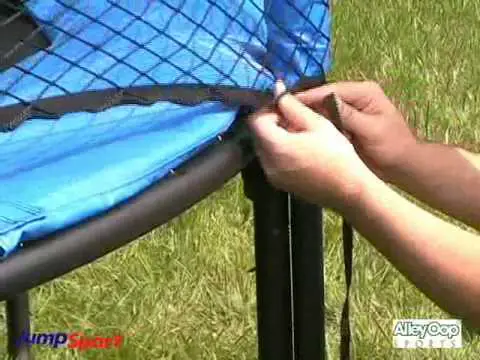
Next, it’s time to add on the mat. Unfold it and position it over top of the frame, making sure that it’s evenly distributed. Once you have the mat in place, it’s time to stretch out the safety netting around the perimeter of the trampoline.
Again, make sure that everything is even and tight before moving on.
Now comes perhaps the most important part – installing The spring system! This is what gives a trampoline its signature “bounce”, so it’s crucial that everything is done correctly here.
First, connect one end of each spring to its corresponding hole on The frame using The provided hooks or clamps (whichever type your model uses). Then, do The same thing at The other end – but this time make sure that The springs are stretched out as much as possible before attaching them so that they can provide maximum bounce once everything is finished!
Finally, give everything a once-over to make sure that nothing was missed or forgotten about during assembly.
Once you’re confident that everything looks good, invite some friends over and enjoy your new 14 ft. trampoline!
Credit: www.gettrampoline.com
How Hard is It to Set Up a Trampoline?
It’s not hard to set up a trampoline, but it does take a little bit of time and effort. First, you’ll need to find a level spot in your yard where the trampoline can be installed. Once you’ve found the perfect spot, you’ll need to measure the area so you know what size trampoline to buy.
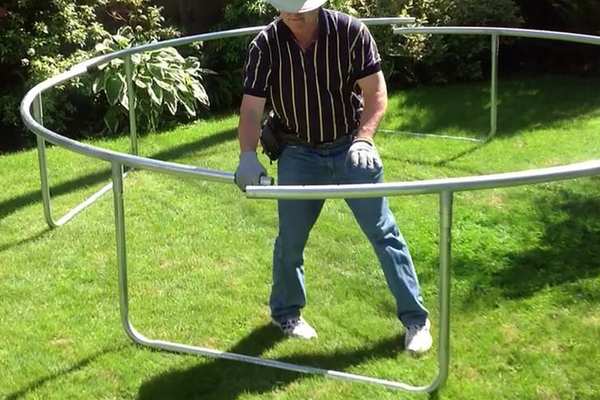
Next, you’ll need to assemble the frame of the trampoline. This usually just involves snapping a few pieces together, but make sure to follow the instructions carefully so everything is put together correctly.
Once the frame is assembled, it’s time to stretch out the mat and attach it to the frame.
This can be a little tricky, but just take your time and make sure all of the hooks are securely attached.
Now comes the fun part – jumping! But before you start bouncing around, make sure everyone knows some basic safety rules like no flipping or somersaults (unless someone is there to spot you).
With those rules in mind, have fun and enjoy your new trampoline!
How Long Does It Take to Put Together a Trampoline?
The answer to this question depends on a few factors, such as the size and type of trampoline you have, as well as your own level of expertise. Generally speaking, it should take anywhere from half an hour to several hours to put together a trampoline. If you’re working with someone else, it’s always best to have two people so that one can hold the frame while the other assembles the mat and springs.
If you’re putting together a small, basic trampoline, the process is relatively straightforward. You’ll start by attaching the legs to the frame, which is typically made of metal tubing. Once the legs are in place, you’ll stretch out the mat over top of them and secure it with spring hooks.
Finally, you’ll attach the safety enclosure around the outside of the trampoline.
Assembling a larger or more complex trampoline can be more challenging, as there are usually more parts involved. In addition to attaching the legs and mat, you may also need to install additional bracing or support for stability.
The safety enclosure will also be larger and require more time to set up properly. Overall, though, most people should be able to put together a decent-sized trampoline in an afternoon with minimal assistance.
Can You Put a Trampoline Together by Yourself?
You can put a trampoline together by yourself, but it will be much easier with two people. The first thing you need to do is find a level spot to put the trampoline. Once you have found a level spot, you need to unroll the trampoline and lay it out flat.
If there are any holes in the fabric of the trampoline, you need to patch them up with the provided patches. Next, you will start attaching the springs to the fabric. It is important that you attach all of the springs evenly so that the trampoline is balanced.
Once all of the springs are attached, you can start putting on the safety pad. The safety pad goes around the edge of the trampoline and helps to prevent injuries if someone falls off. Finally, you can put up the netting around the outside of the trampoline.
How Do You Assemble a Trampoline Easily?
Are you looking for a fun activity to do with your family and friends? If so, consider purchasing a trampoline! Trampolines are great for people of all ages and can provide hours of entertainment.
Plus, they’re relatively easy to set up – you can have your trampoline assembled in no time!
To begin, select a level spot in your yard for the trampoline. Once you’ve found the perfect location, lay out the frame components on the ground and make sure that they’re properly aligned.
Next, connect the frame pieces using the bolts and nuts that are included in your trampoline kit.
Once the frame is complete, it’s time to stretch out the mat. Start by attaching one end of the mat to the frame using the spring hooks.
Then, pull on the other end of the mat until it’s taunt before attaching it to the opposite side of the frame. Finally, give all of the springs a good stretch before connecting them to both sides of the mat. And that’s it – your trampoline is now ready for use!
Conclusion
It can be difficult to assemble a trampoline, especially if you have never done it before. There are many parts to a trampoline and it is important to make sure that all of the parts are properly connected. If any of the parts are not properly connected, the trampoline will not be safe to use.