Setting up a 14ft trampoline may seem like a daunting task, but it is actually quite simple and can be done in just a few minutes. First, you will need to find a level spot in your yard where the trampoline can be placed. Once you have found the perfect spot, lay out the trampoline mat and frame on the ground.
Next, connect the frame pieces together using the included hardware. Finally, stretch out the mat over the frame and secure it in place with the spring clips. That’s it!
You are now ready to bounce to your heart’s content.
It takes about an hour to set up a 14ft trampoline. You will need to gather the following materials: a ladder, a drill, screws, washers, nuts, and bolts. Once you have all of your materials, follow these steps:
1. Lay out the trampoline frame on the ground where you want to assemble it.
2. Assemble the legs first by screwing them into the corresponding holes in the frame. Be sure to use washers and nuts to secure the legs in place.
3. Next, attach the springs to the frame using screws and bolts. Again, be sure to use washers and nuts for extra security.
4. Finally, stretch out the mat over the frame and attach it using clips or Velcro strips around the edge.
Propel 14 FT Trampoline Assembly|Setup.
How Long Does It Take to Set Up a Trampoline With Safety Net
If you’re looking to add a little more excitement to your backyard this summer, a trampoline is a great option! But before you can start bouncing around, you’ll need to set it up. While it may seem like a daunting task, setting up a trampoline is actually quite simple – and we promise, it’s worth the effort!
Here’s what you need to know about setting up a trampoline with safety net:
The first step is to level out the area where your trampoline will be placed. You’ll want to make sure that the ground is level and firm so that your trampoline doesn’t wobble or tip over when in use.
Once you’ve found the perfect spot, lay out your trampoline frame and begin attaching the legs. Depending on the type of trampoline you have, this process will vary slightly.
Next, it’s time to connect the safety netting.
This is an important step as it will help keep jumpers safe while they’re using the trampoline. Most safety nets come with instructions on how to properly attach them – be sure to follow these closely! Once the netting is in place, give everything a final once-over to make sure everything looks good and secure.
And that’s it! Your trampoline is now ready for use! Just remember: always supervise children when they’re using the trampoline and make sure everyone follows the rules (no flipping or somersaults!).
With proper setup and supervision, everyone can enjoy hours of fun on the trampoline – safely!
How Long Does It Take to Put a 15 Foot Trampoline Together
If you’re wondering how long it will take to put together a 15 foot trampoline, the answer may surprise you. While it might seem like a daunting task, most people can have the entire structure assembled in less than an hour. Here’s a step-by-step guide to help you get started:
1. Begin by laying out all of the components on a level surface. This will make it easier to identify each part and ensure that everything is accounted for.
2. Next, start with the frame and begin connecting the legs together using the provided bolts and nuts.
Make sure that each connection is tight before moving on to the next one.
3. Once all of the legs are connected, add in the supporting braces (if applicable). These will help give extra stability to the overall structure.
4. Now it’s time to add on the matting which will serve as the jumping surface. Start at one end and work your way around, attaching it securely to the frame using zip ties or similar fasteners.
5.) Finally, add on any safety pads or netting as desired before testing out your new trampoline!
How to Put a 14Ft Trampoline Together
Are you looking for a fun activity for your family this summer? A trampoline is a great way to get everyone outside and active. But before you can start bouncing, you need to put your trampoline together.
Here’s how:
1. Start by laying out all of the parts of your trampoline in an open area. Make sure you have all of the pieces needed, including the frame, mat, springs, and pads.
2. Next, assemble the frame according to the instructions provided. Once the frame is together, place it on level ground in your backyard.
3. Attach the mat to the frame using the springs.
Make sure that the mat is properly aligned and centered on the frame before attaching all of the springs.
4. Finally, add the pads around the edge of the mat. These will provide extra protection for jumpers and help keep them safe while they’re enjoying their new trampoline!
How Long Does It Take to Put a 12Ft Trampoline Together
It can take anywhere from 30 minutes to an hour to put a 12ft trampoline together. The time it takes really depends on how many people are helping to put it together and how familiar they are with the process. It’s generally a good idea to have at least two people helping to put the trampoline together, as some of the steps can be quite tricky.
The first thing you’ll need to do is lay out all of the parts in an area that gives you plenty of space to work. Once everything is laid out, you can start attaching the frame together. This is usually the most time-consuming part of putting the trampoline together, so it’s important to take your time and make sure everything is lined up correctly.
Once the frame is assembled, you can start attaching the springs. Again, this is a task that requires some patience and attention to detail. Once all of the springs are in place, you can attach the matting and finally secure the safety netting around the outside edge of the trampoline.
And that’s it! With a bit of patience and effort, you should now have a fully assembled 12ft trampoline that everyone in your family can enjoy for years to come.
Trampoline Setup Instructions
Setting up a trampoline can be a fun activity for the whole family. Here are some easy instructions to follow so you can get started:
1. First, find a level spot in your backyard or wherever you plan on setting up the trampoline.
It’s important that the surface is completely level so the trampoline will bounce evenly.
2. Once you’ve found the perfect location, unroll the mat and lay it flat on the ground.
3. Next, assemble the frame by connecting all of the poles together.
Make sure that each pole is securely fastened before moving on to the next one.
4. Once the frame is complete, stretch out the mat over it and secure it with clips or zip ties.
5) Finally, test out your new trampoline by jumping on it yourself!
14 Ft Trampoline Assembly Cost
14 Ft Trampoline Assembly Cost: How Much Does It Really Cost?
Are you wondering how much it will cost to have a 14 ft trampoline assembled? Perhaps you’re considering purchasing a trampoline for your backyard and want to factor in the assembly cost.
Or maybe you’ve already bought a trampoline and are trying to find out if it’s worth paying someone to put it together.
Whatever the case may be, in this article we’ll give you all the information you need about 14 ft trampoline assembly cost. We’ll discuss what goes into assembling a trampoline, how much it typically costs, and whether or not it’s worth paying someone to do it for you.
By the end of this article, you should have everything you need to make an informed decision about 14 ft trampoline assembly cost. Let’s get started!
How Long Does It Take to Put a 8Ft Trampoline Together
It takes about an hour to put a 8Ft Trampoline together. You will need the following tools:
-A Phillips head screwdriver
-A hammer
-An adjustable wrench
-Pliers
– A measuring tape or ruler
The first thing you need to do is find a level spot in your yard to place the trampoline. Once you have found the perfect location, it’s time to start assembling your new toy!
Unfold the trampoline and position it so that the legs are facing up. Next, take one of the legs and screw it into one of the holes on the bottom of the frame. Do this for all four legs.
Now it’s time to connect the top railings. Place each section of railing onto the corresponding connection point on top of the frame and use an adjustable wrench to tighten each nut until secure. The final step is to stretch out and Attach The Jumping Mat Using The Springs Provided.
There are usually around 96 springs (depending on size), and they will all need to be attached individually. Start by hooking one end of a spring onto the hole at either end of a V-ring, then stretch it across to hook onto the next hole along. Repeat this process until all springs are connected and your trampoline is ready for action!
Trampoline Setup Cost
If you’re thinking about getting a trampoline, you might be wondering how much it will cost to set it up. The answer depends on a few factors, including the size and type of trampoline you choose. Here’s a look at some average costs for setting up a trampoline:
Basic round trampoline: $100-$200
Rectangular trampoline: $200-$300
Enclosure (netting): $50-$100
The cost of setting up a trampoline also depends on whether you do it yourself or hire someone to do it for you. If you’re handy and have all the necessary tools, you can probably handle the job yourself. But if you’re not confident in your DIY skills, it’s probably best to hire a professional.
Expect to pay around $100-$200 for professional installation.
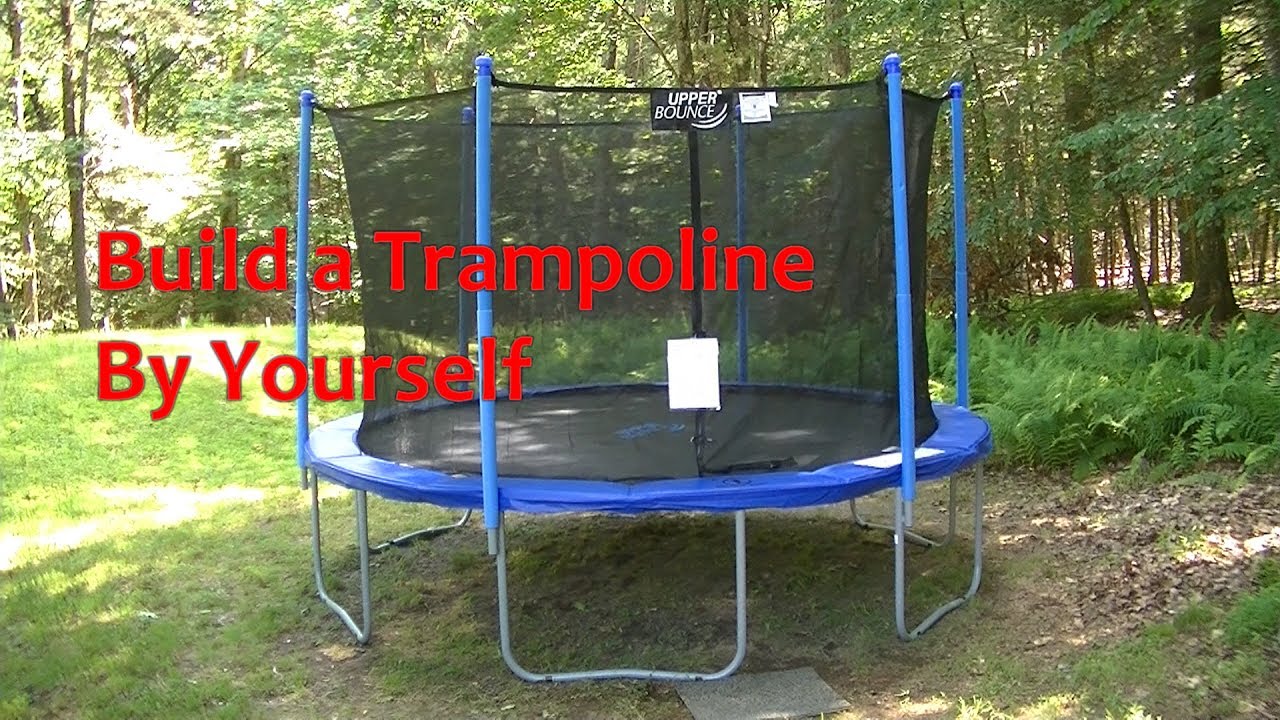
Credit: www.youtube.com
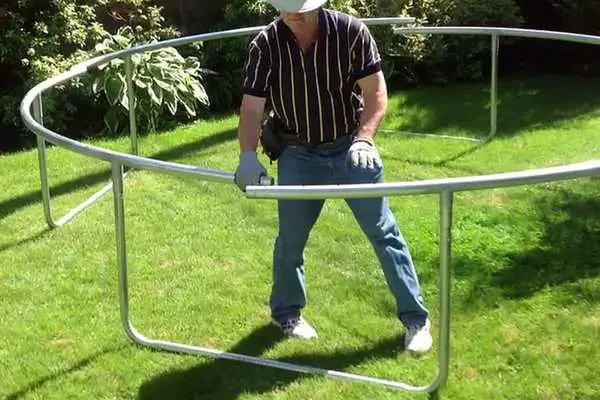
Can 1 Person Put Together a Trampoline?
One person can put together a trampoline, but it may be easier with two people. There are typically four to six legs on a trampoline, and the frame is made of either steel or aluminum. The mat is attached to the frame with springs, and the enclosure is attached to the mat with straps.
It is important to follow the instructions when assembling a trampoline, as improper assembly can lead to injury.
How Do You Put Together a 14 Foot Trampoline?
If you’re looking to add a little more excitement to your backyard this summer, a trampoline is a great option! But before you can start bouncing around, you need to put it together. Here’s how to do it:
1. Lay out all of the parts of the trampoline in the order that they will be assembled. This will make things go more smoothly and help you keep track of what goes where.
2. Begin by attaching the legs to the frame of the trampoline.
Make sure that each leg is securely fastened and that the frame is level before moving on.
3. Next, stretch out the mat over the frame and secure it with the springs. Be careful when attaching the springs, as they can be dangerous if not handled properly.
4. Finally, attach the safety netting around the perimeter of the trampoline. This will help keep everyone safe while they’re bouncing around!
Now your trampoline is ready for use!
Just make sure to follow all safety guidelines when using it and have fun!
How Long Does It Take to Set Up a 12Ft Trampoline?
Assuming you have all the necessary materials and tools, it should take no more than an hour to set up a 12ft trampoline. However, this will vary depending on your level of expertise and how many people are helping you. Here is a step-by-step guide to setting up a 12ft trampoline:
1. Lay out the tarp in your desired location. Make sure the area is clear of any obstacles that could get in the way or damage the trampoline.
2. Assemble the frame by connecting the poles at the joints.
Make sure everything is tight and secure before moving on.
3. Attach the springs to the frame, starting with the ones at the outside edges and working your way inwards.
4. Install the mat onto the frame, making sure it’s properly secured at all points.
5. Finally, put on the safety pad, making sure it covers all exposed areas of the trampoline.
And that’s it!
How Easy is It to Put Up a Trampoline?
If you’re looking for a backyard activity that will provide hours of fun for the whole family, a trampoline is a great option. But before you can start bouncing, you need to set up your trampoline. While it may seem like a daunting task, with a little help, you’ll have your trampoline assembled in no time.
The first step is to select a level spot in your yard for the trampoline. It’s important that the area is free of any obstacles and clear of any low-hanging branches or power lines. Once you’ve found the perfect location, it’s time to start assembling your trampoline.
If you’re purchasing a pre-assembled trampoline, the process will be relatively simple. However, if you’re starting from scratch, there are a few more steps involved. First, you’ll need to connect the frame together using either bolts or screws (depending on the model).
Next, stretch out the mat over the frame and secure it in place. Finally, add on the safety pads and Springs – and that’s it! Your trampoline is now ready for use.
Of course, depending on the size and style of your trampoline, assembly may vary slightly. But overall, putting together a trampoline is not overly complicated or time-consuming – making it an easy addition to any backyard retreat!
Conclusion
In general, it should take no more than 30 minutes to set up a 14ft trampoline. This will of course depend on the model of trampoline and the instructions that come with it. It is always best to follow the manufacturer’s instructions when setting up any type of equipment.