If you’re planning to move your Springfree trampoline or just need to do some maintenance, you’ll need to know how to disassemble it. This process is actually quite simple and only requires a few tools. With the help of another person, you can have your trampoline taken apart in no time.
- To disassemble a Springfree Trampoline, first remove the jumping mat and the safety enclosure netting
- Then, using a spring puller tool, remove all of the springs from around the perimeter of the trampoline frame
- Next, take apart the trampoline frame by removing the nuts and bolts that hold it together
- Finally, fold up the trampoline frame and store it in a safe place until you are ready to reassemble it
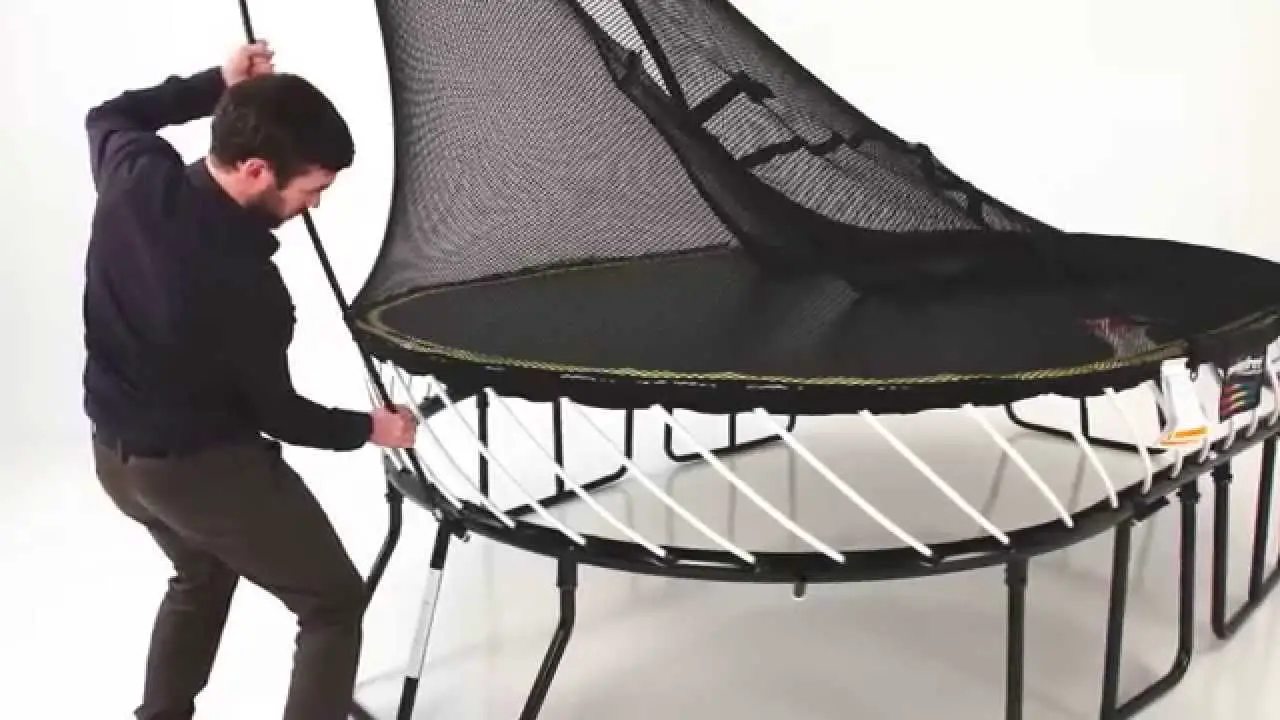
Springfree trampoline spring rod removal
How to Move a Springfree Trampoline
If you’re planning on moving your Springfree Trampoline, there are a few things you need to keep in mind to make sure the process goes smoothly. First, you’ll need to disassemble the trampoline. This is relatively easy to do and all the necessary tools should be included with your trampoline.
Once it’s disassembled, you can then move each piece to its new location. Make sure to reassemble the trampoline correctly so that it’s safe and secure for use. With a little bit of care and attention, moving your Springfree Trampoline will be a breeze!
Trampoline Disassembly Service
If you’re like most people, you probably bought your trampoline with the intention of providing hours of fun and exercise for your family. But what happens when it’s time to take the trampoline down? You may be tempted to just leave it out in the yard until spring, but that’s not always the best option.
Trampolines can be a liability if they’re not properly maintained, so it’s important to know how to disassemble them correctly.
That’s where our team at Trampoline Disassembly Service comes in! We’re experts at taking down all types of trampolines, from small round ones to large rectangular ones.
We’ll make sure that your trampoline is properly disassembled and stored away until you’re ready to use it again. We understand that taking down a trampoline can be a daunting task, but we’ll make it easy for you with our straightforward process.
Here’s how it works: first, give us a call or fill out our online form to schedule a time for us to come out and disassemble your trampoline.
Then, on the day of your appointment, our team will arrive at your home and get started on taking apart the trampoline. Once we’re finished, we’ll clean up any debris and haul away the pieces so you don’t have to worry about them cluttering up your yard.
Don’t let taking down your trampoline stress you out – let us handle it!
Contact us today to schedule an appointment or learn more about our services.
Springfree Trampoline Troubleshooting
If your Springfree Trampoline isn’t working properly, there are a few things you can do to troubleshoot the issue. First, check to make sure that all of the bolts and nuts are tightened properly. Next, check the frame and mat for any damage or wear and tear.
If you see any damage, replace the damaged parts with new ones. Finally, check the springs to make sure they are in good condition and not worn out. If any of the springs are damaged, replace them with new ones.
Springfree Trampoline in Ground
Is your backyard ready for a Springfree Trampoline? We’ve got everything you need to know about installing a trampoline in-ground!
Installing a trampoline in-ground is a great way to create extra space in your yard and make it safer for kids to play.
Here’s what you need to know:
1. Choose the right spot: Look for a level spot that’s at least 8 feet wide and 12 feet long. Avoid areas with trees, power lines, or other obstacles nearby.
2. excavate the hole: Excavate a hole that’s about 2 feet deep and slightly wider than the diameter of the trampoline frame. Be sure to remove any sharp objects from the area before proceeding.
3. install the frame: Position the trampoline frame in the hole and fill it with concrete, making sure that all joints are properly aligned.
Allow the concrete to cure for 24 hours before proceeding.
4. add safety features: Install spring pads around each leg of the frame and attach them securely to prevent injuries if someone falls on them while playing. Add netting around the perimeter of the trampoline to keep kids safe while they’re bouncing around!
Springfree Large Oval Trampoline Installation
Installing a Springfree Large Oval Trampoline is easy and can be done in just a few minutes with two people. First, lay out the tarp on level ground in the desired location for your trampoline. Next, unroll the trampoline mat and place it on top of the tarp.
Then, connect the six steel legs to the circular frame using the provided bolts. Finally, hook up the safety netting around the outside of the trampoline before letting anyone jump on it!
Springfree Trampoline Net Rod Removal
If you have a Springfree Trampoline and need to remove the net rods, here’s how. First, take off the top mat and safety pad. Next, use a Phillips head screwdriver to unscrew the four corner screws holding the black plastic baseplate in place.
Now you can pull up on the netting and out of the baseplate holes. The final step is to unscrew the three rod clamps that are holding the netting to the frame. And that’s it!
You’ve now removed your Springfree Trampoline net rods.
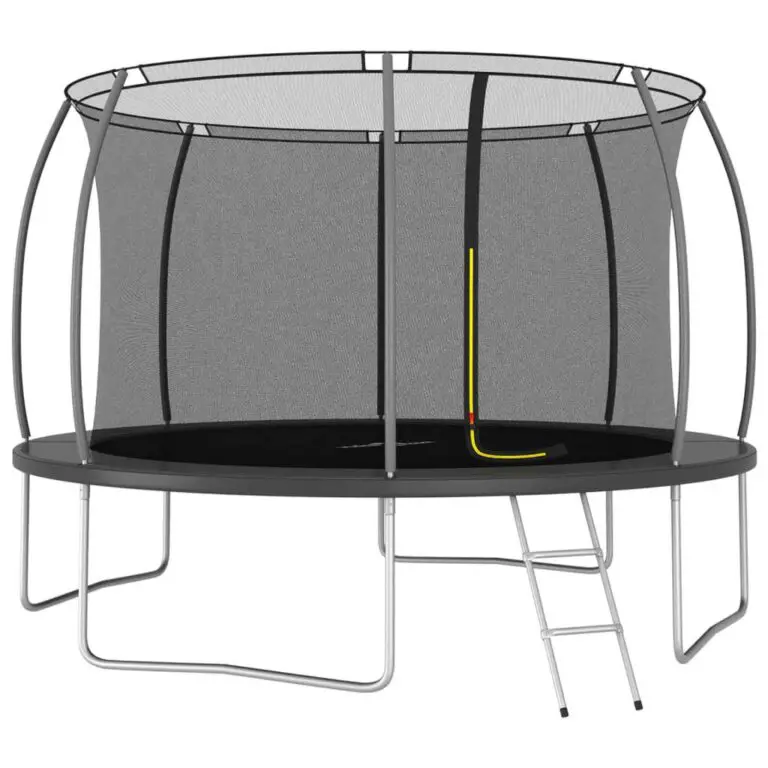
Springfree Round Trampoline
As the weather gets warmer, thoughts turn to outdoor activities and fun. A great way to enjoy the outdoors and get some exercise is by using a trampoline. Trampolines come in all shapes and sizes, but one type that is becoming increasingly popular is the round trampoline.
Round trampolines have a number of advantages over traditional rectangular ones. First, they are much easier to set up and take down. Second, they are more stable and less likely to tip over.
Third, they provide a more uniform bounce, which makes them ideal for use by both kids and adults. Finally, round trampolines tend to be more durable than their rectangular counterparts.
If you’re looking for a great way to enjoy the outdoors this spring and summer, consider investing in a round trampoline.
You’ll be glad you did!

Credit: www.pinterest.com
How Long Does It Take to Disassemble Springfree Trampoline?
Assuming you have all the necessary tools, it should take no more than 15 minutes to disassemble a Springfree Trampoline. Here are the steps:
1. First, remove the safety pads and spring covers.
There are typically 8 bolts that need to be unscrewed in order to do this.
2. Next, fold up the trampoline so that the legs are pointing upwards. You may need help from another person to do this step.
3. Once the trampoline is folded, unscrew the legs and take them off of the trampoline frame.
4. Finally, remove the mat by undoing the hooks or straps that are holding it in place. Once again, there should be around 8 of these.
And that’s it! Your Springfree Trampoline is now disassembled and ready to be stored away until next time!
Can You Take Legs off Springfree Trampoline?
If you need to move your Springfree Trampoline, or if it needs to be stored away, you can easily take the legs off. Here’s how:
1. First, remove the safety pad and spring cover.
2. Then, using a hex key (included with your trampoline), loosen each of the 24 bolts around the perimeter of the frame. These bolts connect the legs to the frame.
3. Once all of the bolts have been loosened, carefully lift off the legs and set them aside in a safe place.
4. To reattach the legs, simply reverse these steps – start by bolting on the legs, then replace the spring cover and safety pad.
How Do You Remove a Springfree Net Rod?
If you need to remove a Springfree net rod, there are a few things you’ll need to do. First, you’ll need to locate the two end caps that are holding the net in place. These will be located at the top and bottom of the trampoline.
Once you’ve located them, use a Phillips head screwdriver to loosen and remove the screws.
With the screws removed, you should now be able to pull the net rod out from its housing. Be careful when doing this, as the rod is under tension and can snap back if not handled carefully.
Once you have removed the rod, simply reverse the process to install it back into its housing.
How Do You Dismantle a Trampoline?
If you need to take apart your trampoline for storage or moving purposes, follow these steps. First, remove the spring cover by unscrewing the screws that hold it in place. Next, use a wrench to loosen the nuts on the legs.
Once the nuts are loose, you can remove the legs and frame pieces. Finally, fold up the mat and springs and store them in a safe place.
Conclusion
Assuming you would like a summary of the blog post titled “How to Disassemble a Springfree Trampoline”:
The blog post begins by noting that disassembling a Springfree trampoline can be daunting, but it is possible with some tips. The author provides step-by-step instructions for taking apart the trampoline, including removing the safety pads, springs, and frame.
They also note that it is important to have two people when disassembling the trampoline, as some parts are very heavy. Finally, they provide a video tutorial for those who want additional assistance.