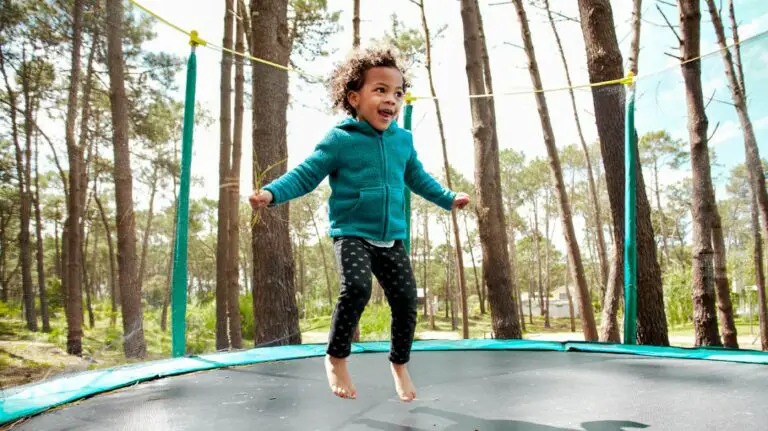
A trampoline can be a great addition to any backyard. They are not only fun for kids but also adults. Making your own trampoline is a great way to save money and get exactly what you want.
With a few supplies and some elbow grease, you can have your very own trampoline in no time.
- Cut 10 lengths of PVC pipe, each 4 feet long
- Connect the pipes together at the joints using PVC glue and primer
- Lay the trampoline frame on its side and attach the springs to the frame with washers and bolts
- Place the mat over the frame and stretch it tight before attaching it to the springs with zip ties
- 5 5 Hang your newly made trampoline from a tree or other sturdy structure using rope or bungee cords
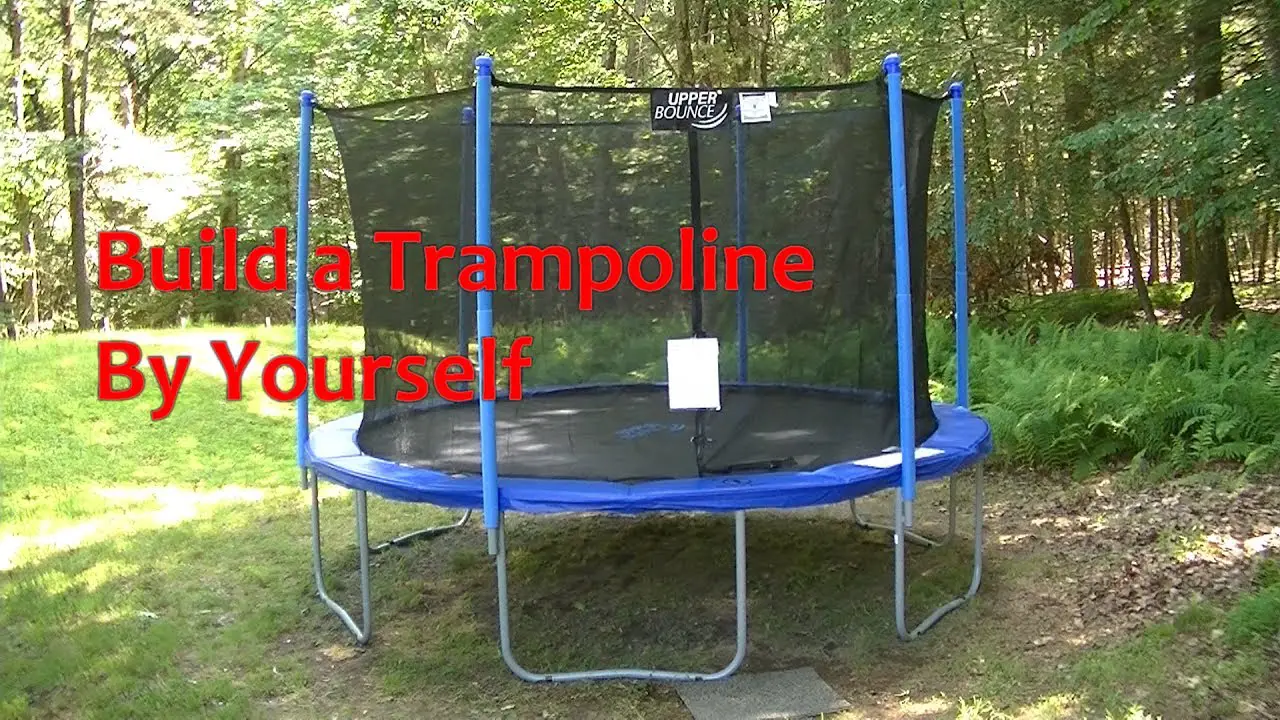
How To Build A Trampoline Set Up A Trampoline By Yourself
How to Make a Trampoline in Minecraft
In Minecraft, you can make your own trampoline by following these simple steps:
1. Find a suitable location for your trampoline. It should be a flat surface with plenty of space around it.
2. Make a square frame out of blocks. The frame should be at least 2 blocks high and 3 blocks wide.
3. Place slabs or stairs in the middle of the frame to create the jumping surface.
Make sure that the blocks are placed upside down so that players will bounce when they hit them.
4. Test your trampoline by jumping on it yourself! You can also invite friends over to try it out.
How to Make a Trampoline Out of Paper
Making a trampoline out of paper is a fun activity that can be done at home with the kids. It’s also a great way to recycle some old newspapers or magazines. Here’s what you’ll need to make your own paper trampoline:
-A sheet of stiff paper (cardstock or Bristol board works well)
-A stapler
-Scissors
-Tape
-A small object to use as a weight (a penny or paperclip will work)
Start by cutting your piece of paper into a large circle.
Then, cut eight equally spaced slits around the edge of the circle. Fold each slit inwards to create eight triangular flaps.Use the stapler to attach two opposite flaps together, forming a cone shape. Repeat this step with the remaining six flaps until you have four cones total.
Now it’s time to tape the cones together at their bases, forming a square shape. Make sure that the pointed ends of the cones are facing upwards. Again, use tape to secure the structure so that it’s sturdy.
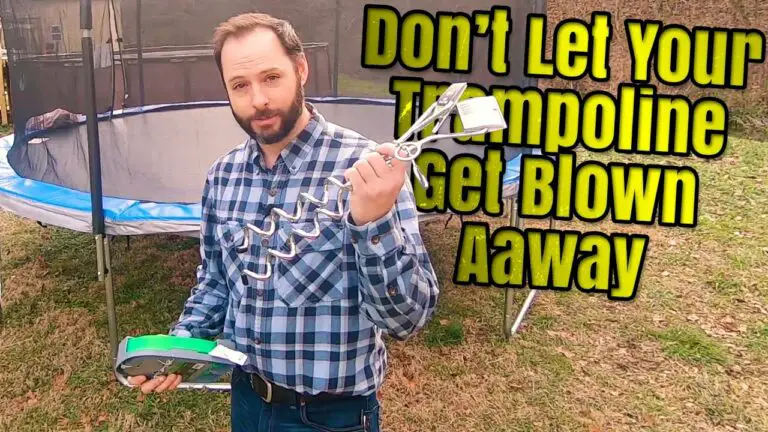
Finally, take your small object and tie it onto one corner of the square using a piece of string or yarn. This will act as our weight and help keep our trampoline from blowing away in the wind!
Now it’s time to test out your new creation!
Place your hand on top of the weighted corner and give it a little push – if everything is secure, your trampoline should spring back up! You can also try bouncing on it like a real trampoline, but be careful not to break it (especially if you’re using recycled materials!).
How to Put a 14Ft Trampoline Together
A 14ft trampoline is a great addition to any backyard. Here are easy instructions on how to put one together.
1. Lay out all of the parts in the order that they will be assembled.
This will make it easier to see what goes where.
2. Begin by attaching the legs to the frame using the bolts and nuts provided.
3. Next, stretch out the mat over the frame and secure it with the spring clips.
Make sure that the mat is taut and free of wrinkles.
4. Finally, attach the safety netting around the perimeter of the trampoline using zip ties or velcro straps.
That’s it!
You’re now ready to enjoy your new 14ft trampoline!
How to Make a Trampoline Fort
A trampoline fort is a great way to keep the kids entertained for hours on end. Here’s how you can make one in your own backyard:
1. Choose a spot for your fort.
You’ll need a level spot that’s big enough to fit your trampoline and leave some room around it for the fort walls.
2. Assemble your fort walls. You can use whatever materials you have on hand, but we recommend using PVC pipes or wooden boards.
Make sure the walls are tall enough that little ones can’t climb over them.
3. Attach the fort walls to the trampoline frame. Use zip ties or strong rope to secure the walls in place.
4. Add a roof (optional). If you want to keep the sun out of your fort, add a tarp or piece of fabric over the top of the frame. Secure it in place with more zip ties or rope.
Now you’re ready to play! Invite some friends over and enjoy hours of fun inside your new trampoline fort!
How to Put a Trampoline Together With Net
A trampoline is a great way to get some exercise, have fun, and entertain the kids all at the same time. But before you can start bouncing around, you need to put it together. Here’s how:
1. Lay out all of the parts in an open area. Make sure you have all of the necessary pieces before beginning assembly.
2. Begin by attaching the legs to the frame using the bolts and nuts provided.
Hand-tighten these first so that you can adjust them later if needed.
3. Next, connect the top rails to the legs using more bolts and nuts. Again, hand-tighten these for now.
4. Now it’s time to add on the spring system which will give you that signature “bounce.” First, attach the end caps to each rail using screws or rivets (depending on your model). Then thread each spring through its corresponding hole in the frame until they’re all in place.
You may need someone to help hold up one end of the frame while you do this step.
Trampoline Instructions
Assuming you would like tips on how to get the most out of your trampoline, here are a few ideas. First, make sure the surface is level and there is nothing around it that could potentially cause harm if you were to fall off. Second, check all the bolts and make sure they are tight before using it.
Third, use caution when jumping and don’t attempt any flips or tricks until you are confident in your abilities. Lastly, have fun! Jumping on a trampoline is a great way to let off some energy and have a blast at the same time.
How to Make a Trampoline Bouncier
Making your trampoline bouncier is a simple process that can be done in a few easy steps. By following these steps, you’ll have a trampoline that’s as bouncy as new in no time!
1. First, check all of the bolts and screws on your trampoline to make sure they are tight.
Loose bolts can cause the mat to sag, which will reduce the amount of bounce.
2. Next, take a look at the condition of your mat. If it’s starting to show signs of wear and tear, it’s probably time for a new one.
Worn out mats won’t have as much give, resulting in less bounce.
3. Finally, adjust the tension on the springs. The tighter the springs are stretched, the more bounce they will provide.
However, be careful not to over-tighten them or they could break.
Trampoline Assembly Instructions Pdf
If you’ve ever wanted to add a trampoline to your backyard, you know that it can be a daunting task. There are so many parts and pieces, and it’s hard to know where to start. But don’t worry – we’re here to help!
We’ve put together a handy PDF with step-by-step instructions for assembling your trampoline. Just follow the directions and you’ll have your trampoline up and ready in no time. And if you run into any trouble along the way, our customer service team is always happy to help.
So what are you waiting for? Download our Trampoline Assembly Instructions PDF now and get started on your backyard fun!

Credit: www.pinterest.com
How Do You Make a Simple Trampoline?
A trampoline is a great way to get some exercise, have some fun, and teach your kids about physics all at the same time. But how do you make a simple trampoline?
First, you’ll need some supplies.
For the frame of the trampoline, you’ll need either metal or PVC pipe. If you’re using PVC pipe, you’ll also need elbow and T-joints to build the frame. For the jumping surface, you’ll need fabric that’s been treated with fire retardant chemicals.
You can purchase this type of fabric at most fabric stores.
Once you have your supplies, it’s time to start building the frame of your trampoline. If you’re using metal pipe, cut the pieces to size according to your plans.
If you’re using PVC pipe, assemble the frame using the elbow and T-joints. Once the frame is complete, attach the fabric to it using staples or other fasteners. Make sure that the fabric is stretched tight so that there are no wrinkles or sags in it.
Now it’s time to test out your new trampoline! Have someone hold onto one end of the trampoline while you jump on it in the middle. If everything looks good and feels sturdy, then congratulations – you’ve just built yourself a simple trampoline!
Can 1 Person Build a Trampoline?
Yes, one person can build a trampoline. However, it is important to follow the instructions carefully and have the proper tools and materials. It is also recommended to have someone else help with the assembly, as it can be difficult to do alone.
What is the Material Used to Make Trampoline?
A trampoline is a piece of equipment consisting of a strong, flexible sheet of fabric stretched over a steel frame using coiled springs. The fabric is usually made from heavy-duty canvas or nylon. Trampolines are used by acrobats, gymnasts, and recreational users to perform tricks and flips.
The word “trampoline” is derived from the Spanish trampolín, which means “little diving board.” The earliest known reference to a trampoline-like device was in 1785, when Johan de Meijer described in his diary how he built one out of wood and cloth and used it for exercise. However, it wasn’t until 1881 that French acrobat Jules Leotard popularized the use of the trampoline when he performed his now famous somersault routine at the Cirque Napoleon in Paris.
Trampolines come in all shapes and sizes, from small recreational models to large professional ones used in competitions and shows. Although they all share the same basic design, there are some important differences between them. For example, competition-grade trampolines have much stricter safety standards than recreational ones.
They also tend to be larger in size and have more powerful springs to provide athletes with enough bounce to perform complicated tricks and flips.
If you’re interested in purchasing a trampoline for yourself or your family, there are a few things you should keep in mind. First, consider what size will best fit your needs – larger ones are great for flipping but take up more space, while smaller ones are more compact but won’t provide as much bounce.
Second, think about what material you want your trampoline to be made out of – heavier duty materials like canvas or nylon will last longer but may be more expensive upfront, while lighter weight materials like polypropylene can be cheaper but may not hold up as well over time.
How are Trampolines Made?
Most trampolines are made with a very strong, sturdy metal frame and bed. The springs are also made of metal and are placed around the edge of the trampoline. The fabric that covers the trampoline is also very strong and durable.
Conclusion
This blog post is about how to make a trampoline. The author gives step-by-step instructions on how to make a trampoline, as well as tips on how to choose the right materials and where to buy them. The author also includes a video tutorial on how to assemble the trampoline.