If your trampoline net has seen better days, it’s probably time to replace it. Luckily, this is a fairly easy process that you can do yourself in just a few steps. First, you’ll need to purchase a new net that is the same size as your trampoline.
You can find these online or at most sporting goods stores. Once you have the new net, simply attach it to the frame of your trampoline using the provided straps or hooks. Then, stretch the net out so that it is taunt and secure.
That’s it! You’ve successfully replaced your trampoline net and now it’s time to enjoy some safe bouncing fun.
- Remove the old net by taking down the straps that are holding it in place
- Cut the new net to the correct size and shape using a pair of scissors
- Attach the new net to the trampoline frame using the same straps or cords that were used to hold up the old one
- Make sure that the new net is tight and secure before allowing anyone to use the trampoline again
How to Install a New Replacement Trampoline Net (Attaching the Bottom Rope)
How to Put a Net on a 14Ft Trampoline
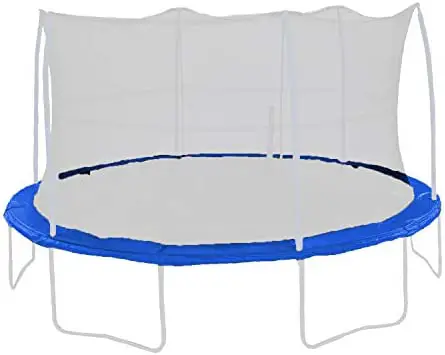
If you have a 14ft trampoline, you’ll need a net that’s at least 16.5 ft in circumference. To attach the net to the trampoline, first thread the top of the net through the hooks on the upper frame. Then, stretch the net down around the outside of the trampoline and hook it onto the bottom frame.
Make sure that the net is tight and secure before allowing anyone to use the trampoline.
Trampoline Enclosure Kit
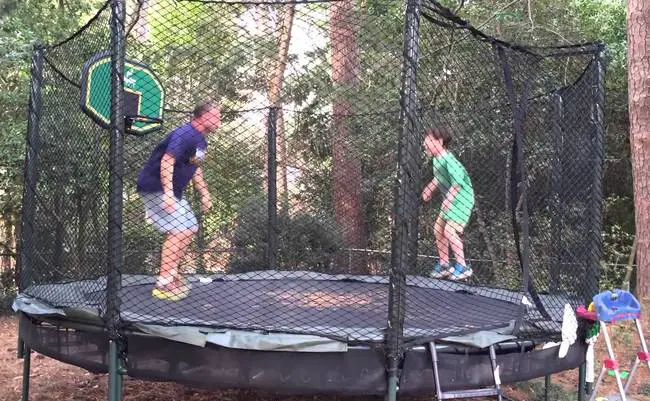
A trampoline enclosure kit is a must-have accessory for any serious trampoline user. An enclosure kit helps keep users safe by preventing them from falling off the trampoline and injuring themselves. It also provides a barrier between the user and the ground, which can help protect against impact injuries.
There are many different types of enclosure kits available on the market, so it’s important to choose one that best suits your needs. If you’re looking for maximum safety, opt for an enclosed kit that completely surrounds the trampoline. For added protection, look for a kit with a netting system that attaches to the frame of the trampoline.
This will create an additional layer of protection between the user and the ground.
If you’re mostly concerned about preventing falls, then a less expensive option may be sufficient. Choose an enclosure kit that has side panels that attach to the legs of the trampoline.
This will provide some coverage without completely enclosing the entire structure.
No matter which type of enclosure kit you choose, make sure it’s made from high-quality materials that can withstand heavy use. The last thing you want is for your investment to fall apart after just a few uses!
Trampoline Enclosure
A trampoline enclosure is a safety net that surrounds the perimeter of a trampoline. It is designed to keep users safe by preventing them from falling off the edge of the trampoline. Enclosures are made from durable, weather-resistant materials such as nylon or PVC and can be attached to any size or type of trampoline.
Most enclosures attach to the frame of the trampoline with straps or hooks, and some models even come with zippered entry/exit openings for easy access.
Enclosures are an important safety feature for any trampoline, and they should be used at all times when the trampoline is in use. Trampolines without enclosures are not only more dangerous, but they are also more likely to cause property damage if users fall off and land on nearby objects (such as houses, cars, etc.).
If you have a trampoline without an enclosure, we highly recommend that you invest in one as soon as possible.
Trampoline Net Inside Or Outside
If you’re like most people, you probably grew up bouncing on a trampoline. But did you ever wonder if it was better to have the trampoline net inside or outside? Here’s a look at the pros and cons of each option:
If you have the trampoline net inside, it will be better protected from the elements. This means that it will last longer and won’t get as dirty. It also means that there’s less chance of someone accidentally walking into it and getting hurt.
However, having the net inside does mean that there’s less bounce. And if you live in an area with high winds, the net can act like a sail and make the trampoline harder to control.
If you have the trampoline net outside, it will be more exposed to the elements but that also means that it will be easier to clean.
And since there’s no roof or walls in the way, you’ll get a bigger bounce. Just be sure to secure the net well so it doesn’t blow away in strong winds!
How to Install Skybound Trampoline Net
If you’re looking for a fun and safe way to enjoy your trampoline, then installing a Skybound trampoline net is a great option. Not only will it keep you and your family safe while jumping, but it will also add an extra layer of protection from the elements. Here’s how to install a Skybound trampoline net:
1. Begin by attaching the top ring of the net to the top of the trampoline frame using the provided straps or zip ties. Make sure that the ring is securely fastened so that it won’t come loose while you’re jumping.
2. Once the top ring is in place, drape the netting over the entire frame and secure it to the bottom ring.
Again, make sure that all of the clips or ties are secure so that there are no gaps in the coverage.
3. Finally, give the entire setup a good shake to make sure that everything is secure and there are no loose ends before letting anyone jump on it.
Now you’re ready to enjoy your newly installed Skybound trampoline net!
How to Install Upper Bounce Trampoline Net
If you’re looking for a great way to keep your kids safe while they’re playing on the trampoline, then you should definitely consider installing an Upper Bounce Trampoline Net. Not only will this net help to keep your children from falling off of the trampoline, but it will also provide them with a softer surface to land on if they do happen to fall. Here’s a step-by-step guide on how to install an Upper Bounce Trampoline Net:
1. Begin by setting up the trampoline according to the manufacturer’s instructions. Once the trampoline is set up, you’ll need to secure the upper frame using either bolts or screws (depending on what type of frame you have).
2. Next, take measurements of both the inside and outside diameters of the trampoline’s upper frame.
You’ll need these measurements in order to properly cut the netting to size.
3. Cut the netting to size using a sharp pair of scissors or a utility knife. Be sure that you leave enough excess material so that you can easily attach it to the frame later on.
4. Now it’s time to attach the netting to the upper frame of the trampoline. Start by tying one end of the netting around one of the horizontal support bars near the top of the frame. Then, stretch outthe netting and tie it around another support bar in a similar fashion until you’ve gone allthe way aroundthe circumferenceof theframe .
Finally, tie offthe loose endof thenettingto oneof thesupport barsso thatit’s niceand tight .
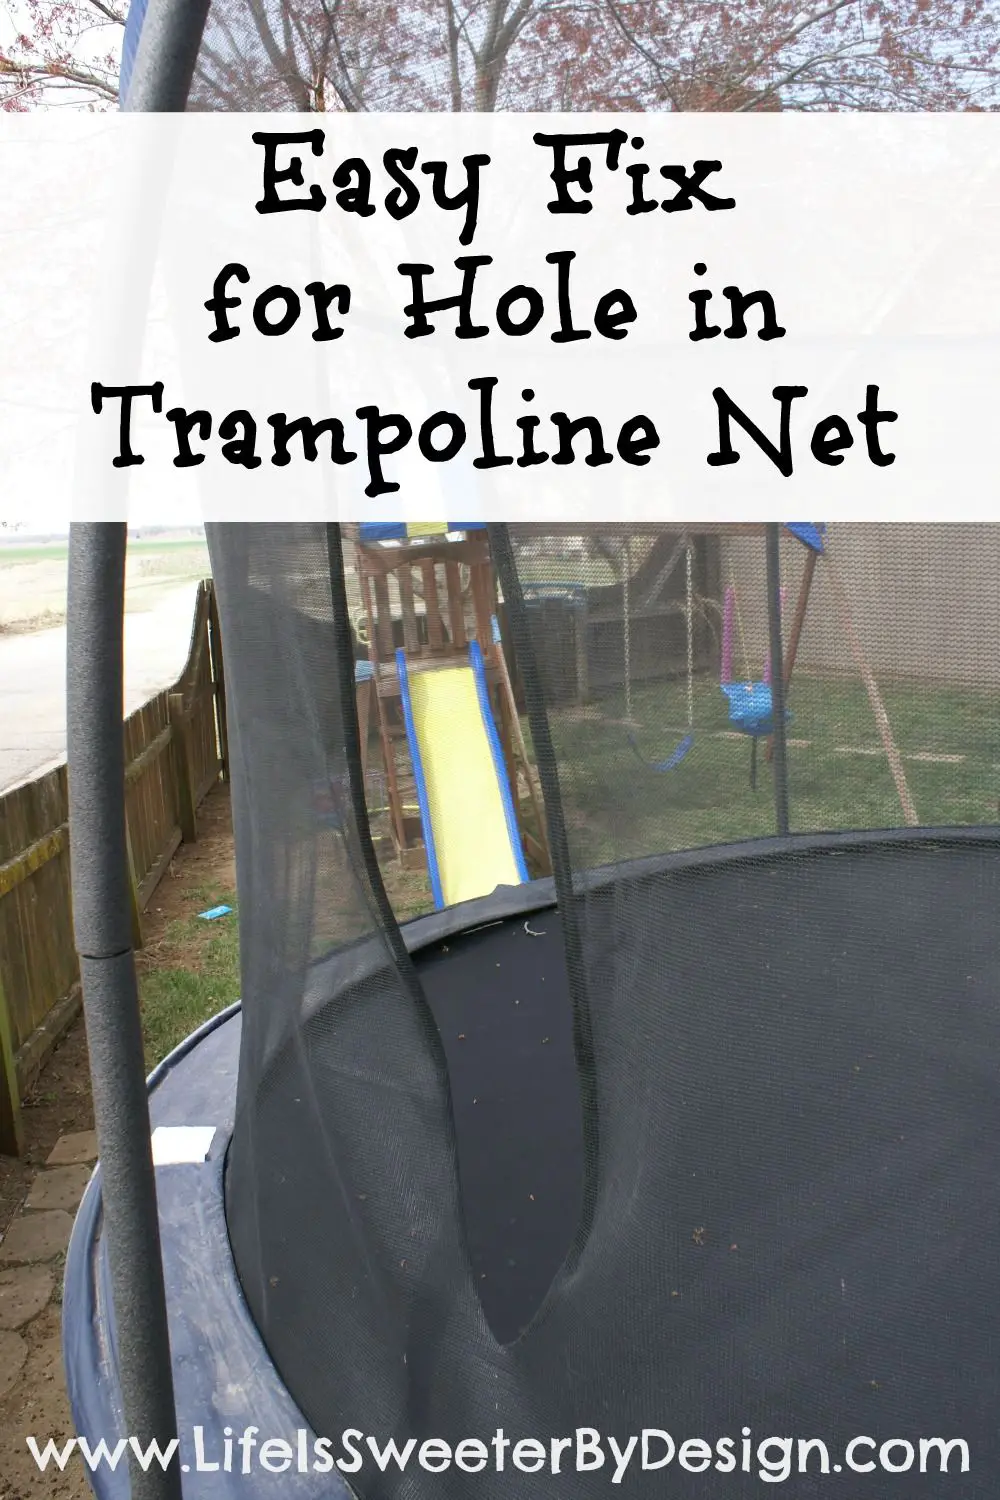
Diy Trampoline Safety Net
Trampolines are a great way to get some exercise and have fun, but they can also be dangerous. A trampoline safety net can help reduce the risk of injury by keeping jumpers from falling off the trampoline.
When choosing a trampoline safety net, make sure it is made of durable material that will not tear easily.
The net should also be attached securely to the trampoline frame. Be sure to follow the manufacturer’s instructions for installation and use.
In addition to using a safety net, there are other precautions you can take to help prevent injuries while using a trampoline.
Always supervise children when they are using the trampoline, and do not allow more than one person on the trampoline at a time. Keep the area around the trampoline clear of obstacles, and do not let anyone jump on or off the trampoline while someone else is jumping. Inspect the condition of the trampoline regularly, and do not use it if it is damaged in any way.
By following these simple safety tips, you can help make sure everyone stays safe while enjoying their time on the trampoline!

Credit: www.youtube.com
How Do You Put a New Net on a Trampoline?
If you’ve ever had to put a new net on a trampoline, you know it can be tricky. But with a little patience and some careful instructions, you can get the job done in no time! Here’s how to put a new net on a trampoline:
1. Remove the old net from the trampoline frame. You’ll need to remove any clips or fasteners that are holding the old net in place. If your trampoline has springs, be careful not to damage them when removing the old net.
2. Spread out the new net over the trampoline frame. Make sure that the net is evenly distributed and there are no gaps or holes.
3. Secure the new net to the frame using clips or fasteners.
Again, be careful not to damage any springs while attaching the new net.
4. Test out the new net by bouncing on the trampoline! If everything looks good, then you’re all set!
Can You Replace the Safety Net on a Trampoline?
If you’re in need of a new safety net for your trampoline, you may be wondering if it’s possible to replace it yourself. The good news is that it is possible to replace the safety net on a trampoline, and we’ll show you how!
First, you’ll need to purchase a new safety net that is the correct size for your trampoline.
Once you have the new net, simply unzip the old one from the ring around the edge of the trampoline and remove it. Then, take the new net and stretch it over the ring, zipping it into place. That’s all there is to it!
If you follow these simple steps, you’ll have your trampoline back up and running safely in no time.
How Do You Take the Net off a Trampoline?
Assuming you need to take the net down for storage or moving:
To take the net off of a trampoline, you will need to first remove the spring cover around the edge of the trampoline. Once this is done, you can pull the netting up and over the top of the trampoline frame.
Start by tying one end of the netting to the outside frame, then work your way around until you have pulled it all over. Finally, tie or clip the other end of the netting to secure it in place.
How Do You Change the Net on a Skywalker Trampoline?
To change the net on a Skywalker trampoline, you will need to remove the old net and then install the new one. Here are the steps to do this:
1. Remove the spring cover from the trampoline frame.
This will give you access to the springs.
2. Unhook the old net from the hooks that are attached to the frame.
3. Take down the old net and set it aside.
4. Spread out your new net over the top of the trampoline frame. Make sure that it is evenly distributed and not bunched up in any areas.
5. Attach the new net to the hooks on the frame, making sure that it is tight and secure.
Be careful not to overtighten or you could damage the netting material.
6 .
Conclusion
If you’re like most people, you probably don’t think about your trampoline net very often. But if it starts to wear out, it can be a big problem. A torn or frayed net can not only be unsightly, but it can also be dangerous.
If you have a tear in your net, it’s important to replace it as soon as possible. Here’s how to do it:
First, remove the old netting from the frame of your trampoline.
To do this, you’ll need to unscrew the hooks or clamps that are holding the netting in place. Once the old netting is removed, take a look at the condition of your trampoline frame. If there are any rust spots or other damage, now is a good time to repair or replace those parts before installing the new netting.
Next, measure the circumference of your trampoline frame and cut the new netting accordingly. Be sure to leave enough excess material so that you can easily attach it to the frame. Once the new netting is cut to size, attach it to the frame using hooks or clamps.
Be sure that the new netting is securely in place before allowing anyone to use the trampoline again.