Trampoline springs are an important part of the trampoline and need to be maintained. They provide the bounce for the trampoline and if they are not working properly, it can ruin your fun. There are a few things you can do to help keep your springs in good shape and working properly.
- Locate the springs on your trampoline
- There are typically 8-12 springs, depending on the size of the trampoline
- Place one hand on either side of a spring
- Use your other hand to grab the center of the spring and pull it away from the frame of the trampoline
- Stretch the spring until it is about double its original length
- Repeat with remaining springs
How to stretch trampoline springs the correct way.
Trampoline Spring Hacks
If you’re anything like us, you love spending time on your trampoline. But did you know that there are ways to make your trampoline even more fun? With a few simple hacks, you can turn your trampoline into the ultimate backyard playground!
Here are a few of our favorite trampoline spring hacks:
1. Add some color! Wrap colorful duct tape around the springs of your trampoline for a fun pop of color.
2. Create a game zone. Use chalk to create hopscotch or four square courts on the jumping surface of your trampoline. Now you can play games while you bounce!
3. Make it a water park. Attach a sprinkler to one side of your trampoline and let the kids cool off while they jump in the summer heat!
How to Take Trampoline Springs off Without Tool
If you’re like most people, you probably don’t have a trampoline spring removal tool just lying around the house. But that’s okay! There are a few different ways that you can remove your trampoline springs without a tool.
One way is to use a pair of pliers. Just grip the end of the spring with the pliers and twist it off. It may take a little bit of force, but eventually, it will come loose.
Another way to remove your springs is by using a screwdriver. Just wedge the tip of the screwdriver under the end of the spring and pry it off. This method may be a little easier than using pliers since you have more leverage with a screwdriver.
Once all of your springs are removed, you’ll need to dispose of them properly. You can either recycle them or throw them away in the trash. Be sure to check with your local recycling center to see if they accept trampoline springs before you attempt to recycle them.
Trampoline Spring Tool in Store
If you’re looking for a great way to get your trampoline in shape for spring, the Trampoline Spring Tool is the perfect solution! This easy-to-use tool helps you remove old, damaged springs so you can replace them with new ones. It also comes with a helpful guide that shows you how to properly install your new springs.
The Trampoline Spring Tool is available now at your local store.
How to Tighten Trampoline Springs
If your trampoline springs are loose, it’s time to tighten them! Here’s how:
1. First, identify which springs need to be tightened.
You can do this by gently pressing down on the trampoline mat in various places. If the mat dips too far, then that spring needs to be tightened.
2. Next, locate the adjustment bolts for those springs.
These will be located near the base of the legs on which the spring is mounted.
3. Use a wrench to turn each bolt clockwise until it is tight. Be careful not to over-tighten, as this could damage the bolt or spring.
Check the tension of the spring by pressing down on the mat again and compare it to other springs that have been adjusted properly.
4. Once all of the necessary springs have been tightened, bounce around on the trampoline a bit to make sure everything feels even and safe before letting anyone else use it!
What Order Do You Put the Springs on a Trampoline
If you’re putting together a new trampoline or replacing the springs on an old one, you might be wondering what order to put the springs in. It’s actually not as complicated as it might seem – there is a specific order that they should go in, and following this will ensure that your trampoline is safe and sturdy.
The first thing to do is to lay out all of the springs in a line, making sure that they are all facing the same direction.
Then, starting at one end, begin attaching them to the frame of the trampoline. Make sure that each spring is securely attached before moving on to the next.
Once all of the springs are in place, you can finish assembling the rest of the trampoline according to its instructions.
And that’s it! By following this simple process, you’ll have your trampoline up and running in no time.
Trampoline Spring Puller
If you have a trampoline with a spring system, you know that the springs are what provide the “bounce” to your jumps. But over time, the springs can become stretched out and lose their elasticity. This is where a trampoline spring puller comes in handy!
A trampoline spring puller is a simple tool that helps you stretch out your trampoline springs, restoring them to their original length. This will help prolong the life of your trampoline and ensure that you continue to enjoy bouncing around for years to come!
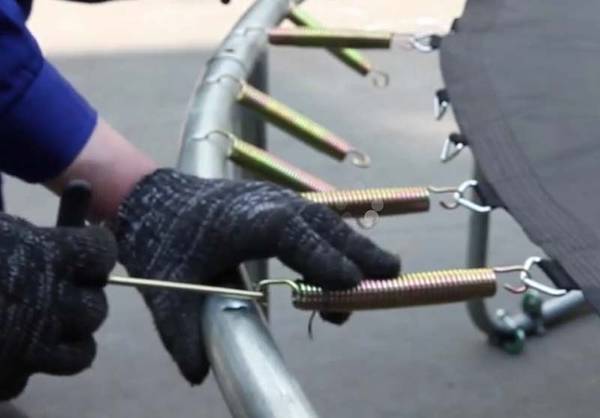
Using a trampoline spring puller is easy – simply attach it to one end of the spring, and then use your body weight to stretch out the spring.
Start with short, gentle stretches and work your way up to longer, more forceful ones. You’ll know when the spring is back to its original length when there is no more give when you pull on it.
So if your trampoline isn’t bouncing like it used to, don’t despair – a trampoline spring puller can help get things back in shape so you can keep on jumping for joy!
Trampoline Spring Cover
Most trampolines come with a spring cover, which is a black or green fabric cover that goes over the springs. The purpose of the spring cover is to keep people from coming in contact with the springs, which can be very dangerous. The spring cover also helps to protect the springs from weather and debris.
How to Remove Trampoline Springs
If your trampoline springs are beginning to show signs of wear and tear, it’s important to replace them as soon as possible. Not only will this ensure that your trampoline is safe to use, but it will also help extend the life of your trampoline. Here’s a step-by-step guide on how to remove trampoline springs:
1. Begin by removing the safety pad from the trampoline. This will give you access to the springs.
2. Using a pair of pliers, grip onto one end of the spring and pull it away from the frame of the trampoline.
3. Repeat this process for all of the remaining springs.
4. Once all of the springs have been removed, clean up any rust or debris that may be present on the trampoline frame.
5. To install new springs, simply reverse the above process.
Credit: www.gettrampoline.com
How Do You Stretch Out a Trampoline?
When you first get your trampoline, you will need to stretch it out before you can start using it. This process is known as “breaking in” the trampoline and will help ensure that it lasts for years to come. Here’s how to do it:
1. Set up the trampoline in an open area away from any trees, buildings or other obstacles.
2. Have one person stand in the middle of the trampoline while another person grabs hold of one of the legs and pulls it outwards until the leg is straight. Repeat this process with all four legs.
3. Now, take a look at the springs – there should be eight of them located around the edge of the trampoline bed. Using your hands, stretch each spring outwards until it is nice and taut. You may need someone to help you with this part if the springs are particularly tight.
4. Once all of the springs have been stretched out, give the entire trampoline a good bounce to test it out! If everything feels good then you’re ready to start using your new toy!
How Do You Loosen the Springs on a Trampoline?
Most trampolines have spring loaded legs which can be adjusted to change the tension. You will need to adjust the springs if the trampoline is too bouncy or not bouncy enough. To loosen the springs, you will need a wrench and a screwdriver.
First, remove the safety pad and mat from the trampoline. Next, locate the spring clamp bolt and nut at each corner of the frame. Use the wrench to loosen the nut while holding the bolt in place with the screwdriver.
Repeat this process for all four corners. Once all of the nuts are loosened, you can then adjust each spring by hand to increase or decrease tension as needed. Finally, retighten all of the nuts and replace the safety pad and mat.
How Far Do Trampoline Springs Stretch?
Springs are an essential part of any trampoline, providing the key function of absorbing impact and giving bounce. But how do they work, and how far do they stretch?
Springs on a trampoline are made from steel wire that is coiled tightly together.
When weight is applied to the spring, it compresses and stores energy. This stored energy is then released when the weight is removed, causing the spring to expand and push back against whatever is pressing on it – in this case, the jumper.
The amount of ‘stretch’ or ‘bounce’ you get from a spring depends on how much force was used to compress it in the first place.
The greater the force, the greater the rebound. That’s why heavier people tend to get more height from a jump than lighter people; their extra weight means they can compress the springs more, resulting in more bounce.
So, how far do trampoline springs actually stretch?
It varies depending on their size and tension, but most springs will elongate by around 20-30% when fully compressed. That means a 2 inch (5cm) spring will typically extend to around 2.4-2.6 inches (6-7cm) when someone jumps on the trampoline.
While 20-30% might not sound like much, it’s actually enough to make a big difference in terms of both performance and safety.
For example, if you were using a 30 foot (9m) long trampoline with 2 inch (5cm) springs, extending them by just 20% would add an extra 6 feet (1.8m) to their length – making for a much bouncier ride!
How Do You Use a Trampoline Spring Tool?
Assuming you are talking about a tool to remove and install springs on a trampoline:
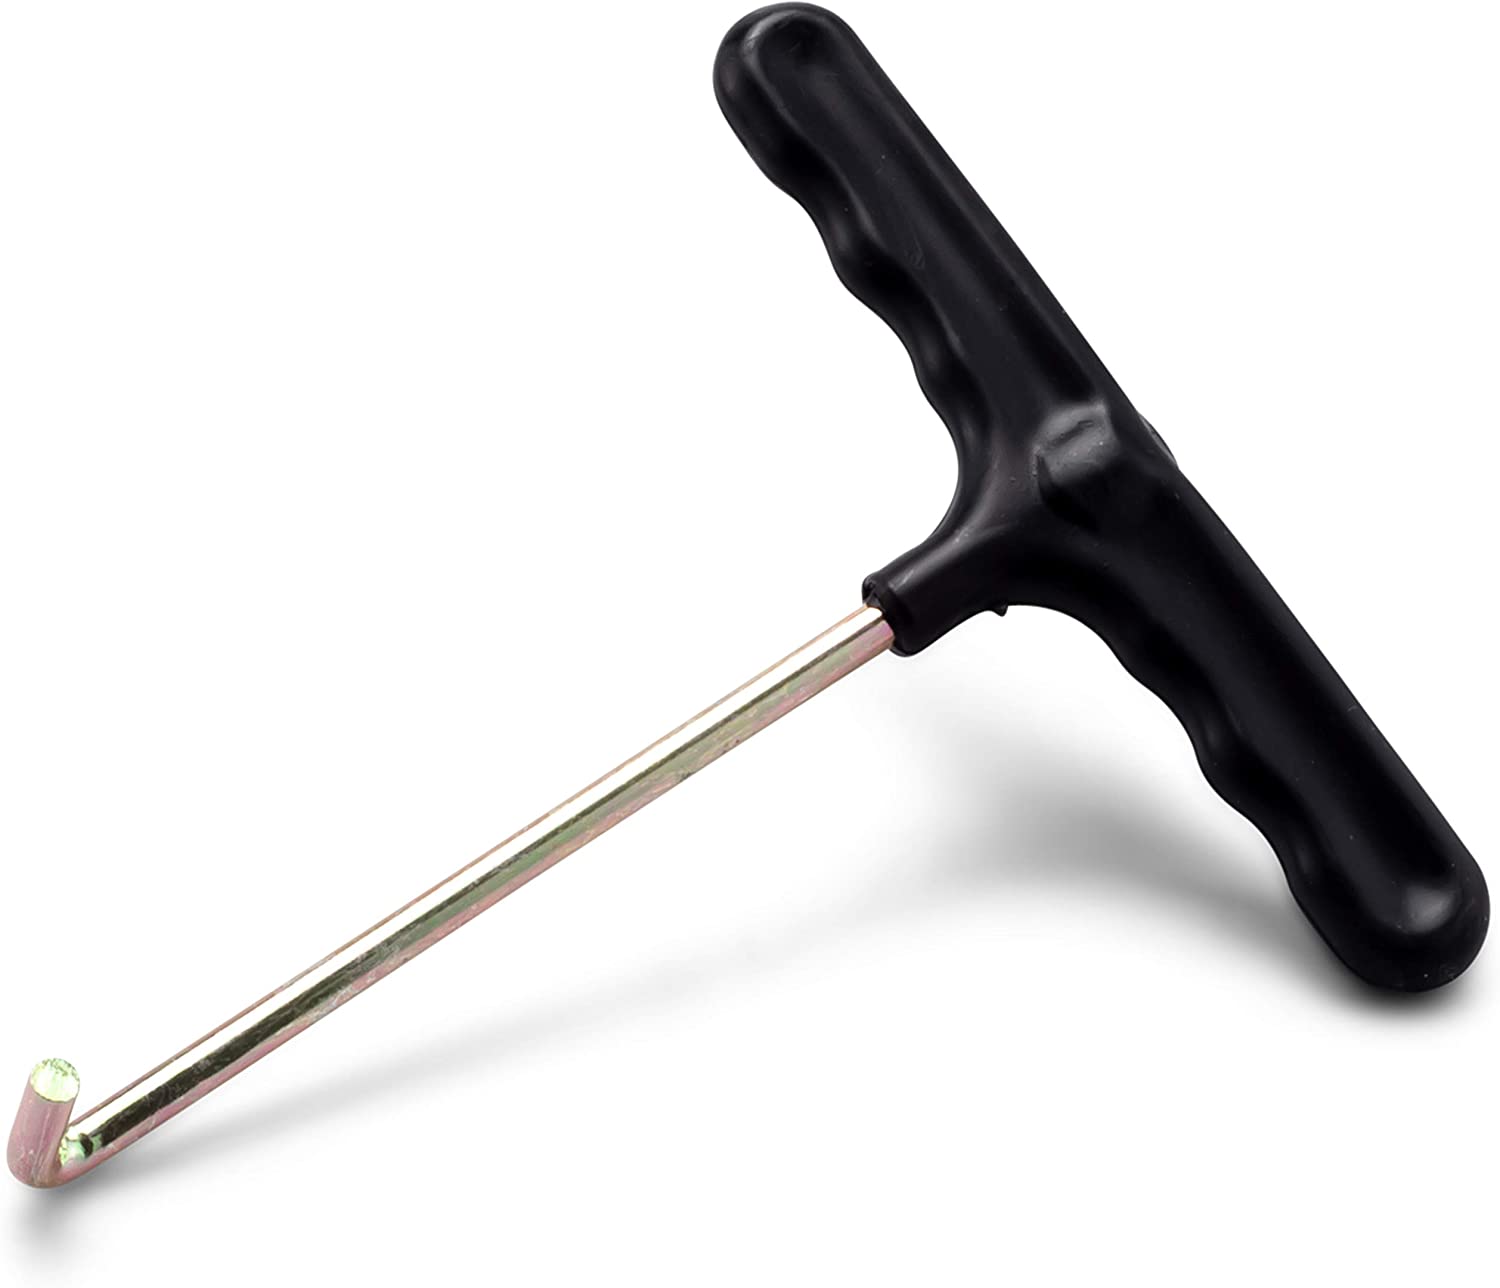
There are a few different ways that you can use a trampoline spring tool, depending on the type of tool that you have. Some tools will have a handle that you can use to wind the spring around, while others will have a hook that you can use to grab onto the spring.
To remove a spring using a handle type of tool, first place the end of the handle into the centre of the spring. Then, start winding the handle in a clockwise direction until the spring is completely wound around it. Once the spring is tight against the handle, slowly pull outwards on the handle to release it from the frame.
Repeat this process for each spring that needs to be removed.
To remove springs using a hook type of tool, start by placing the hook at an angle so that it is hooked onto one side of the spring. Then, push down on the other side of the spring so that it pops off of its mount.
You may need to wiggle or twist the hook slightly to get it started. Once one side is off, repeat this process for each additional side until all four sides are detached and then pull outwards on hook to release completely from frame.
Conclusion
If your trampoline springs are starting to lose their bounce, it might be time to give them a little stretch. This is a relatively easy process that only takes a few minutes. Here’s how to do it:
1. Loosen the bolts that hold the spring in place. You’ll need a wrench for this.
2. Hook one end of the spring onto something sturdy, like a fence post or tree branch.
3. Pull on the other end of the spring until it’s tight. Make sure you don’t pull too hard, or you could damage the spring.
4. Repeat with all of the other springs on your trampoline.
Once they’re all stretched out, tighten the bolts back up and enjoy your newly bouncy trampoline!