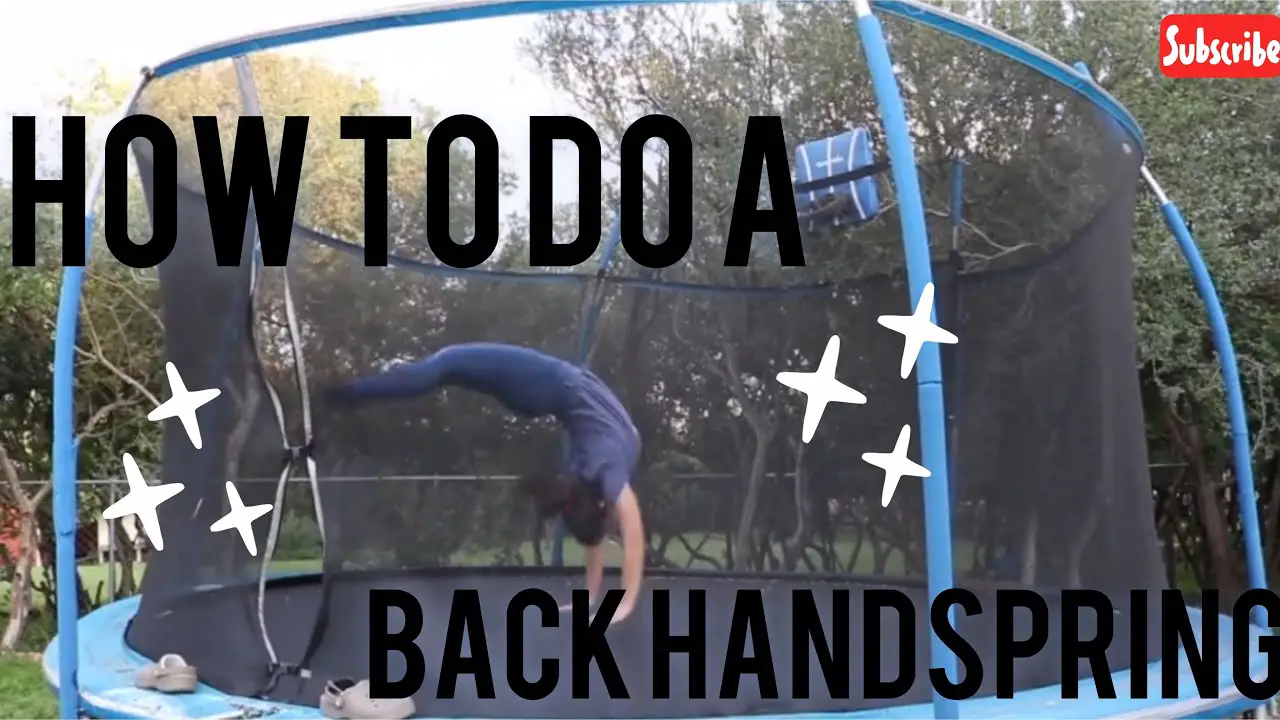
Have you ever seen someone do a back handspring on a trampoline and thought to yourself, “I wish I could do that!” Well, you’re in luck. With a little bit of practice, anyone can learn how to do a back handspring on a trampoline.
The first thing you need to do is build up your confidence. It’s normal to be scared when you’re trying something new, but you need to believe in yourself that you can do it. Once you have the mindset that you can accomplish anything you set your mind to, the rest will be easy.
Next, get familiar with the trampoline. If possible, try bouncing on it without flipping over first. This will help get your body used to the feeling of being airborne and landing safely on the mat.
Once you’re ready to attempt a back handspring, start by running towards the trampoline and jumping onto it with both feet at the same time. As soon as your feet hit the surface of the trampoline, tuck your chin into your chest and somersault backwards over your head. Use your arms to help propel yourself forward and land on both feet evenly balanced in the center of the trampoline.
If successful, congratulations! You’ve just completed a back handspring on a trampoline!
- First, approach the trampoline with confidence
- It may seem daunting, but remember that you can do this! 2
- Place your hands on the trampoline surface and take a few deep breaths to calm yourself
- Bend your knees and jump up onto the trampoline, using your momentum to help get you over the top
- As you reach the apex of your jump, tuck your chin down and arch your back to prepare for the flip
- Push off of the trampoline with your hands as you execute a somersault in midair
- Land on your feet on the other side of the trampoline and take a moment to congratulate yourself—you did it!
HOW TO DO A BACK HANDSPRING ON THE TRAMPOLINE!!!
Why am I Scared to Do a Back Handspring
If you’re like most people, the idea of flipping backwards through the air probably sounds pretty scary. And if you’ve ever tried to do a back handspring, you know that it can be a bit intimidating. But don’t let your fears hold you back – with a little bit of practice, anyone can learn how to do a back handspring.
There are a few things that might be causing your fear of doing a back handspring. First, it’s natural to feel scared when you’re about to do something that involves flipping over backwards. It’s not something that we typically do in everyday life, so it can feel very unnatural and even dangerous.
Second, you might be worried about getting injured. Back handsprings can be tough on your body if you’re not properly prepared for them, and it’s important to make sure that you warm up properly before attempting one. Finally, you may simply not have confidence in your ability to execute the move correctly.
The good news is that there are ways to overcome all of these fears and master the back handspring. First, take some time to familiarize yourself with the move by watching videos or practicing on a trampoline (if possible). This will help ease your mind about what exactly you need to do and how it feels when executed correctly.
Second, make sure that you warm up thoroughly before attempting any flips – this will help reduce your risk of injury. Finally, work on building up your confidence by starting small (maybe just doing a cartwheel first) and gradually working your way up to the full move.
How to Do a Back Handspring on a Bed
In order to do a back handspring on a bed, you will need to use a few pieces of furniture to help you. First, place a mattress or folded blanket against the wall. Next, place a chair or stool in front of the mattress, facing away from it.
Finally, put another chair or stool behind the first one. You will also need someone to spot you while you are doing the back handspring.
Now that everything is in place, start by standing on the edge of the bed with your back to the wall.
Place your feet about shoulder-width apart and bend your knees slightly. Reach up and grab the edge of the bed with both hands. Swing your legs up and over your head, tucking them underneath you as you go.
As you come over upside down, straighten your body out and push off from the bed with your hands. As you reach upward momentum, throw your feet up onto the wall behind you and kick off into a backwards somersault. Tuck your chin into your chest and tuck in your knees as tight as possible so that you can roll smoothly over onto your back without hitting anything.
Land softly on top of the mattress or blanket and roll off to safety!
How to Do a Back Handspring for Beginners at Home by Yourself
If you’re looking to add a back handspring to your tumbling repertoire, but don’t have access to a gym or coach, fear not! With a little bit of practice and patience, you can teach yourself how to do a back handspring at home. Here’s what you’ll need to get started:
A safe, level surface: A grassy lawn or soft mat will work perfectly. Avoid concrete or hardwood floors.
Something to help break your fall: A couple of pillows or a yoga block can act as a makeshift crash pad.
Place them behind you so they’re within easy reach when you start flipping backwards.
Some patience (and maybe a friend): Learning any new skill takes time and perseverance. It’s helpful to have someone nearby who can offer moral support and lend a hand if needed.
Now that you’ve gathered your supplies, let’s get started! Here’s how to do a back handspring for beginners:
1.
Start in an upright position with your feet together and arms by your sides. Bend at the knees and place your palms on the ground in front of you (think of this as starting in a mini-handstand position).
How to Do a Back Handspring on Grass
In order to do a back handspring on grass, you will need to find a spot that is level and has short grass. You will also need someone to spot you. To start, stand with your feet together and bend at the waist, placing your palms on the ground.
Kick your legs up into the air and arch your back so that your body forms a bridge. Continue kicking your legs until they touch the ground behind you and then push off with your hands to complete the back handspring.
How to Do a Back Handspring With Pillows
Assuming you would like tips on how to do a back handspring with pillows:
Pillows are often used in gymnastics as a training tool because they help break your fall if you happen to land on your back. In addition, pillows can help develop the muscles needed for a successful back handspring.
Here are some tips on how to use pillows to execute a successful back handspring:
1. Place two pillows side-by-side on the ground. Make sure they are positioned so that they are slightly wider than your shoulders.
2. Position yourself in front of the pillows with your feet together and your arms by your sides. Bend at the waist and place your palms flat on the ground just outside of the pillow edges.
3. Kick your legs up into the air, keeping them as straight as possible, and land on top of the pillows with both feet landing at the same time.
Try to land squarely in the middle of each pillow for stability purposes. Immediately bring your arms up over your head into a handstand position (or as close to it as you can manage). From here, simply push off of the pillows with enough force to return to an upright position.
How to Do a Back Handspring on Hard Floor
Are you looking to add a back handspring to your tumbling repertoire? While it may seem daunting, with some practice and proper technique, you can successfully execute a back handspring on hard floor. Here’s how:
Start in a standing position with feet together. Bend at the knees and place your palms on the floor shoulder-width apart. Kick your legs up into the air, keeping them straight as you land in a handstand position.
From here, quickly push off the floor with your hands and arch your back as you reach for your feet. As you make contact with your feet, snap them up over your head so that you land in a sitting position on the floor. Use your momentum to roll backwards onto your feet and stand up tall.
With some practice, soon you’ll be nailing back handsprings on hard floor like a pro!

Credit: www.sportsrec.com
How Do I Do a Back Handspring on a Trampoline?
A back handspring is a move often seen in gymnastics and cheerleading. It can be performed on a trampoline, but it takes practice and caution. Here are some tips on how to do a back handspring on a trampoline:
1. First, make sure the trampoline is set up properly and securely. Check that the mat is tight and there are no loose springs.
2. Approach the trampoline from the front, with your feet together.
Plant your hands on the mat about shoulder-width apart.
3. Bend your knees and jump up onto the trampoline, using your arms to help propel you upward. As you reach the apex of your jump, tuck your chin down toward chest and tuck your legs up into a fetal position.
4. As you fall back down toward the mat, extend your legs out behind you while keeping your chin tucked down (imagine doing a somersault in reverse). Keep your arms close to your body as well for stability purposes. The goal is to land on both feet at once in an upright position with bent knees (kind of like landing from a jumping jack).
You may need to use your arms to help absorb some of the impact when you land – just let them hang loosely at your sides as you touch down lightly on the balls of both feet simultaneously.
How Do You Trust Yourself to Do a Back Handspring?
When it comes to trusting yourself to do a back handspring, the key is in the preparation. Make sure that you have stretched and warmed up properly before attempting the move. It is also important to have a good spotter who can help you with your form and technique.
If you are feeling confident and prepared, then go for it! Remember to focus on your breath and keep your core engaged throughout the entire move.
How Do You Do a Back Handspring on a Trampoline for Kids?
Assuming you would like tips on how to perform a back handspring on a trampoline:
First, make sure the trampoline is set up in an open, level area away from any objects that could get in the way. Place your hands on the fabric of the trampoline about shoulder-width apart.
Swing your legs up and over your head while keeping your back straight and tucking your chin to ensure you rotate correctly. As you come around, push off the trampoline with your feet so you can land safely on both feet.
How Long Does It Take to Learn a Back Handspring on a Trampoline?
Assuming you are starting with no prior experience on a trampoline, it will take the average person around 2-4 weeks to learn a back handspring. This obviously varies based on individual learning styles and natural ability, but generally speaking it shouldn’t take more than a month for most people to get the hang of it.
Of course, once you’ve learned the back handspring it’s not like you’re done forever – you’ll need to practice and keep your skills sharp if you want to stay good at them.
But as far as the initial learning process goes, 2-4 weeks is usually all it takes.
Conclusion
In this blog post, the author describes how to do a back handspring on a trampoline without being scared. They first explain what a back handspring is and how it can be used to improve your skills on the trampoline. Next, they provide step-by-step instructions on how to execute the move safely.
Finally, they offer some tips on overcoming any nerves you may have about trying it. By following these simple guidelines, you’ll be able to perform a back handspring with confidence in no time!