If you’re looking for a fun activity to do with your family or friends, look no further than a trampoline. Trampolines are a great way to get some exercise while also having a lot of fun. But before you can start bouncing around, you need to put the trampoline together.
Don’t worry, it’s not as difficult as it may seem. With a little bit of patience and following the instructions, you’ll have your trampoline up and ready in no time. In this blog post, we’ll show you how to put together a trampoline step-by-step. By the end, you’ll be an expert at assembling trampolines!
How to Set Up A Trampoline
Setting Up the Trampoline
Installing a trampoline is a great way to get everyone in the family active and outside. Plus, it provides hours of fun and can be used year-round. While putting together a trampoline may seem like a daunting task, our step-by-step guide makes the process quick and easy. With a little help from some friends or family, you’ll have your new trampoline set up in no time!
Before you begin, make sure you have all the tools and materials we have mentioned above.
Once you have everything gathered, follow these simple steps and you’ll be ready to jump in no time!
1. Choose a level spot in your yard for the trampoline. Avoid areas with sharp objects that could puncture the mat or spring cover. Softening the ground with mulch or sand will help create a softer landing surface and prolong the life of your trampoline mat.
2. Place the trampoline frame on the ground where you’d like it installed. Make sure the legs are evenly distributed around the circumference of the frame. Use the tape measure to ensure that the distance from each leg to the center of the frame is exactly equal. This will ensure your trampoline is stable and level once assembled. If one side is longer or shorter, adjust accordingly. It’s important that all legs are touching the ground at this point so that they can be properly tightened later on.
3. Once your frame is in place, it’s time to start attaching springs. Each spring has two hooks—one on each end—that will fit over corresponding metal pieces on the frame itself. Begin by attaching all of the springs on one side of the trampoline before moving on to those on the other side so that they are equally distributed around the circumference of the frame. To do this, simply slip each spring hook over its respective metal piece working your way around clockwise until all springs are attached on one side before repeating on other side.
4. Once all springs are in place, it’s time to install the safety pad which will protect users from coming into contact with any metal parts of the trampoline frame or springs while jumping. The safety pad attaches to hooks along both sides of the perimeter of the frame and should fit snugly around the entire circumference when properly installed—you may need someone to help hold it in place while you secure it using zip ties or Velcro straps (not included). Start by loosely attaching one end of pads before stretching it across to opposite side and attaching second end using provided zip ties or Velcro straps (not included). Once both ends are loosely attached, go back and tightens everything down so that safety pad is taut against frame without any wrinkles or creases—you do not want users landing on any loose material which could cause injury.
Everything You Should Know Before you get started building your trampoline
A trampoline can be a great addition to any backyard. They are a lot of fun for people of all ages and can provide hours of entertainment. But before you can start jumping on your new trampoline, you need to set it up. And that can be harder than it looks.
Here are a few things worth mentioning:
How Much Space Do You Need For A Trampoline
If you’re thinking of getting a trampoline for your backyard, it’s important to make sure you have enough space. Trampolines need at least 10 feet of clearance on all sides, so take that into account when making your decision.
Another thing to consider is how much space the trampoline will take up when it’s in use. The bouncing area of a trampoline is typically around 8-10 feet in diameter, so make sure you have enough room for that as well.
If you’re not sure whether or not you have enough space, it’s best to measure before you buy. That way, you’ll know for sure and you won’t have to worry about returning the trampoline later on.
What Tools Are Needed To Assemble A Trampoline?
You will need a number of tools to assemble a trampoline. Some will come with the package and you might need some more to ease your task.
What Tools Came With The Package
The tools that usually come with the trampoline package are a screwdriver and spring puller.
Do You Need Additional Tools
In addition to the tools that usually come with the trampoline, there are a few other tools you might need in order to assemble it properly. For example, a power drill can be helpful for attaching the enclosure and safety netting, and a saw can be useful for cutting the metal frame. Here is the complete list of some additional tools and gears that might be needed for assembling a trampoline:
1. Safety Pins
Safety pins are used to attach springs to the frame of the trampoline. They come in different sizes and shapes depending on the manufacturer.
2. Spring Clamps
Spring clamps are used to hold the spring onto the frame. There are several types of spring clamps, including C-clamps, U-shaped clamps, and L-shaped clamps.
3. Hammer
Hammering nails into wood is dangerous, so hammers are used to drive spikes into the ground to anchor the frame.
4. Level
Levels are used to ensure that the frame is level before attaching the springs.
5. Tape Measure
Tape measures are used to measure the distance between the center of the springs and the edge of the frame.
6. Pliers
Pliers are used to remove nuts and bolts from the frame.
7. Sandpaper
Sandpaper is used to smooth out rough spots on the frame.
8. Work Gloves
Work gloves are used to protect hands while working with wood.
9. Screw Gun
A screw gun is used to driving screws.
10. Spring Puller
Spring puller is used to install springs.
11. Rubber Mullet
A Rubber Mullet might need to handle to apart the frame pieces gently.
Can You Set Up a Trampoline by Yourself?
If you’re considering purchasing a trampoline, you may be wondering if you can set it up by yourself. The answer is yes, but it’s important to follow the manufacturer’s instructions carefully and have patience when putting together your new trampoline. Here are some tips to help you get started:
1. Read the Manual: This may seem like a no-brainer, but it’s essential that you read the entire assembly manual before attempting to set up your trampoline. Not only will this ensure that you put it together correctly, but it will also help prevent any injuries that could occur during assembly.
2. Have Patience: As with most things in life, setting up a trampoline takes time and patience.
It’s important not to rush through the process in order to avoid making any mistakes.
3. Follow Instructions Carefully: Once you’ve read the manual and are ready to begin assembling your trampoline, make sure to follow each step carefully. If something doesn’t seem right or doesn’t fit together properly, refer back to the instructions before continuing on.
4. Ask for Help: If at any point during assembly you feel unsure or unsafe, don’t hesitate to ask for help from a friend or family member. It’s always better to be safe than sorry!
5. Take Your Time: Again, rushing through assembly is not advised.
Take your time putting together your trampoline so that everything is done correctly and securely.
What Order Do You Put the Springs on a Trampoline?
If you’re putting together a trampoline, one of the first things you’ll need to do is put on the springs. But what’s the right order to put them in? Here’s a quick guide to help you out:
1. Start by putting the spring at the very top of the trampoline frame. This is usually the longest spring and will be attached to the top most part of the frame. 2. Work your way around the trampoline frame, attaching each successive spring a little lower than the one before it.
Make sure that each spring is equally spaced from its neighbors. 3. Once all of the springs are in place, check that they are all tight and secure before moving on to assembling the rest of the trampoline. Following these simple steps will ensure that your trampoline is properly assembled and ready for use!
How to Put a Net on a 14Ft Trampoline
If you have a 14ft trampoline, you’ll need a net to keep everyone safe while they’re bouncing around. Here’s how to put a net on a 14ft trampoline: 1. First, make sure that your trampoline is properly assembled and all of the legs are level.
If your trampoline is not level, it could tip over while someone is using it and cause serious injury. 2. Next, take the netting and stretch it out over the top of the trampoline frame. Make sure that the netting is taut and there are no gaps between the netting and the frame.
3. Once the netting is in place, use zip ties or bungee cords to secure it to the frame. Start at the top of the frame and work your way around, attaching the cord or tie at evenly spaced intervals. 4. Finally, test out the net by giving it a gentle bounce.
If everything feels secure, then you’re ready to let people enjoy your 14ft trampoline!
How Long Does It Take to Assemble A Trampoline
The answer depends on several factors, including the size and model of the trampoline, as well as how many people are helping with the assembly. In general, it takes between two and four hours to assemble a trampoline. However, if you’re working alone or you’re inexperienced at trampoline assembly, it could take longer.
10 foot Trampoline Setup Time
It typically takes around 2-3 hours to set up a 10 foot trampoline. However, if you’re not familiar with assembling things or if you run into any problems, it’s best to allow for a little more time.
14 foot Trampoline Setup Time
For 14 foot it will definitely take a bit more time, but it should be done around 3-4 hours. But if you are doing it on your own or if this is the first time you are assembling a trampoline it might take some more additional time.
10Ft Trampoline Instructions
Assuming you would like a blog post about how to set up a 10-foot trampoline:
Setting up a 10-foot trampoline is easy and only takes a few minutes. Here are the simple instructions:
1. Unfold the trampoline frame and place it on level ground. Make sure there are no sharp objects nearby that could puncture the mat.
2. Spread out the legs of the frame until they click into place.
3. Attach the spring pad to the frame, starting at the middle and working your way out. Make sure all clips are fastened securely.
4. Place the mat over the spring pad and attach it to the frame with the provided straps or hooks.
Start in the middle and work your way outwards, making sure that each strap or hook is secure before moving onto the next one.
5a). If you have an enclosure net, assemble according to manufacturer’s instructions and attach it to the completed trampoline frame before jumping on (most nets zip around entire circumference of trampoline).
OR 5b). If you do not have an enclosure net, make sure there is nothing within arms reach ofthe trampoline that someone could grab onto while jumping (such as branches, playground equipment, etc.). Also check for overhead hazards such as power lines before allowing anyone to jump onthe trampoline unsupervised.
.

Credit: www.wikihow.com
How Do You Set Up a 12Ft Trampoline?
Assuming you would like a blog post discussing how to set up a 12ft trampoline: Setting up a 12ft trampoline can be done relatively easily as long as you have two people to help with the process. The first thing you’ll want to do is find a level spot in your yard to place the trampoline.
Once you’ve found the perfect spot, lay out the perimeter of where the trampoline will go using string or chalk so you have a visual guide. Now it’s time to start assembling the frame of the trampoline. If your model comes with T-joints, make sure that each joint is tightened before moving on.
Once the frame is complete, it’s time to stretch out the mat and attach it to the frame using V-rings or zip ties. Make sure that the mat is pulled tight so there are no wrinkles or creases. Now all that’s left to do is add on the safety pad (this covers the springs and metal framework) and then attach the jumping surface.
That’s it! You should now have a fully assembled 12ft trampoline ready for use.
How to Set Up a Trampoline Net
Most trampolines come with a net enclosure, but you may need to purchase one separately if yours didn’t. Here’s how to set up a trampoline net: 1. Unfold the net and lay it over the top of the trampoline.
2. Secure the net to the trampoline frame with the hooks or straps that came with it. 3. Make sure that the net is tight and secure all around so that there are no gaps for anyone to fall through. 4. Test it out by bouncing on the trampoline yourself or having someone else bounce while you hold the netting down tightly around them.
How Hard Is It To Set Up A Trampoline
When assembling a trampoline, it is important to follow the manufacturer’s instructions to ensure that it is set up safely. However, many people may be wondering how hard it is to set up a trampoline. In general, setting up a trampoline is not overly difficult, but it can be a bit time consuming. The most challenging part is likely to be assembling the frame, which can require some strength and dexterity. If you are not comfortable using tools or following diagrams, you may want to ask a friend or family member for help. Overall, most people should be able to set up a trampoline in around two hours. Just be sure to take your time and read the instructions carefully – it’s important to get everything right so that the trampoline is safe to use.
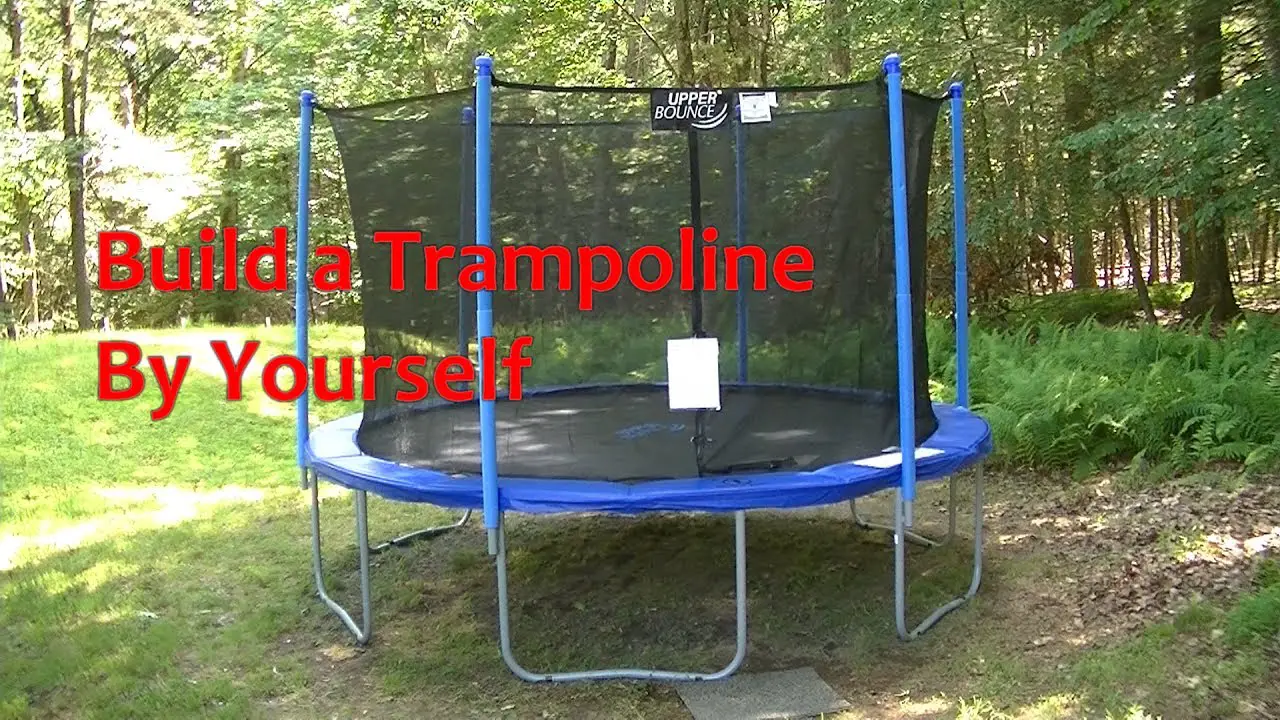
How to Put a Trampoline Together by Yourself
Are you considering purchasing a trampoline, but dread the thought of having to put it together by yourself? Have no fear! With these easy-to-follow instructions, you’ll have your trampoline assembled in no time.
First, start by unboxing your trampoline and laying out all of the parts. Next, locate the four legs and fit them into the corresponding holes at the base of the trampoline. Once all four legs are in place, tighten each one with a wrench until it is snug.
Now it’s time to connect the frame to the legs. Begin by inserting the top part of the frame into each leg. Then use clamps to secure the frame to the legs.
Make sure that each clamp is tight before moving on to the next one. With the frame in place, it’s time to stretch out the mat and attach it to the frame.
5 Common Mistakes to Avoid Before Installing Your Trampoline
1. Not reading the instructions carefully.
2. Not assembling the trampoline according to the manufacturer’s specifications.
3. Installing the trampoline in an area that is not level.
4. Not installing the safety enclosure properly.
5. Installing the trampoline without calculating the space required around the trampoline.
Frequently Asked Questions (FAQs)
Does A Trampoline Need to Be Level?
When assembling a trampoline, it is important to make sure that it is level. If the trampoline is not level, it could cause instability and increase the risk of injury.
To check if your trampoline is level, use a spirit level or a carpenter’s level. Place the level on top of the frame and adjust the legs until the trampoline is perfectly level.
If your trampoline does not have adjustable legs, you may need to move it to a different spot in your yard until it is level.
Can A Trampoline Be Assembled with a Few Missing Pieces?
If you are missing a few pieces of your trampoline, you may be wondering if you can still build it. In most cases, the answer is yes. However, it is important to consult the manufacturer’s instructions to see how the trampoline should be assembled. If you are missing a few pieces, you may be able to find replacements online or at a local hardware store.
Be sure to get the same type of metal and dimensions as the original pieces. If you are missing a lot of pieces, or if the trampoline is severely damaged, it is best to contact the manufacturer for a replacement.
Final Words
Setting up a trampoline is not as difficult as one might think. With a few simple steps, most people can have their trampoline assembled and ready to use in no time. The first step is to find a level spot in your yard where the trampoline will go.
Once you have found the perfect spot, it is time to start assembling the frame of the trampoline. The next step is to add the spring system to the frame and then stretch out the mat over top of the springs. Finally, add the safety enclosure around the outside of the trampoline before allowing anyone to use it.
By following these simple steps, you can have your very own trampoline set up and ready to enjoy in no time!