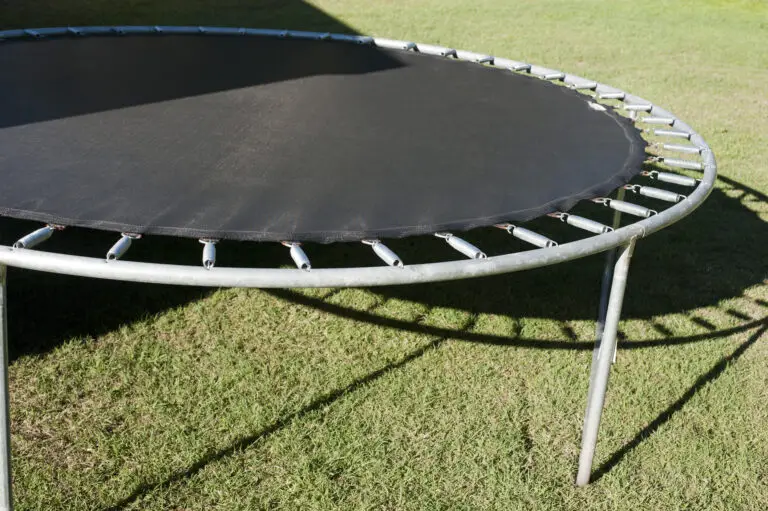
If you’re wondering how to take trampoline springs off without a tool, you’ve come to the right place. Trampoline springs are held on by two different types of clips, and while it is possible to remove them without a tool, it’s definitely not recommended. The first type of clip is the E-clip, which is a small metal clip that holds the spring in place.
The second type of clip is the C-clip, which is a larger metal clip that also holds the spring in place. While it is possible to remove both types of clips without a tool, doing so can be extremely dangerous.
- Gather the supplies you will need to take the trampoline springs off without a tool
- These include a ladder, pliers, and a friend to help you
- Place the ladder under the trampoline frame and have your friend hold it steady while you climb up
- Use the pliers to grip one end of the spring and pull it down away from the frame
- Repeat this process for all of the springs on the trampoline
- Once all of the springs are removed, carefully climb down from the ladder and inspect your work
- Make sure that all of the hooks on the frame are clear before putting any weight on the trampoline surface
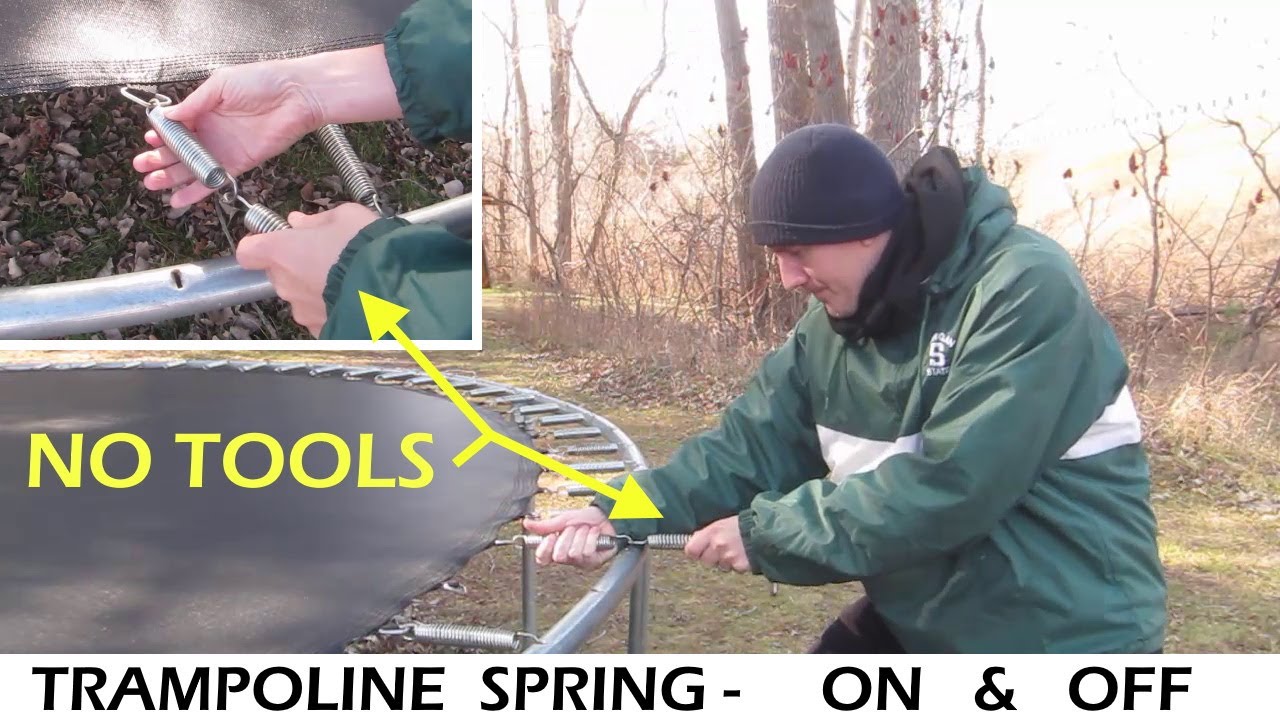
How to Put ON and Take OFF Trampoline Springs – EASY – No Tools (2020)
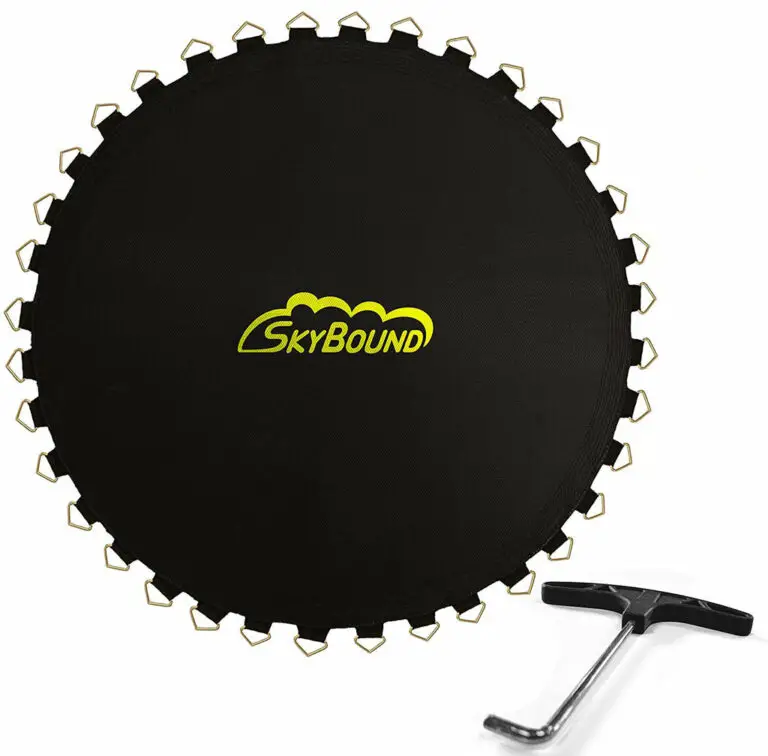
Trampoline Spring Tool in Store
If you’re in need of a trampoline spring tool, then you’re in luck! You can find this handy tool at most hardware or home improvement stores. This tool makes it easy to install or remove springs on your trampoline, and it’s a must-have for any serious trampoline enthusiast.
The first thing you’ll need to do is locate the spring attachment points on your trampoline. There are typically four of these, one at each corner of the trampoline. Once you’ve found them, place the end of the spring tool onto the attachment point and give it a good firm push.
This will release the tension on the spring and allow you to remove it easily.
To install a new spring, simply place the end of the tool onto the attachment point and pull back with moderate force. The spring should snap into place easily.
If it doesn’t, double check that everything is lined up correctly and try again. With just a little practice, you’ll be changing springs like a pro in no time!
How to Remove Trampoline Springs
If you’re like most people, you probably don’t give much thought to your trampoline springs. But if they become damaged or start to wear out, they can pose a serious safety hazard. That’s why it’s important to know how to remove them properly.
Here are the steps you’ll need to take:
1. First, remove the mat from the frame of the trampoline. This will give you better access to the springs.
2. Using a pair of pliers, grip each spring and pull it straight out from the hole it’s seated in. Be careful not to let go of the spring until it’s completely removed from the trampoline.
3. Once all of the springs have been removed, dispose of them safely.
You can either recycle them or throw them away. Just make sure they’re not left where someone could accidentally step on them and get hurt.
Trampoline Spring Hacks
If you’re like most people, you probably think of trampolines as a fun way to get some exercise. But did you know that there are actually a few hacks that can make your trampoline even more fun? Here are three great ideas:
1. Use bungee cords to attach objects to the frame of your trampoline. This will add an extra element of challenge to your jumps and give you something else to focus on.
2. Place a hula hoop around the outside of the trampoline.
This will create a target for you to jump through and make your workout even more challenging.
3. Set up a course of cones or other obstacles around your trampoline. This will help improve your coordination as you have to jump over or around them while staying on the trampoline.
How to Use Trampoline Spring Tool
If you’re looking for a great way to add some extra height to your jumps, then you need to check out the trampoline spring tool! This handy little tool attaches to the frame of your trampoline and provides an extra boost when you jump. It’s perfect for those who want to get a little more air time or just want to make their jumps a little higher.
Here’s how it works: simply attach the spring tool to the frame of your trampoline using the provided straps. Then, when you’re ready to jump, place your feet on either side of the tool and give yourself a little push off. The extra height from the springs will help you get more air time and achieve greater heights with each jump!
So if you’re looking for a way to improve your jumping skills, or just want to have some extra fun on your trampoline, be sure to give the trampoline spring tool a try!
Trampoline Spring Tool Diy
If you’re looking for a fun and easy DIY project, why not try making your own trampoline spring tool? This handy tool will make it much easier to remove and replace springs on your trampoline, and it’s also great for giving the frame a good cleaning.
To make your own trampoline spring tool, you’ll need:
– A length of rope or cord (about 3 feet long)
– A large washer or nut (this will act as a stop at the end of the rope)
– A small piece of pipe or tubing (this will be used to create a handle for the tool)
Assembly is simple – just tie one end of the rope to the washer or nut, and thread the other end through the piece of pipe or tubing. That’s it!
To use your new tool, simply slip it over a spring and pull up on the handles.
The washer or nut will act as a stopper, making it easy to remove even stubborn springs. You can also use this tool to give your trampoline frame a good cleaning – just slide it along all of the metal parts to remove any dirt and grime.
Trampoline Tool
A trampoline tool is a great way to get your kids active and improve their coordination and balance. It’s also a lot of fun! Here are a few things to keep in mind when shopping for a trampoline tool:
-Size: Make sure you choose a size that is appropriate for your child’s age and weight.
-Safety features: Look for a trampoline with safety netting or padding around the edge to help prevent injuries.
-Assembly: Some trampolines require assembly, so be sure to check the instructions before you buy.
Spring Puller
A spring puller is a tool that helps remove springs from devices such as watches, eyeglasses, and other small mechanisms. It consists of two parts: a body with jaws that open and close, and a handle that is used to twist the body. The jaws of the spring puller are inserted into the coils of the spring, and then the handle is turned to wind the body around the spring.
This action pulls on the coils of the spring and loosens them so that they can be removed from the device.
Spring pullers are available in different sizes and styles to accommodate different types of springs. Some have fine tips for use with small springs, while others have broader jaws for larger springs.
There are also adjustable spring pullers, which can be used for different size springs by adjusting the width of the jaws. Spring pullers are made from various materials including plastic, metal, and wood.
When using a spring puller, it is important to take care not to damage the coils of the spring or the housing of the device.
Trampoline Spring Tool Home Depot
If you’re in need of a trampoline spring tool, head on over to your local Home Depot. With this handy tool, you’ll be able to quickly and easily replace any broken or damaged springs on your trampoline. Not only will this save you money from having to buy a new trampoline, but it’ll also keep your family safe by ensuring that the springs are in good working condition.
Credit: www.gettrampoline.com
How Do You Remove a Spring from a Trampoline Without a Tool?
There are a few ways to remove a spring from a trampoline without using any tools. The first way is to use your hands. You will need to grab the spring with both hands and pull it out of the hole.
The second way is to use a pair of pliers. Grab the spring with the pliers and pull it out of the hole. The third way is to use a screwdriver.
Insert the screwdriver into the hole and push on the spring until it pops out. Whichever method you choose, be careful not to lose any of the springs!
What is the Easiest Way to Remove a Trampoline Spring?
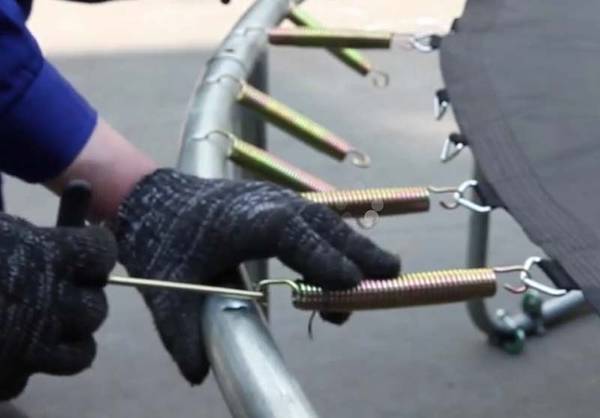
Assuming you don’t have any trampoline spring removal tools, the easiest way to remove a trampoline spring is to use a pair of pliers. First, disconnect the mat from the frame of the trampoline. Then, using the pliers, grip one end of the spring and pull it out until it’s completely detached from the frame.
Repeat this process for each spring on the trampoline.
What Can I Use to Pull Trampoline Springs?
If you’re looking to pull trampoline springs, there are a few things you can use. A spring hook is the best tool for the job, but if you don’t have one handy, a set of pliers will do the trick. Just be careful not to damage the spring while you’re working on it.
How Do You Disassemble a Trampoline Without Tools?
Assuming you mean a round trampoline:
There are typically 6 or 8 legs on a round trampoline. To take the trampoline apart, you will need to remove the legs first.
On each leg, there is a bolt that goes through the frame and connects to a plate on the other side. You will need to unscrew these bolts in order to remove the legs. Once all of the legs have been removed, the frame can be folded in half for storage.
Conclusion
If you need to take the springs off your trampoline but don’t have any tools, don’t worry! There’s a simple trick you can use to do it without any tools at all. First, find a flat surface like a table or the ground.
Then, place the spring on the surface and use your foot to push down on one end of the spring. This will cause the other end of the spring to pop up. Once it’s popped up, grab hold of it with your hand and pull it away from the table or ground.
Repeat this process for each spring until they’re all off.