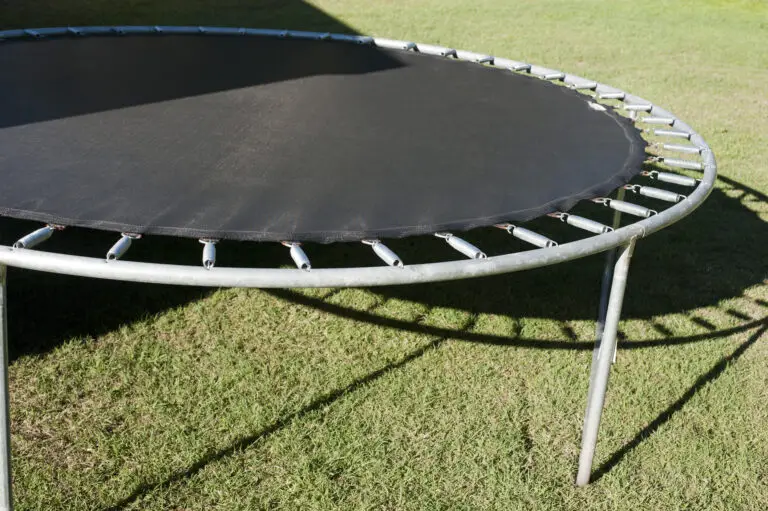
If your trampoline is starting to feel a little loose, it’s probably time to tighten the frame. This process is relatively simple and only requires a few tools. First, you’ll need to locate the spring hooks on the outside of the trampoline frame.
There are typically four of these, one at each corner. Next, you’ll need to gather some supplies: a ladder, pliers, and wire cutters. With these in hand, you’re ready to start tightening your trampoline!
- Locate the trampoline’s frame and look for the tensioning bolts or screws
- Use a wrench or socket to turn each bolt or screw a few turns clockwise
- Check to see if the mat is now tight by bouncing on it in the center
- If it feels loose, repeat steps 2 and 3 until it is tight
Why is My New Trampoline Not Bouncy
A new trampoline might not be as bouncy as an older one for a few reasons. First, the frame of a new trampoline is likely to be stiffer than an older one. This means that it will take more energy to make it bounce.
Second, the mat on a new trampoline is also likely to be stiffer than an older one. This again will require more energy to make it bounce. Finally, the springs on a new trampoline are also likely to be stiffer than those on an older one and this will decrease the amount of bounce.
How to Fix a Warped Trampoline
If your trampoline looks like it’s starting to sag or warp, don’t worry – there are a few things you can do to fix it! First, check all of the bolts and make sure they’re tight. If they are, then try moving the legs in or out until the warped area is level.
You may also need to add some additional support – either by buying new legs or by attaching something to the frame. Finally, if your trampoline is still sagging or warping, you can try removing the springs and stretching them out. This may take a little bit of time and effort, but it’s worth it if it means your trampoline will last longer.
Trampoline Assembly Problems
If you’re planning on purchasing a trampoline, you may be wondering about the potential assembly problems you could face. Here’s a detailed look at some of the most common issues people have with putting together their new trampolines.
One of the biggest problems people face is getting all of the springs connected properly.
If even one spring isn’t hooked up right, it can cause serious damage to both the trampoline and anyone who uses it. Make sure to take your time when connecting the springs, and don’t be afraid to ask for help if you’re having trouble.
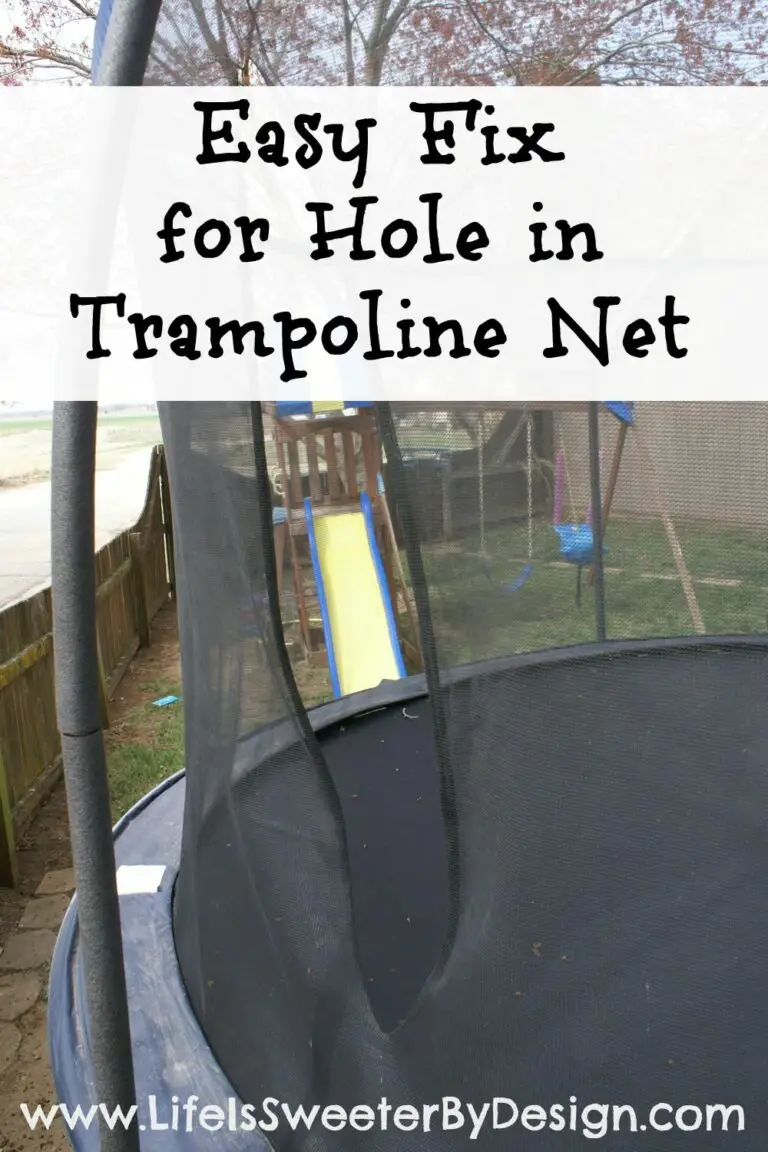
Another issue people run into is attaching the safety netting properly.
The netting needs to be taut so that it will catch anyone who falls off of the trampoline, but not so tight that it makes getting on and off difficult. It can be tricky to get the netting just right, but again, taking your time and asking for help if needed will ensure that your trampoline is safe to use.
Finally, some people have trouble with putting together the frame itself.
This is usually due to not reading directions carefully or not having all of the necessary tools on hand. If you take your time and follow directions carefully, though, there shouldn’t be any problem assembling the frame correctly.
How to Make a Trampoline
A trampoline is a great way to get some exercise, have fun, and impress your friends. Here’s how to make your own trampoline:
1. Gather your materials.
You will need a large piece of canvas or heavy-duty tarp, some strong rope or bungee cords, and a metal frame (preferably with legs).
2. Spread out the canvas on a flat surface and place the frame on top. If using a tarp, make sure the side that will face up when you’re jumping is the one facing down now.
3. Wrap the rope or bungee cords around the frame, securing it tightly. Make sure there are no gaps that someone could slip through while jumping.
4. That’s it!
Your trampoline is ready to use. Just make sure to supervise children closely, as there is a risk of injury if they fall off or land wrong.
How to Make Trampoline Bouncier
Are you looking for ways to make your trampoline more bouncy? If so, you’ve come to the right place! There are a few things you can do to achieve this.
First, check the condition of your trampoline mat. If it’s starting to show signs of wear and tear, it’s likely that the bounce has decreased as well. In this case, you’ll need to replace the mat.
Second, take a look at your springs. Over time, they can lose their tension and become less effective at providing bounce. Again, replacing them is the best solution here.
Finally, consider adding some weight to the frame of your trampoline. This will help increase the amount of tension on the springs and make for a bouncier overall experience. Just be sure not to add too much weight or it could adversely affect the safety of your trampoline setup.
By following these tips, you should be able to enjoy a bouncier trampoline in no time!
Trampoline Springs
Springs are an essential part of a trampoline, providing the bounce that makes it such a fun activity. There are many different types of springs available on the market, so it’s important to choose the right ones for your trampoline.
Coil springs are the most common type of spring used in trampolines.
They’re made from high-tensile steel wire and can be either galvanized or coated with powder to prevent rusting. Coil springs come in a variety of sizes, depending on the size and weight capacity of your trampoline.
Pocketed springs are another option, which offer a softer bounce than coil springs.
They’re made from multiple layers of fabric pockets that contain individual steel coils. These springs are less likely to break than coil springs, but they also don’t provide as much bounce.
No matter what type of spring you choose, it’s important to check them regularly for wear and tear.
Replace any broken or damaged springs as soon as possible to ensure optimal performance and safety while using your trampoline.
Trampoline Replacement Springs
If your trampoline springs are beginning to show signs of wear and tear, it’s important to replace them as soon as possible. Trampoline springs are under a lot of tension and can break suddenly, causing serious injury.
There are two main types of trampoline springs – coil springs and bungee cord.
Coil springs are the most common type of spring used on recreational trampolines. They’re made from high-tensile steel wire that’s coiled into loops. The coils are then connected together with hooks at each end.
Bungee cord is sometimes used on commercial or professional-grade trampolines. It consists of one or more strands of elastic rubber tubing that’s connected together with hooks or clamps. Bungee cord is more flexible than coil springs and can provide a smoother, softer bounce.
However, it’s also more likely to lose its elasticity over time and will need to be replaced more frequently than coil springs.
To replace your trampoline springs, you’ll first need to remove the old ones. This can be done by disconnecting the hooks at each end and carefully removing the spring from the frame (if you have a coil springtrampoline).
For bungee cord trampolines, simply loosen the clamps or cut the cords with a sharp knife before removing them from the frame.
Once all of the old springs have been removed, it’s time to install the new ones. Start by attaching one end of the first spring to the frame using either hooks or clamps (depending on which type of spring you’re using).
Then stretch out the other end of the spring until it’s taunt before connecting it to another part ofthe frame in the same manner.
Best Trampoline Springs
A trampoline spring is one of the key components that make a trampoline safe and fun to use. There are many different types and sizes of springs, so it’s important to choose the right ones for your trampoline. Here are some tips to help you choose the best springs for your trampoline:
1. Check the weight limit. The first thing you need to do is check the weight limit of the springs you’re considering. This is especially important if you have a larger trampoline or if multiple people will be using it at the same time.
Make sure the springs can support the weight of everyone who will be using the trampoline.
2. Consider the size of the spring. Another thing to consider is how big or small the spring is.
If you have a smaller trampoline, you’ll want to make sure that the springs aren’t too big or else they could cause damage to your equipment. On the other hand, if you have a larger trampoline, you’ll want to make sure that the springs are big enough to provide adequate support and bounce.
3. Choose rust-resistant springs .
One more thing to look for when choosing springs is whether or not they’re rust-resistant . This is especially important if you live in an area with high humidity levels or if your Trampoline will be stored outdoors . Rust can cause serious damage to metal components , so it’s best to avoid it if possible .
Look for Springs made from stainless steel or another type of rust-resistant material .
Credit: www.youtube.com
Can You Make a Trampoline Tighter?
If your trampoline isn’t as bouncy as it used to be, you may be wondering if there’s any way to make it tighter. The good news is that yes, you can make a trampoline tighter! This process is called “tensioning” the trampoline, and there are a few different ways to do it.
One way to tension a trampoline is by using springs. If your trampoline has springs, you can simply adjust them to make the trampoline tighter. To do this, first remove all of the weight from the center of the trampoline by taking off the mat and jumping off yourself.
Then, locate the tensioning knob on each spring and turn it clockwise until you feel resistance. Once all of the springs are tensioned equally, put the mat back on and test out the new level of bounce!
Another way to tension a trampoline is by adjusting its frame.
Most frames have adjustable legs that can be screwed in or out to change how tight the frame is. Simply unscrew each leg about 1/4 turn at a time until you achieve the desired level of bounce. Be careful not to over-tighten or else you risk damaging the frame!
One final way to increase bounce on a trampoline is by adding more weight to its center via sandbags or water jugs placed inside an empty Mat bag (for added safety). By doing this, you’ll add more downward force which will result in a higher jump when combined with proper tensioning of either the springs or frame. Just be sure not to exceed manufacturer recommendations for maximum weight capacity or else you could damage your trampoline beyond repair!
How Do You Tighten the Bounces on a Trampoline?
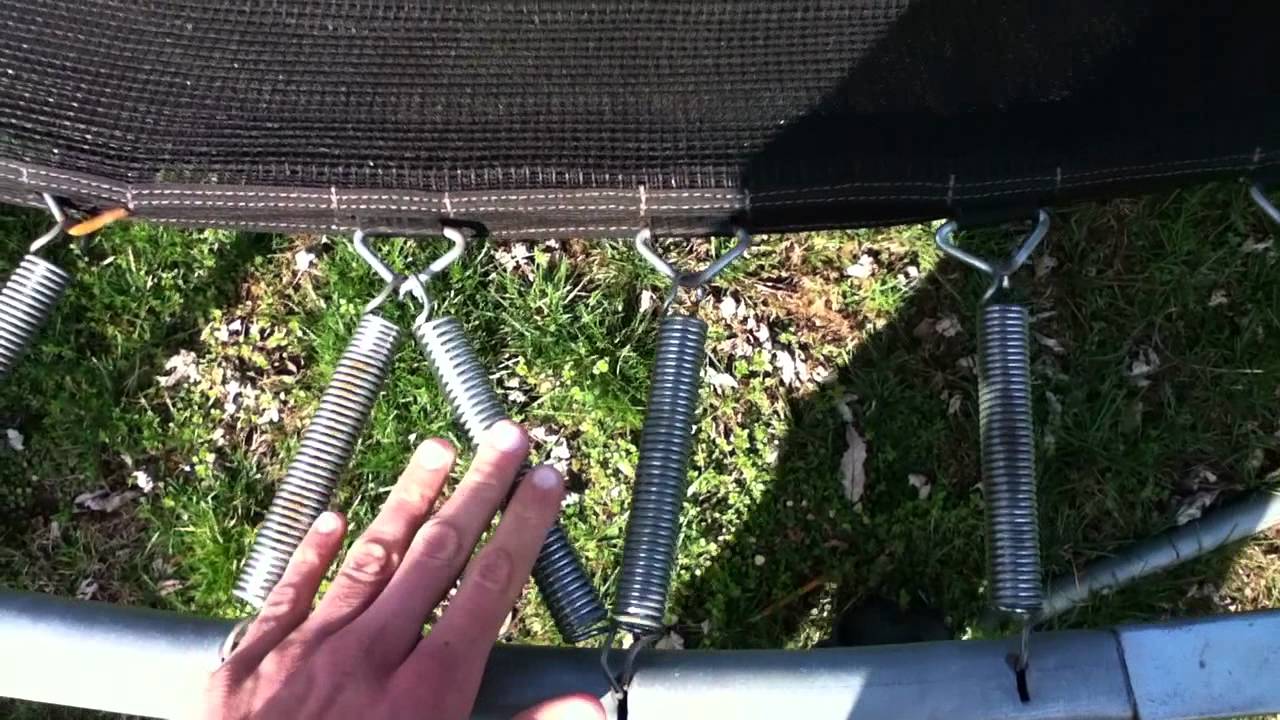
If you have a spring trampoline, you can tighten the springs by following these steps:
1. Remove the safety pad from the trampoline. This will give you access to the springs.
2. Use a spring tool to grip one end of the spring.
3. Hook the other end of the spring onto the next coil on the frame. The coils should be facing in opposite directions.
4. Repeat this process for all of the springs on your trampoline. Once all of the springs are hooked onto the frame, replace the safety pad and test out your newly tightened trampoline!
Why is My Trampoline Loose?
If your trampoline is loose, it’s likely because the frame isn’t level. Check to see if any of the legs are longer or shorter than the others, and adjust them accordingly. It’s also possible that one or more of the legs is bent, which can cause the frame to be unlevel.
If this is the case, you’ll need to replace the leg(s). Finally, make sure all of the bolts are tight and that there’s no rust on any of the components.
Can You Fix Stretched Trampoline Springs?
It is possible to fix stretched trampoline springs, but it may not be worth the effort. Depending on the severity of the stretching, you may be able to simply re-attach the spring using a new hook or clip. However, if the spring is severely stretched, it may need to be replaced entirely.
If you decide to attempt to fix your stretched springs, first inspect them to see how bad the stretching is. If there are only a few coils affected, you may be able to simply re-attach the spring using a new hook or clip. Make sure that the new attachment is secure and that there is no play in the connection.
If more than a few coils are affected, or if the stretch is severe, you will likely need to replace the entire spring. This can be a tricky process, so unless you are confident in your ability to do so safely, we recommend calling a professional. Replacing trampoline springs requires special tools and knowledge, and attempting it without these could result in serious injury.
Conclusion
If your trampoline is starting to sag in the middle, it’s time to tighten the springs. This process is relatively simple and only takes a few minutes. You’ll need a wrench or pliers and some patience.
Once you’ve tightened the springs, your trampoline will be good as new!