There are a few things you need in order to attach the frame pad to your trampoline. You will need the following: screws, washers, spring clips, and a drill. First, lay out the frame pad on the ground next to the trampoline.
Then, take the screws and washers and put them through the holes on the frame pad. Next, take the spring clips and put them over the screws. Finally, use your drill to screw everything in place.
- Unfold the frame pad and lay it over the trampoline frame
- Align the holes on the frame pad with the legs of the trampoline frame
- Insert bolts through the holes in the frame pad and tighten them to secure the frame pad to the trampoline frame
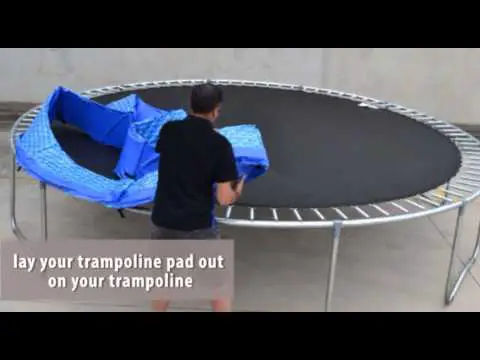
JumpSport Trampoline Frame Pad Installation
Upper Bounce Trampoline Pad Installation
Assuming you would like a blog post discussing the installation of an Upper Bounce Trampoline Pad:
Most people believe that installing a trampoline pad is a very difficult task, when in fact it is quite easy. Here are simple step-by-step instructions on how to install an Upper Bounce Trampoline Pad.
With these tips, you will have your pad installed in no time!
First, take the time to lay out all of the parts and hardware that come with your kit. This will give you a chance to familiarize yourself with the components and understand how they all fit together.
Next, using the provided hardware, attach the top rail brackets to the corresponding holes on the top frame of your trampoline.
Now it’s time to install the spring cover onto the frame. Start by threading each corner of the cover through the hole in each leg of the frame.
Once all four corners are attached, pull the cover taut and secure it with springs or zip ties at each connection point.
The final step is to install your safety pad.
Trampoline Mat Replacement
If you’re like most people, you probably don’t think about your trampoline mat until it’s time to replace it. But when that time comes, it’s important to choose the right replacement mat. Here are some things to keep in mind as you shop for a new trampoline mat:
Size: The first thing you’ll need to do is measure your trampoline frame to determine what size mat you need. This is especially important if you’ve had your trampoline for a while and it’s possible that the frame has stretched slightly, which can happen with metal frames.
Thickness: You’ll also want to consider the thickness of the replacement mat.
A thicker mat will usually last longer, but it will also be more expensive. If cost is a concern, go for a thinner mat and plan on replacing it more often.
Material: Replacement mats are typically made from one of two materials: polypropylene or PVC.
Polypropylene mats are less expensive but not as durable as PVC mats. PVC mats cost more but they’re much more durable and will last longer. Ultimately, the decision of which material to choose depends on your budget and how often you plan on using your trampoline.
How to Put a Rectangle Trampoline Mat on
Assuming you have already assembled the frame of your rectangle trampoline, it is now time to put on the mat. This can be a little tricky, but with a few tips, you should be able to get it done in no time.
First, make sure that the mat is centered on the frame.
You can do this by eye or by measuring. Once it is centered, start at one end and begin attaching the mat to the frame using the provided clips or straps. Work your way around the entire perimeter until the entire mat is attached.
Now it’s time to test it out! Have fun and enjoy your new rectangle trampoline!
How to Measure Trampoline Mat
When you are ready to measure your trampoline mat, you will need:
-A flexible measuring tape
-A marker or pen
-A friend (optional)
1. Start by finding the center of your trampoline mat. To do this, fold the mat in half and then in half again.
Once it is folded into a smaller square, find the middle point and mark it with a pen or marker. This will be Point A.
2. Measure from Point A to each of the four corners of the trampoline mat.
Make sure to use the flexible measuring tape so that you can get an accurate measurement. These measurements will be referred to as Side 1, Side 2, Side 3, and Side 4.
3. Once you have all four measurements, add them together to get the total length of the perimeter of your trampoline mat
Measuring Your Trampoline Mat
Knowing how big your trampoline mat is important for many reasons such as ordering a new one or determining how much space you need when setting up your trampoline outdoors. Measuring your trampoline mat is relatively simple and only requires a few materials that can be easily found around most homes.
With these materials and some help from a friend (optional), anyone can accurately measure their trampoline mats in no time!
Trampoline Mat Replacement 14 Ft
If you’re in need of a trampoline mat replacement for your 14 ft. trampoline, you’ve come to the right place! Here at TrampolinePartsandSupply.com, we have a wide selection of high-quality replacement mats that will fit your trampoline perfectly.
When it comes to choosing a replacement mat, there are a few things you’ll want to keep in mind.
First, consider the material of the mat. Our mats are made from durable polypropylene fabric which is UV-resistant and can withstand years of use.
Next, take a look at the thickness of the mat.
We offer both 3/8″ and 1/2″ thick mats so you can choose the one that best suits your needs. The thicker the mat, the more cushioned your landing will be – perfect for those big jumps!
Last but not least, select a color that you love!
We have several different colors available so you can find the perfect match for your trampoline’s aesthetic. Once you’ve made your selection, simply enter your shipping information and we’ll get your new mat on its way to you ASAP!
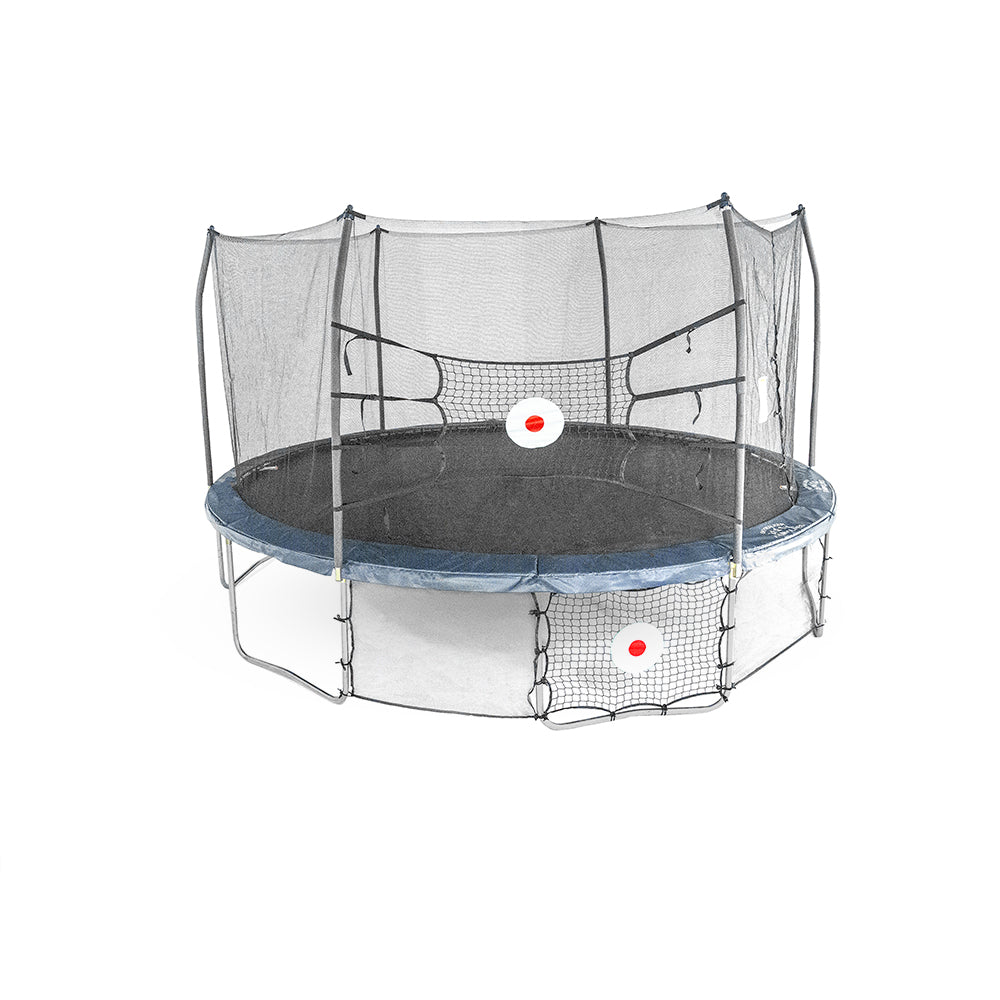
Trampoline Spring Cover 10Ft
A trampoline spring cover is a must-have accessory for any 10ft trampoline. It helps to protect the springs and frame from weather damage, and also keeps little critters from getting inside the trampoline and damaging it. A good quality spring cover will last for many years with proper care.
Credit: www.skywalkertrampolines.com
How Do You Put a Trampoline Cover On?
If you’ve recently purchased a trampoline, you might be wondering how to put a cover on it. While it may seem like a daunting task, it’s actually quite simple. Here’s a step-by-step guide on how to put a trampoline cover on:
1. Start by placing the cover over the top of the trampoline frame. Make sure that the opening is facing downwards.
2. Take the straps that are attached to the cover and wrap them around the legs of the trampoline frame.
3. Once all of the straps are in place, tighten them so that the cover is snug against the frame.
4. That’s it! Your trampoline is now covered and ready for use.
How Do You Assemble a Trampoline Frame?
If you’re looking to add a trampoline to your backyard playground, you’ll first need to know how to assemble the frame. While it may seem like a daunting task, assembling a trampoline frame is actually quite simple – as long as you have all the correct parts and tools. Here’s what you’ll need to do:
1. Lay out all of the parts for your trampoline frame on a flat surface. This will include the mainframe (usually made up of 4-6 poles), the legs, the spring system, and any other associated parts.
2. Once everything is laid out, start by attaching the legs to the mainframe.
This is usually done with bolts or screws, depending on the design of your trampoline.
3. Next, attach the spring system to the mainframe. This can be done in one of two ways: either by bolting it on, or by clipping it onto special brackets that are attached to the mainframe.
4. Finally, test everything out to make sure it’s secure and stable before letting anyone use it!
What are Frame Pads on a Trampoline?
Frame pads are an important safety feature on trampolines. They are typically made of foam and attach to the frame of the trampoline, providing a cushion around the edge. This helps to prevent injuries if someone falls off or collides with the frame.
How Do I Fix My Trampoline Pad?
If your trampoline pad is beginning to show signs of wear and tear, there are a few things you can do to prolong its life. First, take a look at the stitching to see if any of the seams are coming undone. If so, simply re-sew them with a heavy-duty needle and thread.
Next, check the material for any holes or tears. If you find any, patch them up with some sturdy fabric adhesive or sew them shut. Finally, give the entire pad a good cleaning with some mild soap and water.
Let it air dry completely before using it again. With just a little bit of regular maintenance, your trampoline pad will last for many years to come!
Conclusion
If you have a trampoline with no frame pad, or if your frame pad is worn out and needs to be replaced, you can easily attach a new one with some basic tools. You will need a measuring tape, scissors, and a drill. First, measure the circumference of the trampoline frame.
Next, cut the frame pad to size using the measurement you just took. Once the frame pad is cut to size, drill holes around the perimeter of it. Finally, use bolts to attach the frame pad to the trampoline frame.