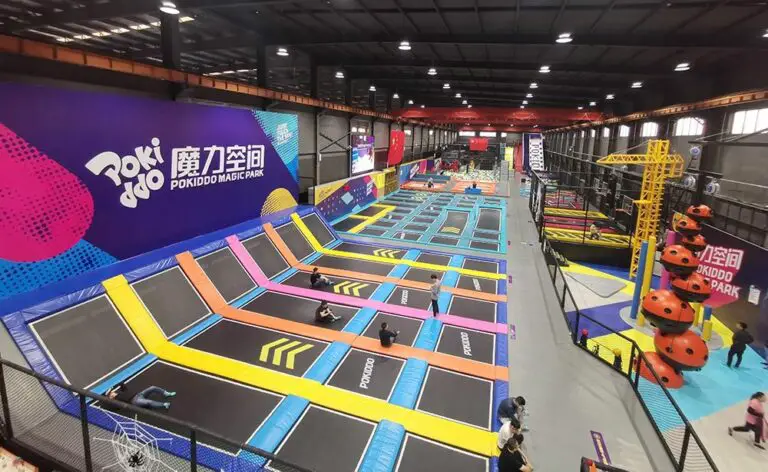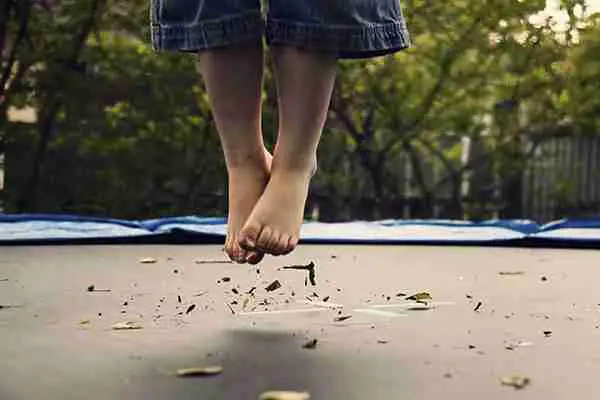
Are you looking for a fun backyard activity that will get the whole family moving? A trampoline is the perfect solution! Not only are they a blast to use, but they’re also relatively easy and inexpensive to build.
With a little bit of planning and elbow grease, you can have your very own trampoline up and running in no time. Here’s what you need to know about how to build a trampoline in the ground.
- Find a level spot in your yard that is at least 10 feet in diameter
- Clear the area of any debris or rocks
- Place the trampoline frame in the center of the clearing and mark where the legs will go with spray paint or flags
- Dig holes for each leg, making sure they are deep enough so the frame will be level with the ground when assembled
- 5-6
- Assemble the trampoline following the manufacturer’s instructions
- 7-8
- Tie nylon rope or bungee cord around the outside of the trampoline to secure it to stakes driven into the ground around perimeter of trampoline (at least 8)
DIY IN-GROUND TRAMPOLINE – Garden Playground Transformation
Can You Put a Normal Trampoline in the Ground
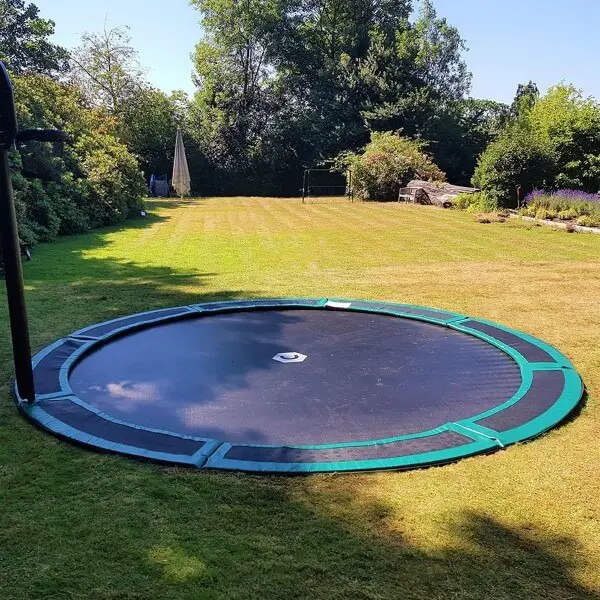
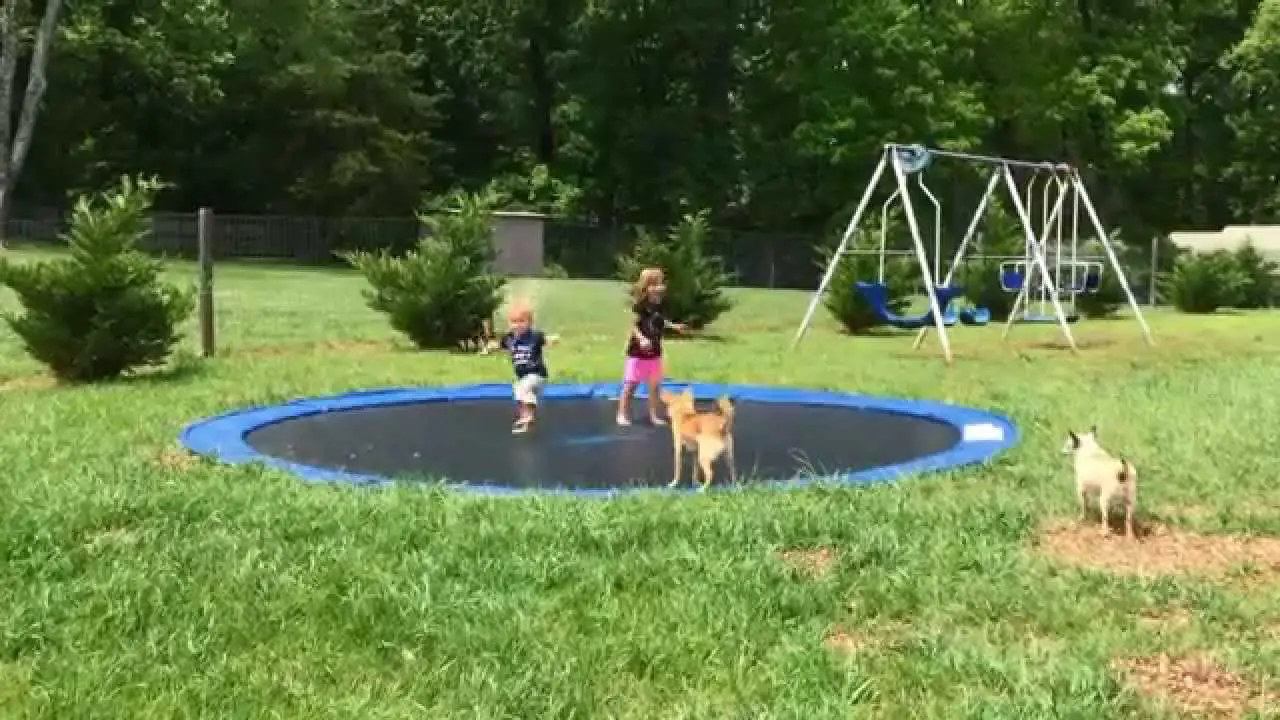
If you’re wondering whether you can put a regular trampoline in the ground, the answer is yes! There are actually a few benefits to doing this. First, it can help to keep the trampoline more stable in windy conditions.
Second, it can provide a softer landing surface if the ground is properly padded. Finally, putting the trampoline in the ground can make it less visible from a distance, which may be important if you live in a neighborhood with strict HOA rules.
Of course, there are also some drawbacks to consider.
It will be more difficult to move the trampoline if it’s in the ground, and you’ll need to make sure that the area around the trampoline is clear so that people don’t trip over it. You’ll also want to avoid putting the trampoline too close to trees or other objects that could damage it. Overall, though, putting a regular trampoline in the ground is perfectly fine – just be sure to do your research first!
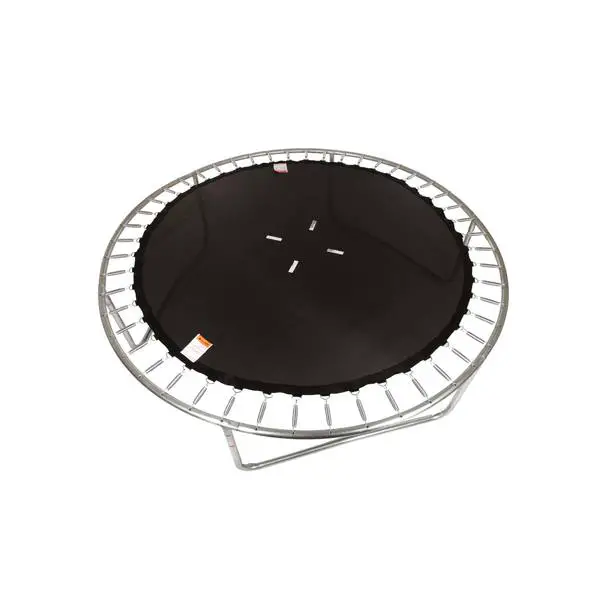
In-Ground Trampoline Kit
An in-ground trampoline kit is a great way to get all the benefits of a trampoline without having to worry about it taking up too much space in your yard. This type of trampoline is also much safer than an above ground model, since there is no risk of it tipping over. Here are some things to keep in mind when shopping for an in-ground trampoline kit:
The first thing you need to do is measure the area where you want to install the trampoline. You’ll need to know the length and width so you can purchase the correct size kit. Keep in mind that you’ll also need extra space around the perimeter of the trampoline for safety reasons.
Next, consider what type of surface you want your trampoline installed on. grass, concrete, or asphalt are all decent options. If you’re not sure which would be best for your situation, consult with a professional installer.
They’ll be able to advise you based on your specific needs.
Finally, take into account any special features that you might want in your in-ground trampoline kit. Some kits come with enclosures or netsting, for example, which can provide additional safety and peace of mind.
Other kits might include ladders or other accessories to make getting on and off the trampoline easier. Choose the features that are most important to you and then compare prices between different kits before making your final decision.
Sunken Trampoline Problems
If you have a sunken trampoline, there are several things that could be causing the problem. The most common causes are:
1. The ground around the trampoline is too soft.
This can happen if the ground is too wet or if it has been recently dug up. If this is the case, you will need to either move the trampoline to a new location or add more support to the existing location.
2. The frame of the trampoline is not level.
This can happen if one of the legs is shorter than the others or if the frame is not properly secured to the ground. If this is the case, you will need to level out the frame by adding shims under one or more of the legs.
3. There are holes in the mat of the trampoline.
Holes can be caused by wear and tear, animals, or objects falling on top of the trampoline. If there are holes in your mat, you will need to patch them before using your trampoline again. 4. There are tears inthe netting aroundthe perimeterofyourtrampoline
If you have a sunken trampoline, there are several things that could be causingthe problem:
The most common causesare:
1)The ground aroundthetrampolinetoosoft; happensifgroundistoowetorhasbeenduguprecently-needtomovetrampolineto new locationoraddmoresupporttotheexistinglocation
2)Theframeofthetrampolinenotlevel;happensifoneofthelegsshorterthantheothersoriftrameisnotproperlysecuredtoground-needtoleveloutframebyadding shimsunderoneormoreofthelegs
3)Thereareholesinthematofthetrampoline;causedbywearandtear,animalsorbjectsfallingontopoftrampedline-needtopatchthembeforeusingyourtrmapolienagain
In-Ground Trampoline Retaining Wall Diy
An in-ground trampoline retaining wall diy project is a great way to add some extra fun to your backyard. Not only will it provide a place for your kids to play, but it will also give you some extra privacy. Here are the steps you need to take in order to complete this project:
1. Choose the location for your trampoline retaining wall. This should be an area that is level and has good drainage. You don’t want your wall to collapse due to too much water or weight.
2. Decide how tall you want your wall to be. This will determine how many blocks you will need to purchase.
3. Purchase the necessary blocks and cement from your local home improvement store.
Be sure to get enough blocks and cement so that you can complete the entire project without running out of supplies half-way through!
4. Begin by excavating the area where your retaining wall will go. Make sure that the hole is deep enough and wide enough so that all of the blocks fit snugly inside of it.
5 . Once the hole is excavated, begin building the foundation for your retaining wall by laying down a layer of gravel followed by a layer of sand . Pack these materials down tightly so that they form a solid base for your wall .
6 . Next, start stacking up the blocks , using cement in between each one to hold them together . Make sure that each block is level as you stack them up , otherwise your finished product won’t look very nice !
continue until all of the blocks are used up and your retaining wall reaches the desired height .
7 . Once the cement has had time to dry , it’s time to fill in around the base of your new retaining wall with dirt or mulch .
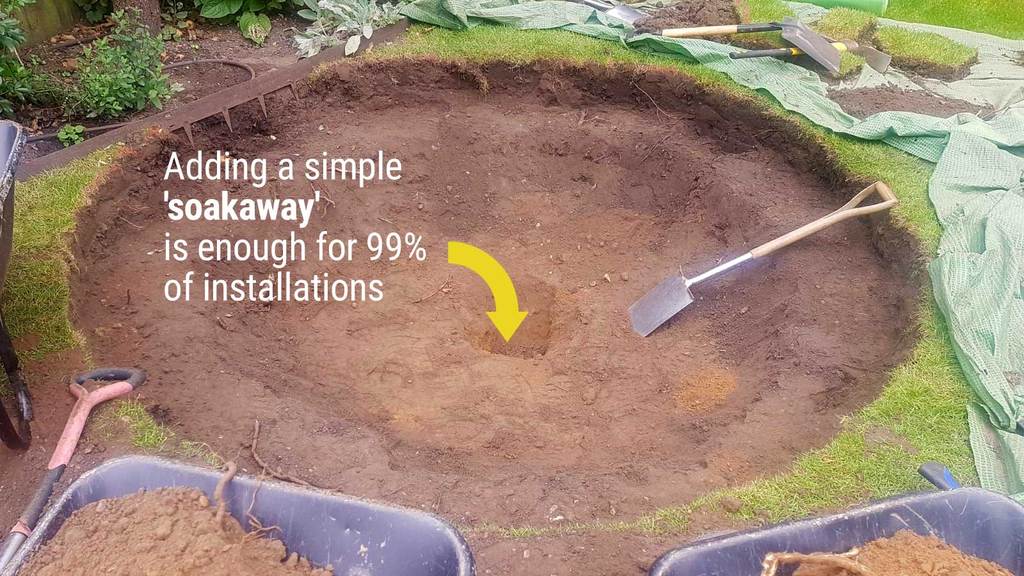
In-Ground Trampoline Drainage
An in-ground trampoline is a great addition to any backyard. Not only do they provide hours of fun for the kids, but they can also be a great way to get some exercise. However, one thing that you need to keep in mind with an in-ground trampoline is drainage.
Without proper drainage, your trampoline will quickly become a muddy mess.
There are a few different options when it comes to drainage for your in-ground trampoline. One option is to install drains around the perimeter of the trampoline.
This will allow water to drain away from the trampoline and help keep it clean and dry. Another option is to install a drainage pipe underneath the trampoline. This will catch any water that does manage to get under the trampoline and drain it away before it has a chance to pool around the edges of the frame.
Whichever method you choose, make sure that you properly maintain your drains and pipes so that they don’t become blocked or clogged over time. Regularly cleaning them out will ensure that your in-ground trampoline stays dry and mud-free all season long!
In-Ground Trampoline 8Ft
In-ground trampolines are a great addition to any backyard! They provide hours of fun for the whole family and are a great way to get some exercise. Here are some things to consider when purchasing an in-ground trampoline:
Size: In-ground trampolines come in a variety of sizes, so make sure to choose one that will fit well in your backyard. 8ft is a popular size, but there are also smaller and larger options available.
Safety: In-ground trampolines have safety features that make them much safer than above ground models.
Make sure to choose a model with a safety enclosure to prevent accidents.
Installation: Installing an in-ground trampoline can be tricky, so it’s best to leave it up to the professionals. Once it’s installed, however, you’ll be able to enjoy hours of fun on your new trampoline!
In-Ground Trampoline Uk
An in-ground trampoline UK can be a great addition to any backyard. They are easy to install and provide hours of fun for the whole family. Here are some things to consider when purchasing an in-ground trampoline UK.
Size: In-ground trampolines come in a variety of sizes. Be sure to measure your backyard before purchasing so you know what size will fit best. The larger the trampoline, the more expensive it will be.
Weight limit: Each in-ground trampoline has a different weight limit. Be sure to check the weight limit before purchasing so you know how many people can safely use the trampoline at one time.
Safety features: Most in-ground trampolines come with safety features such as padding around the edge of the mat and a net enclosure.
These features help to prevent injuries while using the trampoline.
Price: In-ground trampolines range in price depending on size and safety features.
Credit: www.capitalplay.com
How Do You Build a Trampoline Underground?
Building a trampoline underground can be a great way to add an extra level of excitement to your backyard. Here are a few things to keep in mind when you’re planning your project:
1. Make sure you have enough space.
You’ll need at least 8 feet of clearance around the perimeter of the trampoline, and 12 feet if you plan on adding a safety enclosure.
2. Choose a sturdy location. The ground should be level and free of any roots or rocks that could damage the trampoline mat.
3. Digging the hole. The hole for your trampoline should be about 2 feet deep and slightly larger than the circumference of the trampoline frame.
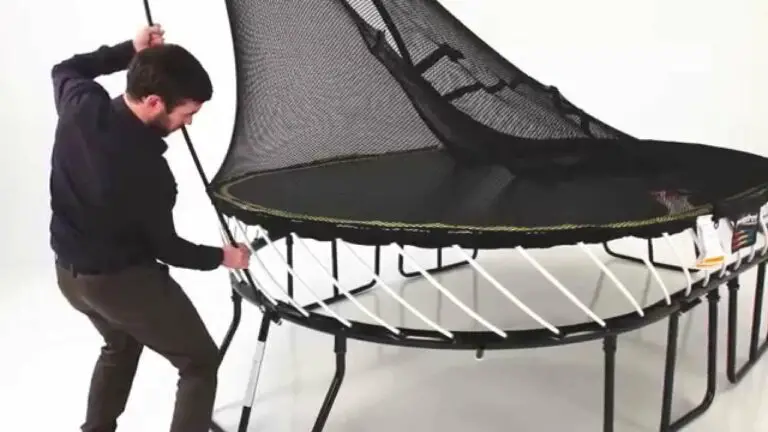
4. Installing the frame.
Once the hole is dug, you can start assembling the frame according to the manufacturer’s instructions. Be sure to securely anchor it into place before moving on to step 5.
5 .
Adding the mat and springs . This is where things get a little tricky – you’ll need someone to help hold up one end of the mat while you attach it to the frame with springs (or bungee cords). Once all of the springs are in place, carefully lower the mat into position and give it a bounce test!
Can You Put a Regular Trampoline In-Ground?
No, you cannot put a regular trampoline in-ground. The frame of a regular trampoline is not made to be buried underground and will not hold up over time if it is. In-ground trampolines have a special frame that is made to be installed underground, with only the jumping surface visible above ground level.
This type of installation helps to anchor the trampoline and make it more stable, which is important for safety.
How Deep Does an Underground Trampoline Have to Be?
An underground trampoline has to be deep enough so that the frame and springs are completely covered. The frame is usually 8 feet long, so the hole should be at least 8 feet deep. The springs are usually 4 feet long, so the hole should be at least 12 feet deep.
How Much is an Inground Trampoline?
An in-ground trampoline typically costs between $1,500 and $3,000. However, the cost can vary depending on the size of the trampoline, the quality of materials used and the installation process.
Conclusion
Building a trampoline in the ground is not as difficult as it may seem. With a few tools and some elbow grease, you can have your very own backyard oasis in no time. Here are the steps to take to build a trampoline in the ground:
1. Choose a level spot in your yard for the trampoline. You will need to excavate an area that is slightly larger than the size of the trampoline frame.
2. Spread out a tarp over the excavation site and secure it with stakes.
This will help to prevent any grass or weeds from growing up through the holes in the trampoline mat.
3. Assemble the trampoline frame according to the manufacturer’s instructions using either screws or bolts (depending on what type of frame you have). Make sure that all connections are tight and secure before moving on to step 4.
4. Position the assembled frame onto the center of the tarp-covered excavation site and lightly mark where each leg will go.
5. Using a post hole digger, create holes that are slightly wider than each leg of the trampoline frame at each marked location around the perimeter of the excavation site. The depth of these holes should be half way up each leg of the frame (this may vary depending on how far underground you want your trampoline to sit).