Trampolines are a great way to get some exercise, have fun, and spend time with family and friends. However, over time trampolines can become stretched out, making them less safe and less fun to use. If you have a stretched out trampoline, there are a few things you can do to fix it.
First, try tightening the springs. If that doesn’t work, you may need to replace the mat. Finally, if your trampoline is still not bouncing properly, you can try adding more weight to the frame.
With a little bit of effort, you can make your trampoline as good as new!
- Assess the situation to see how badly the trampoline is stretched out
- If it is only slightly stretched, you may be able to fix it without having to replace the entire trampoline
- Measure the diameter of the trampoline from end to end
- This will give you an idea of how much tension needs to be added back into the fabric in order to fix the problem
- Cut a piece of heavy-duty nylon cord that is twice as long as the circumference of the trampoline
- Sew one end of the cord onto the edge of the trampoline fabric with a heavy-duty needle and thread
- Make sure that you sew it on securely so that it does not come undone later
- Wrap the cord around the circumference of the trampoline and tie it off at the other end, making sure that it is nice and tight
- Trim any excess cord if necessary
Stretched Out Trampoline Spring Fix
Why is My New Trampoline Not Bouncy
If you’ve just bought a new trampoline and it’s not as bouncy as you’d hoped, there are a few things that could be causing the problem. First, check to make sure that all the legs are evenly spaced and locked in place. If they’re not, the trampoline will be unstable and won’t bounce as well.
Next, take a look at the frame to see if it’s bent or damaged in any way – this can also affect how well the trampoline bounces. Finally, check if the mat is properly stretched out – if it’s too loose, it won’t have enough tension to create good bounces.
If you’ve checked all of these things and your trampoline still isn’t bouncing as well as you’d like, it might just be that it needs some time to “break in.”
Trampolines usually get more bouncy with use, so give it some time before giving up on it. In the meantime, try jumping on it with both feet at once or doing some other creative jumps to see if you can get more height and airtime. With a little bit of effort (and maybe a little patience), your new trampoline should start giving you plenty of great bounces in no time!
How to Fix a Warped Trampoline
If your trampoline is warped, it’s probably because the metal frame is bent. This can happen if the trampoline is left out in the sun for too long, or if it’s not properly secured when not in use. Luckily, it’s relatively easy to fix a warped trampoline.
You’ll just need a few simple tools and some patience.
First, take a look at the frame to see how much it’s warped. If it’s only slightly bent, you may be able to fix it by simply straightening it out with your hands.
If the warp is more severe, you’ll need to use a wrench or pliers to straighten the frame. Once you’ve got the frame straightened out, check all of the bolts to make sure they’re tight.
If your trampoline has springs, they may also be warped.
To fix this, you’ll need to remove each spring and attempt to straighten them out with your hands. If they’re too severely bent, you can buy replacement springs at most hardware stores. Once all of the springs are replaced or fixed, reassemble the trampoline and test it out before letting anyone use it.
Trampoline Assembly Problems
If you’ve ever owned a trampoline, chances are you’ve had to deal with at least one of the following problems during assembly: missing parts, damaged parts, or incorrect instructions. While these problems can be frustrating, they don’t have to ruin your fun. Here’s a look at some of the most common trampoline assembly problems and how to solve them.
Missing Parts: The most commonassembly problem is missing parts. Most kits come with all the necessary parts, but it’s not uncommon for a few pieces to be missing. If you’re missing a small part, such as a bolt or washer, you can usually find a replacement at your local hardware store.
If you’re missing a larger part, such as a leg or support bar, you’ll need to contact the manufacturer for a replacement.
Damaged Parts: Another common problem is damaged parts. This can happen if you accidentally drop a piece while assembling the trampoline or if something falls on it during assembly.
If a part is bent or broken, it will usually need to be replaced. Again, you’ll need to contact the manufacturer for replacements.
Incorrect Instructions: Finally, another common issue is incorrect instructions.
This is often due to outdated manuals that haven’t been updated to reflect changes in the trampoline design. If you run into this problem, your best bet is to search online for updated instructions or contact the manufacturer directly for help.
While dealing with any of these problems can be frustrating, remember that they don’t have to ruin your fun.
With patience and perseverance (and maybe a little help from the internet), you should be able to get your trampoline assembled and ready for action in no time!
Trampoline Springs Stretched Out
If your trampoline springs are stretched out, it’s time for a replacement! Here’s what you need to know about replacing your trampoline springs.
Your trampoline springs are key to providing the jumping surface with the right amount of “give.”
Over time, however, they will inevitably stretch out and lose some of their tension. When this happens, it’s time to replace them!
There are a few things to keep in mind when shopping for new springs.
First, you’ll want to make sure that you get the right size. Second, you’ll want to choose a spring with the right amount of tension for your weight and jumping style. And finally, you’ll want to make sure that the springs you select are compatible with your trampoline frame.
Once you have all of these factors sorted out, replacing your stretched-out springs is a relatively easy process. You’ll simply need to remove the old springs and install the new ones in their place. Be sure to follow all manufacturer instructions during this process.
With new springs in place, your trampoline will be good as new – providing years of enjoyment for jumpers of all ages!
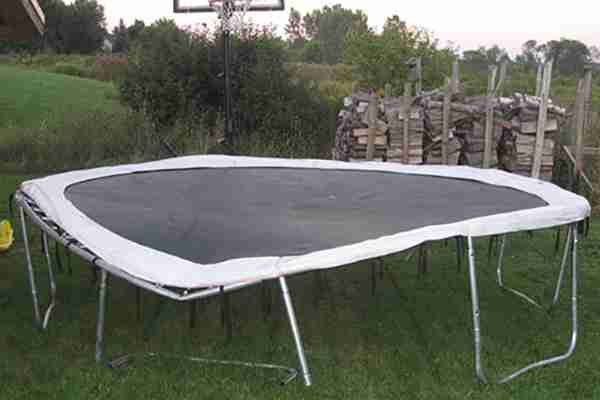
My Trampoline Looks Like a Pringle
A trampoline is a great way to get some exercise, have fun, and impress your friends. But what do you do when your trampoline looks like a pringle? Here are some tips to get your trampoline back into shape:
1. First, take a close look at the frame of your trampoline. If there are any bent or broken parts, replace them with new ones. This will help to ensure that your trampoline is structurally sound.
2. Next, check the condition of the mat. If it is ripped or torn, replace it with a new one. A good quality mat will last for many years with proper care.
3. Finally, inspect the springs. If they are rusty or damaged in any way, they need to be replaced. New springs will help to keep your jumping surface bouncy and safe.
New Trampoline Warped
For many people, a trampoline is the perfect way to get some exercise and have fun at the same time. But what happens when your trampoline starts to warp?
Warping can occur for a number of reasons, but it usually happens when the trampoline is left out in the sun for too long or if it’s not properly anchored down.
If your trampoline begins to warp, don’t worry – there are a few things you can do to fix it.
First, try moving the trampoline to a shady spot. If that doesn’t work, you can try anchoring down the corners of the trampoline with some heavy objects.
Finally, if all else fails, you can always replace the warped parts of your trampoline with new ones.
So there you have it – everything you need to know about fixing a warped trampoline. Now get out there and start bouncing!
How to Make Trampoline Bouncier
When you buy a trampoline, you want it to be as bouncy as possible. Unfortunately, over time trampolines can lose some of their springiness. But there are a few things you can do to make your trampoline bouncier.
One way to make your trampoline bouncier is to add weight to it. You can do this by attaching weights to the legs of the trampoline or by adding sandbags on top of the mat. The extra weight will help push down on the mat and make it more elastic.
Another way to make your trampoline bouncier is to adjust the tension on the springs. If the springs are too loose, they won’t have enough tension to push back up against you when you jump. But if they’re too tight, they’ll be too stiff and won’t stretch very well when you land on them.
The best way to find the right tension is to experiment until you find what works best for you.
Finally, if your trampoline still isn’t as bouncy as you’d like, you can try flipping it over so that the mat is facing down instead of up. This will give you a little more height when you jump, which means more time for the springs to stretch and bounce back up again.
Just be careful not to land on your head!
How to Make a Trampoline
Making a trampoline is a fun and easy project that can be done in an afternoon. All you need is some basic materials and a little bit of elbow grease. Here are the steps to follow to make your very own trampoline:
1. Gather your materials. You will need: a piece of plywood (at least 4’x4′), springs (24-48 depending on the size of your plywood), drill, screwdriver, measuring tape, and saw (optional).
2. Cut the plywood into four equal pieces using the saw (if you have one).
If you don’t have a saw, simply mark out four equal squares on the plywood with a pencil and then use the measuring tape and straight edge to cut along the lines.
3. Drill holes around the perimeter of each square piece of plywood, about 1″ from the edge. Make sure that all of the holes are evenly spaced apart.
4. Attach springs to each hole using screws or nails (depending on what type of spring you have). It helps to have someone else hold the other end of the spring while you attach it at one end. Repeat this step until all 24-48 springs are attached around the perimeter of all four pieces of plywood.
5. Once all of the springs are attached, stand up each piece of plywood so that they form a rectangle shape with two opposing sides being open (this will be where you jump in!). Nail or screw these four pieces together at their corners for extra stability if desired. And that’s it!
Your trampoline is now ready for use!

Credit: goforthkids.com
Is There a Way to Tighten a Trampoline?
Yes, there is a way to tighten a trampoline. You will need to purchase a trampoline tensioning tool, which is available at most hardware stores. Follow the instructions that come with the tool to properly tension your trampoline.
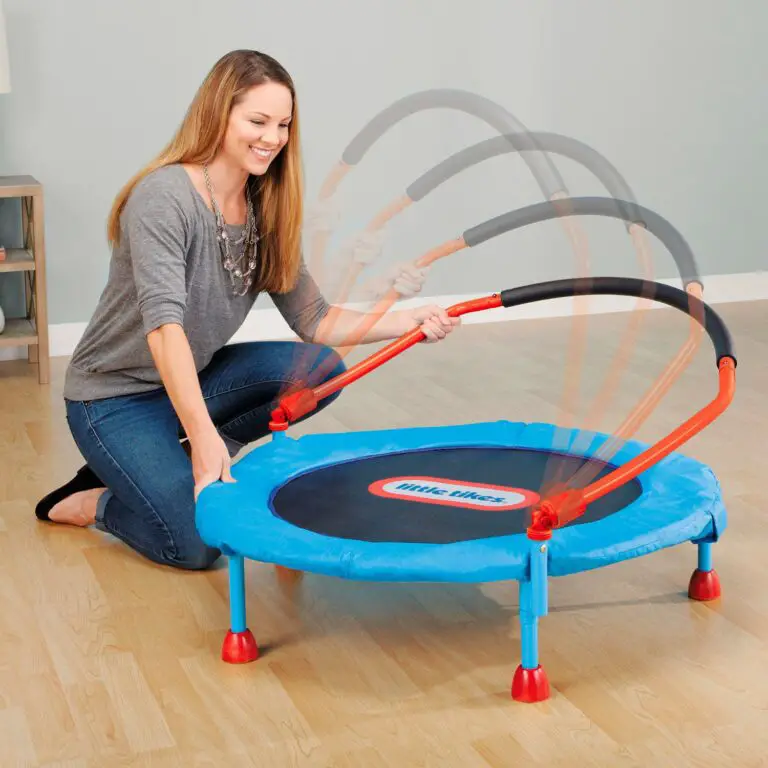
How Do You Tighten a Mini Trampoline?
If your mini trampoline has become loose and wobbly, it’s time to tighten it up. This process is simple and only takes a few minutes. Here’s what you need to do:
1. Locate the four bolts that hold the legs of the trampoline in place. These are usually located at the base of each leg.
2. Using a wrench, tighten each bolt until it is snug.
Be careful not to over-tighten, as this could damage the trampoline frame.
3. Once all four bolts are tightened, check to make sure the legs are evenly spaced and that the trampoline is level on all sides. If everything looks good, you’re done!
Does More Springs Make a Trampoline Bouncier?
The answer to this question is yes, more springs do make a trampoline bouncier. The reason for this is that the springs are what provide the tension and resistance needed for the mat to push back against your body when you jump on it. The more springs there are, the more tension and resistance there will be, resulting in a bouncier trampoline.
Do Trampolines Stretch?
Most people believe that trampolines stretch, but this is not the case. Trampolines are made of strong, durable materials that do not stretch. The only time a trampoline may appear to stretch is when it is first set up and the fabric is pulled tight.
Once the trampoline is in use, the fabric will loosen and the trampoline will return to its original shape.
Conclusion
If your trampoline looks like it’s been stretched out, don’t despair! There are a few things you can do to try and fix the problem. First, check the frame to see if any of the bars are bent.
If they are, you can try straightening them out with a wrench or pliers. Next, check the springs to see if any of them are broken. If so, you’ll need to replace them.
Finally, take a look at the mat and see if it needs to be replaced. If it does, you can buy a new one online or at a local sporting goods store. With a little bit of effort, you should be able to get your trampoline looking like new again!