It can be tricky to know how to fold Little Tikes trampolines, but with a few simple steps, it’s easy! First, remove the legs from the trampoline. Next, fold the mat in half and then in half again.
Finally, fold the frame in half and then in half again. That’s it! Your Little Tikes trampoline is now ready to be stored away until next time.
- Open the trampoline so that it is flat on the ground
- Fold one side of the trampoline in towards the center
- Repeat step 2 with the other side of the trampoline
- Once both sides are folded in, fold the entire trampoline in half length-wise
- Finally, lift up one end of the folded trampoline and tuck it underneath the other end
3 Foot Easy Store Trampoline | Little Tikes | Assembly Instructions
Little Tikes Easy Store 7′ Folding Trampoline Instructions
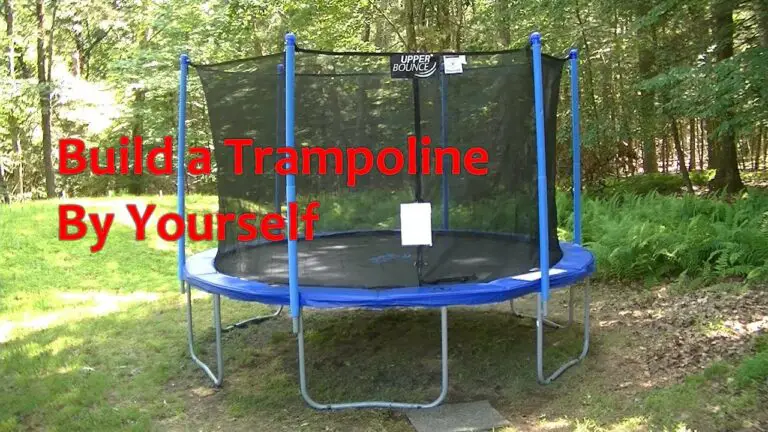
When it comes to backyard fun, a trampoline is always a great option. They’re perfect for kids of all ages and can provide hours of entertainment. If you’re looking for a trampoline that’s easy to store and set up, the Little Tikes Easy Store 7′ Folding Trampoline is a great choice.
This trampoline features a durable steel frame and has padded safety pads around the outside of the jumping surface. It also has an easy-to-grip handlebar so your little ones can steady themselves as they bounce. The best part?
When you’re done using it, simply fold it up and store it away until next time!
To set up the trampoline, first unfold the frame and then attach the legs. Once the legs are attached, stretch out the jumping surface and hook it onto the frame.
Finally, add the safety padding around the outside edge of the trampoline. Once everything is in place, your little ones will be ready to bounce to their hearts’ content!
How to Disassemble Little Tikes Trampoline
If you have a Little Tikes trampoline that needs to be disassembled, here are the steps you need to follow. First, remove the legs of the trampoline by unscrewing the bolts that hold them in place. Next, remove the mat of the trampoline by unhooking it from the frame.
Finally, fold up the frame of the trampoline and store it away until it is needed again.
Little Tikes Trampoline Instruction Manual
If you’re looking for the Little Tikes Trampoline Instruction Manual, we’ve got good news and bad news. The bad news is that it appears that Little Tikes has discontinued this product and no longer provides a manual on their website. However, the good news is that we were able to track down a PDF of the manual from an online retailer.
So if you need some help putting your trampoline together, fear not! Just follow the instructions below.
Assuming you have all of the necessary parts, here’s what you’ll need to do:
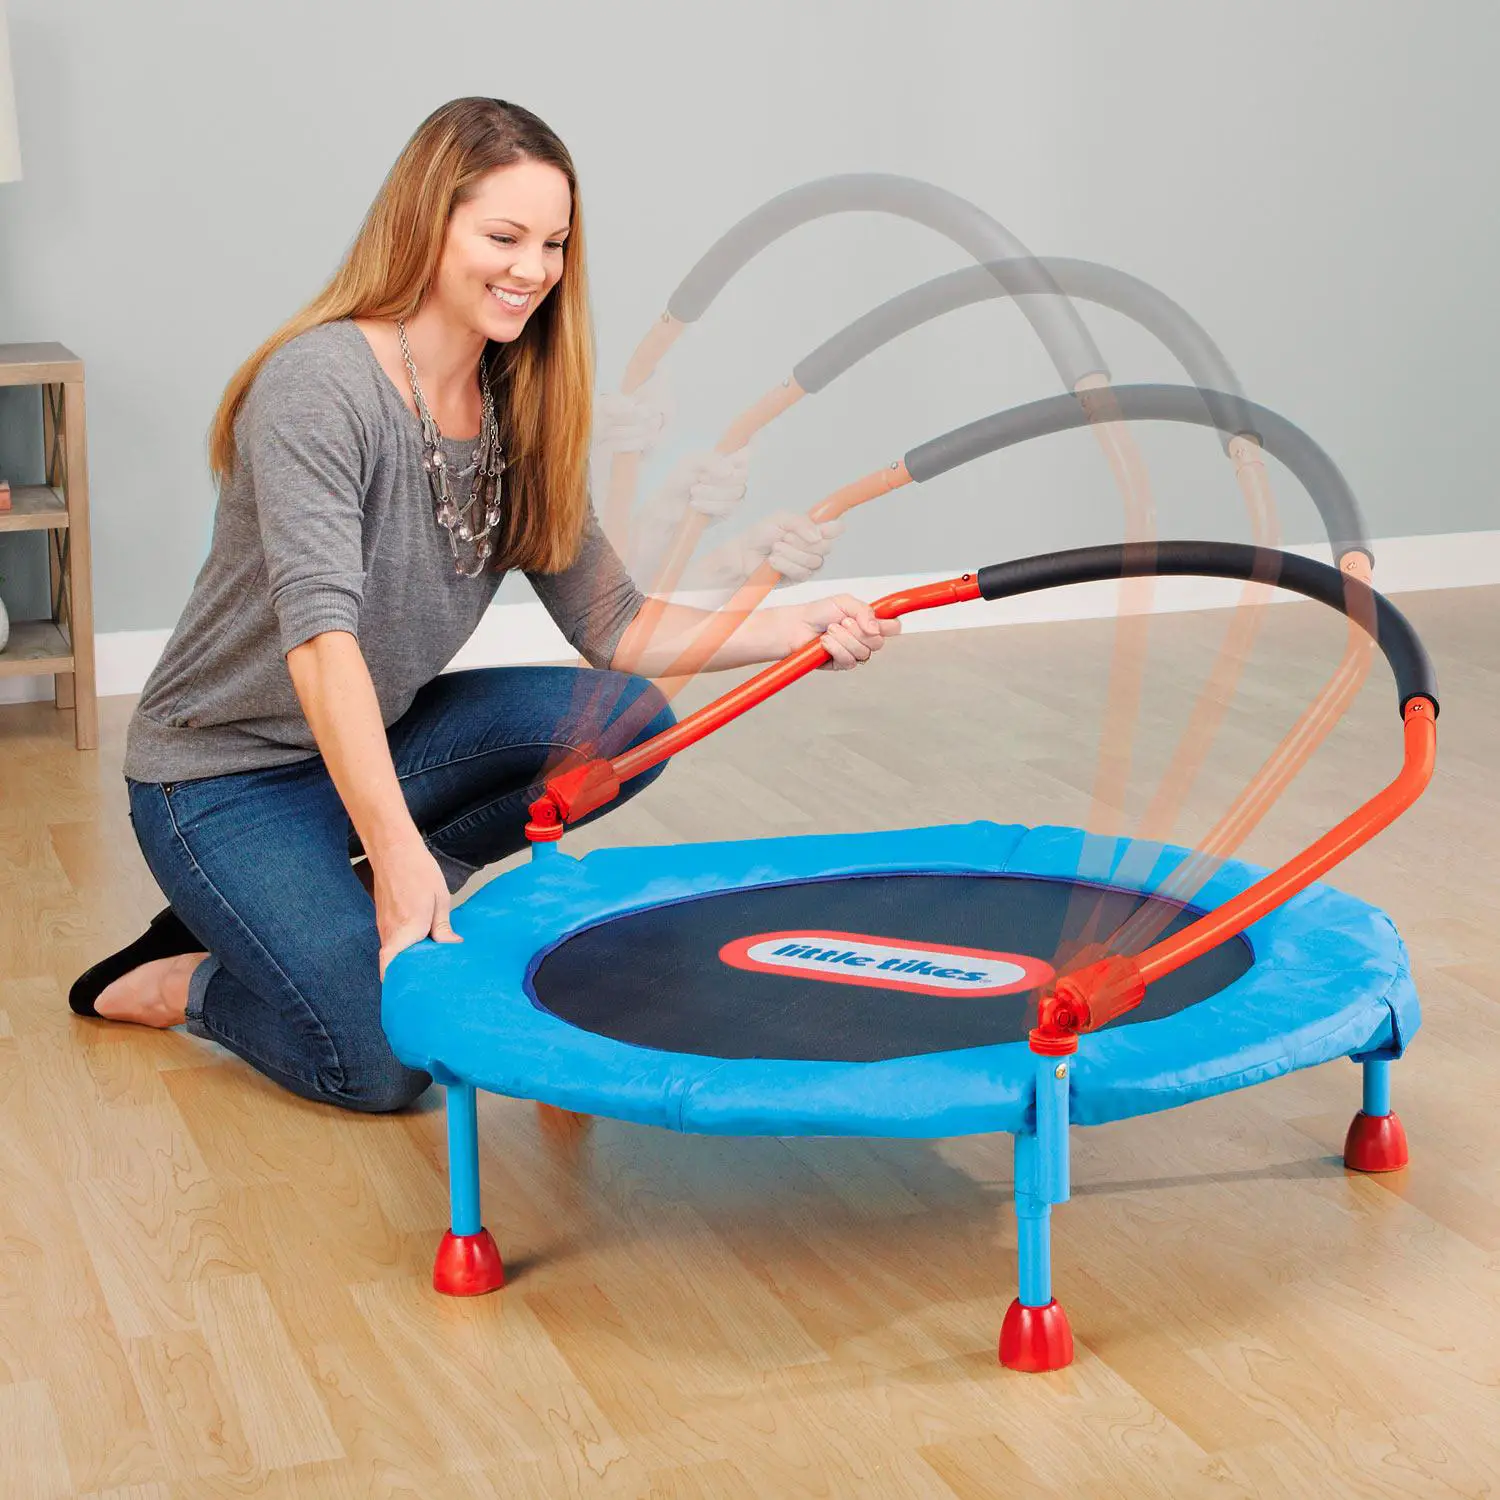
1. Begin by attaching the legs to the base of the trampoline using the hardware provided. Make sure everything is tightened securely.
2. Next, connect each of the legs to the upper frame using the U-bolt assemblies.
Again, make sure everything is tight and secure before moving on.
3. Now it’s time to add the spring cover around the edge of the trampoline bed. Start by slipping one end over a leg, then stretch it across and around until you reachthe other side.
Use zip ties or similar to fasten it in place alongthe way. Repeat this process until all sides are covered.
Little Tikes 10′ Trampoline Instructions
The Little Tikes 10′ Trampoline is a great way to get your kids active and bouncing around. Here are the assembly instructions so you can get them started:
1. Assemble the frame by connecting the 4 legs together.
Make sure the legs are locked in place by pushing down on the locking lever.
2. Next, connect the mat to the frame using the 8 straps provided. Start at the middle and work your way outwards.
3. Finally, attach the safety netting around the outside of the trampoline using the 6 hooks provided.
4. Your Little Tikes 10′ Trampoline is now ready for use!
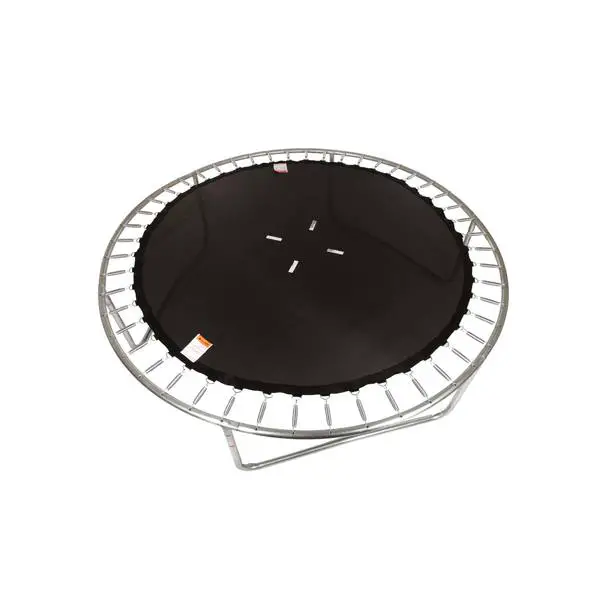
Little Tikes 3Ft Trampoline Parts
If you have a Little Tikes 3Ft Trampoline that needs parts, you’ve come to the right place. Here at Play Parts, we have a wide selection of Little Tikes 3Ft Trampoline parts to choose from. Whether you need a new mat, spring, or frame, we’ve got you covered.
When it comes to trampolines, safety is always our number one priority. That’s why we only sell genuine Little Tikes 3Ft Trampoline parts. With our high quality standards, you can be sure that your trampoline will be safe and durable for years to come.
So if you’re in need of some Little Tikes 3Ft Trampoline parts, don’t hesitate to browse our selection today. We’re sure you’ll find what you’re looking for!
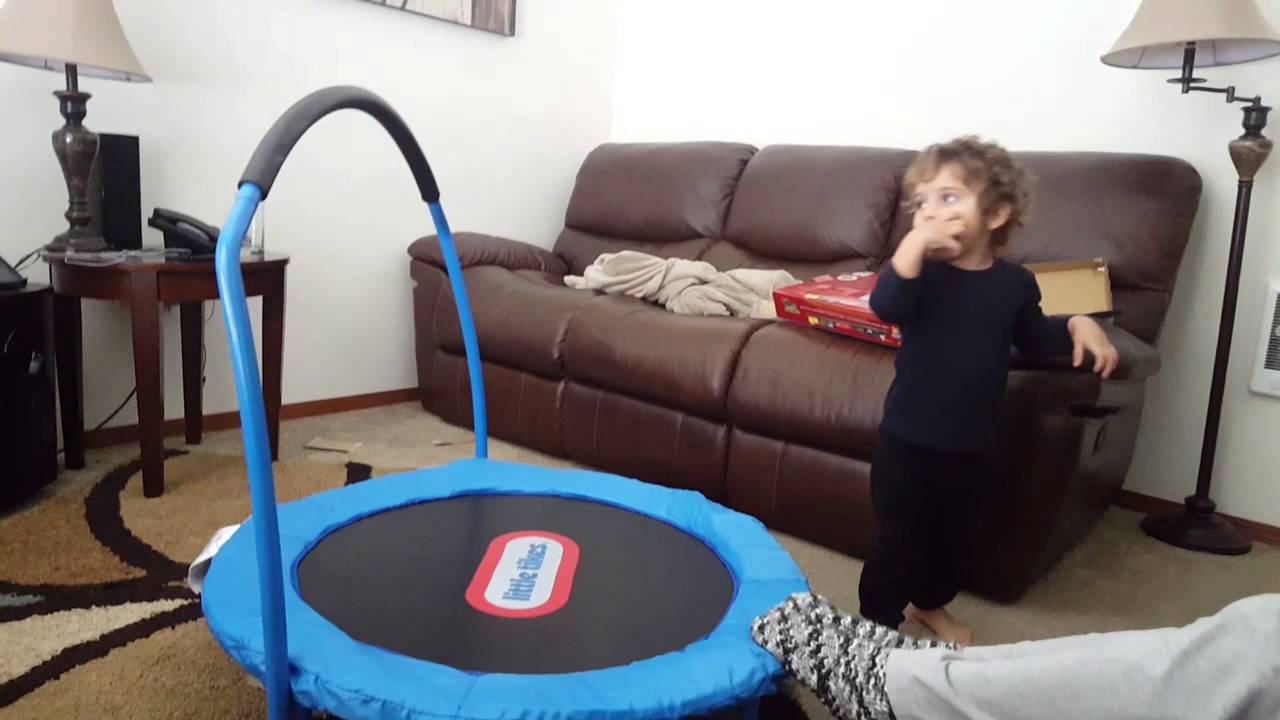
Little Tikes Trampoline 3′
Little Tikes Trampoline 3′ is an excellent choice for toddlers and young children. It is made with heavy-duty, durable materials and can support up to 250 pounds. The trampoline has a padded frame and soft, springy mat that will help keep your child safe while they play.
The three foot size is perfect for small indoor spaces or in the backyard.
Little Tikes Trampoline With Slide Instructions
If you’re looking for a fun activity for your little ones, consider the Little Tikes Trampoline with Slide. This trampoline is perfect for indoor or outdoor use and provides hours of enjoyment for kids. The Little Tikes Trampoline with Slide is easy to assemble and comes with clear instructions.
Here’s a detailed look at how to put this trampoline together so your kids can start bouncing away!
Credit: www.youtube.com
Can You Fold Little Tikes Trampoline?
Yes, you can fold Little Tikes trampoline for storage. Folding the trampoline may be difficult for one person to do, so it is recommended that two people help with the process. To fold the trampoline, first remove the legs from the base of the frame.
Next, fold the frame in half and then in half again so that it forms a smaller square. Finally, secure the legs to the frame using the included straps or cords.
How Do I Disassemble My First Trampoline?
If you’re reading this, then chances are you’ve got a trampoline that needs to be disassembled. Maybe you’re moving house, maybe you’re downsizing, or maybe you just need to put it away for the winter. Whatever the reason, disassembling a trampoline is not as difficult as it may seem.
With a little patience and some help from friends or family, you’ll have that trampoline dismantled in no time.
The first thing you’ll need to do is remove the safety netting surrounding the trampoline. This is usually easy to do by unbolting the clips or ties that hold it in place.
Once the netting is down, take a look at how your trampoline is held together. Most likely, there will be either springs or metal rods running along the outside of the frame.
If your trampoline has springs, then gently remove each one by unhooking it from both the frame and the mat.
You may need a friend’s help with this, as they can hold onto one end of the spring while you unhook it from the other side. Once all of the springs are removed, fold up the mat and set it aside. The last step is to dismantle the frame itself by taking out any bolts or screws that are holding it together.
With everything taken apart, your trampoline should now be ready for transport or storage!
How Much Does a Little Tikes Trampoline Weigh?
A Little Tikes trampoline can weigh anywhere from 38 to 50 pounds. The weight of the trampoline will depend on the size and model of the trampoline. A 38 pound trampoline is typically a 8 foot diameter round trampoline.
A 50 pound trampoline is typically a 10 foot diameter round trampoline.
Is the Little Tikes Trampoline Bar Adjustable?
The Little Tikes trampoline bar is not adjustable. The only way to adjust the height of the bar is to add or remove the plastic extensions that come with the trampoline.
Conclusion
If you have a Little Tikes trampoline that needs to be stored, here’s how to fold it up. First, remove the handlebar. Next, pull on the yellow tabs at the bottom of the legs until they click into place.
Then, push down on the black knob in the center of the frame until the trampoline collapses. Finally, lift up on the green levers on each side of the frame and fold the legs in. Your trampoline is now ready to be stored away!