Assembling a rectangular trampoline can be done in about an hour with two people. The first thing you’ll need to do is lay out the poles and spread the mat over them. Then, you’ll start attaching the springs to the hooks on the mat.
Once all of the springs are attached, you can begin connecting the frame poles together. Once the frame is complete, you’ll just need to add the safety pads and tie down any loose ends before letting your kids enjoy their new trampoline!
If you’re looking to add a trampoline to your backyard this summer, you may be wondering how long it will take to assemble. While the average rectangular trampoline may take between two and four hours to assemble, there are a few factors that can affect the amount of time it takes.
First, the size of the trampoline will have an impact on assembly time.
A smaller trampoline will obviously be quicker to put together than a larger one. Secondly, if you’re assembling the trampoline yourself, it will go much faster than if you have several people working on it. And finally, your level of experience with putting together Trampolines will also be a factor – if this is your first time, it’s likely to take longer than someone who has done it before.
Assuming you have all the necessary tools and parts, and are working alone, expect to spend at least two hours assembling your new rectangular trampoline. With some practice (and maybe some help from YouTube), you should be able to get it down to an hour or so. Have fun!
How to Assemble the Rectangular Trampoline 520 | Decathlon Singapore
How Long Does It Take to Put a 14Ft Trampoline Together
If you’re looking for a fun way to get the family together and active, a trampoline is a great option. But before you can start bouncing around, you need to put it together. So how long does it take to put a 14ft trampoline together?
Here’s a breakdown of what you can expect:
1-2 hours for assembly with 2 people
3-4 hours for assembly with 1 person
The first thing you’ll need to do is lay out all of the parts in an open area. This will help you identify each piece and make sure that everything is accounted for. Once you have all the parts, you can begin assembling the frame.
This is typically the most time-consuming part of putting the trampoline together.
Next, you’ll attach the jumping mat and safety enclosure netting. These should go on relatively quickly.
Finally, you’ll add any additional accessories like ladders or anchor kits (if desired). Once everything is in place, your 14ft trampoline will be ready for use!
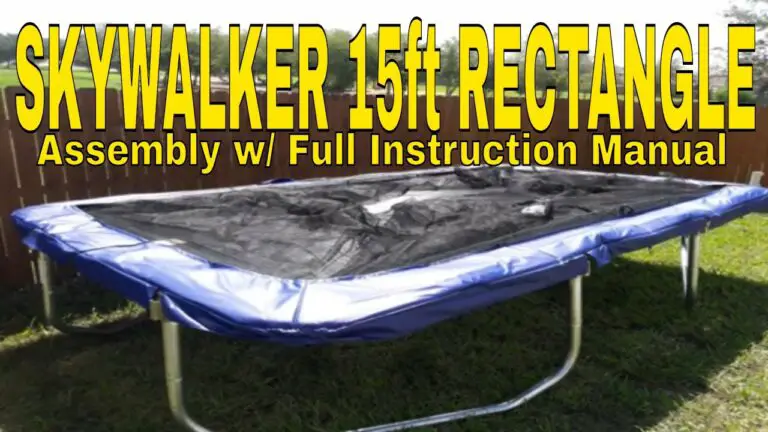
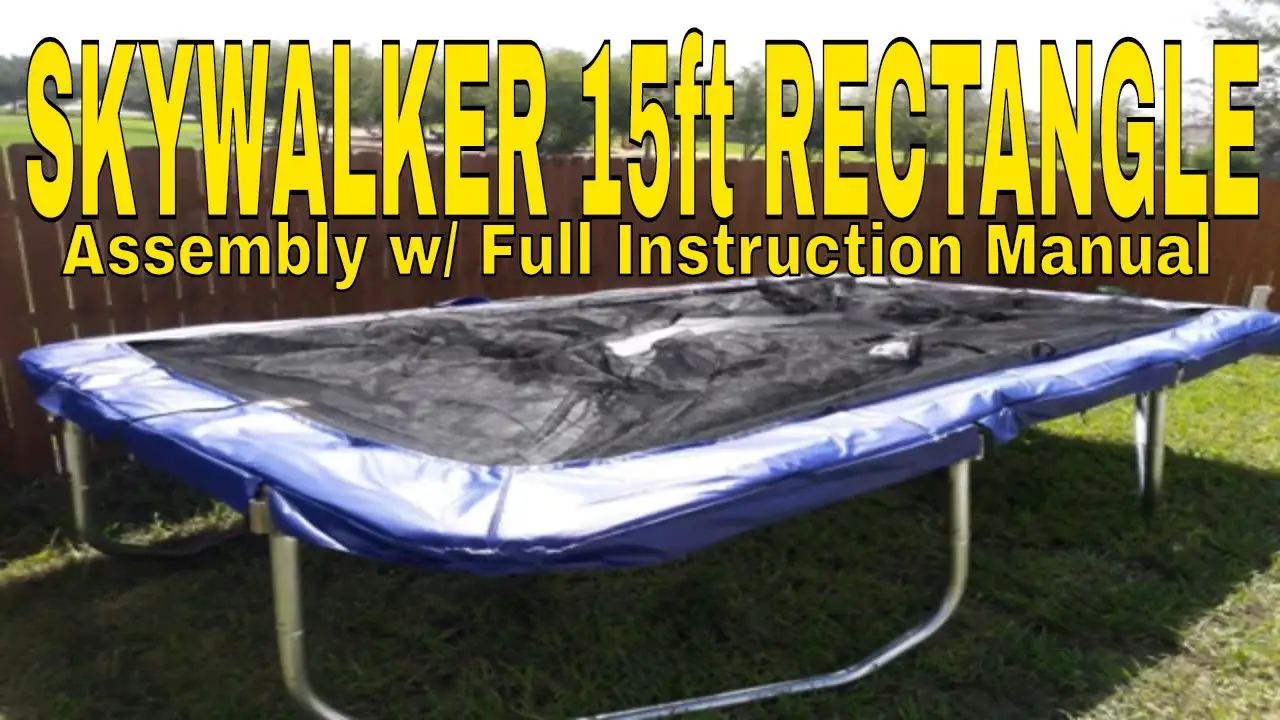
Skywalker 15′ Square Trampoline Assembly Instructions
If you’re looking for a fun activity for your kids to enjoy this summer, consider investing in a Skywalker 15′ square trampoline. Not only will they have hours of fun bouncing around, but you’ll also get some great exercise in too! Assembling the trampoline is relatively simple and can be done in just a few steps.
First, lay out all of the parts on a level surface. Once everything is laid out, begin attaching the legs to the frame using the bolts provided. Be sure to tighten each bolt securely before moving on to the next one.
Next, attach the jumping mat to the frame using the hooks around its perimeter. Once again, make sure each hook is secure before moving on. Finally, attach the safety pads over the springs and around the edge of the frame.
These will help keep everyone safe while they’re enjoying their time on the trampoline.
Now it’s time for some fun! Invite your friends and family over and let everyone enjoy themselves.
Just be sure to supervise children at all times while they’re using it.
How Long Does It Take to Set Up a Trampoline With Safety Net
If you’re thinking of setting up a trampoline in your backyard, you might be wondering how long it will take to get it up and running. Here’s a quick guide to help you out.
It usually takes around 30 minutes to set up a trampoline, depending on the size and type.
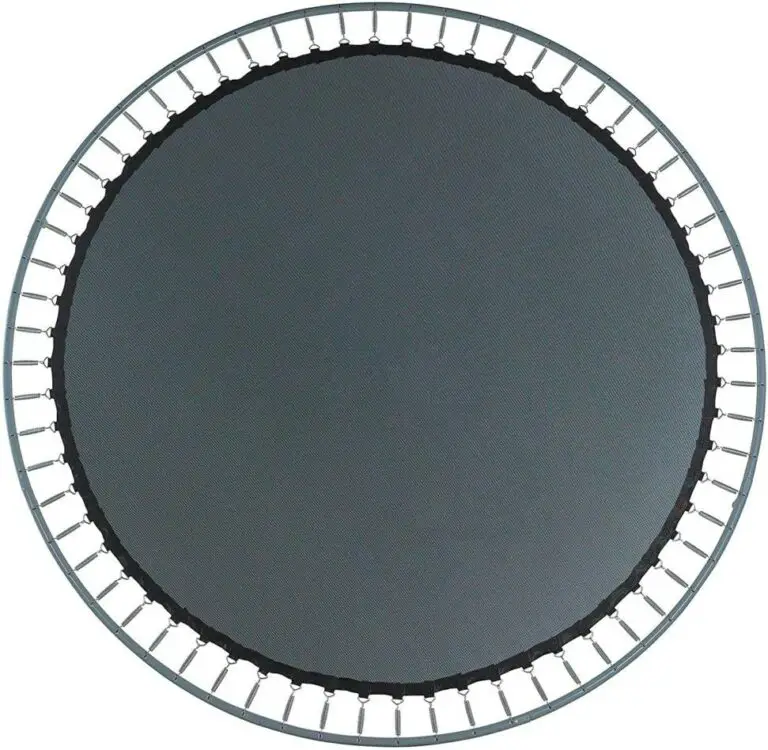
If you’re setting up a rectangular trampoline, you’ll need to assemble the frame first. Once the frame is together, you can start attaching the springs. Most rectangular trampolines have around 96 springs, so this part can take a little while.
Once the springs are all attached, you can put on the safety netting. This is one of the most important parts of setting up a trampoline, as it will help keep everyone safe while they’re bouncing around. Make sure that the netting is properly secured before letting anyone use the trampoline.
And that’s it! Once everything is assembled and in place, you’re ready to start bouncing! Just make sure that there’s always someone supervising when people are using the trampoline, and follow all safety guidelines to ensure everyone has a fun and safe experience.
Skywalker 12′ Trampoline Assembly Instructions
If you’re setting up a Skywalker 12′ trampoline, here are the assembly instructions. This guide will help make sure your trampoline is properly assembled and safe to use.
Before starting assembly, lay out all of the parts in their correct positions.
Make sure you have all of the necessary tools: a Phillips head screwdriver, a socket wrench with an 8mm socket attachment, and pliers.
1) Begin by attaching the legs to the bottom of the frame using the supplied bolts and nuts. Hand-tighten these so they can be easily adjusted later on.
2) Next, connect two of the straight poles together using the sleeve joint at the center of each pole. Do this for all three pairs of poles.
3) Place these three connected pairs of poles into the notches at the top corners of the frame.
The fourth corner will have a single pole without a sleeve joint – this goes into that final notch on its own.
4) Once all four Poles are in place, use your 8mm socket wrench to tighten each nut until it’s snug against its corresponding bolt head. Be careful not to overtighten and strip these!
5) Now it’s time to add some tension to those Poles by stretching out and attaching the springs around each Pole Sleeve Joint as shown in Diagram 2 below (there should be 48 springs total). Each spring has hooks on either end – simply hook one end onto one side of a sleeve joint, then stretch it across and hook onto both sides of an adjacent sleeve joint before moving onto another spring (see Diagram 3 for clarification).
Rectangle Trampoline
A rectangle trampoline is a great choice for those who want a bit more stability and control while they’re bouncing around. Here are some things to keep in mind if you’re considering a rectangle trampoline:
Size: Rectangle trampolines come in all different sizes, so be sure to pick one that’s appropriate for your needs.
If you have a small backyard, for example, you’ll want to choose a smaller trampoline.
Budget: Just like with any other big purchase, it’s important to consider your budget when choosing a rectangle trampoline. There are many options on the market, so be sure to do your research and find one that fits both your needs and your budget.
Safety features: Some rectangle trampolines come with safety features like netting or padding around the edge of the frame. These can help prevent injuries if someone happens to fall off the trampoline while they’re bouncing around.
Rectangle Trampoline 20Ft
A rectangle trampoline is a great choice for those who want a bit more space to play and practice their tricks. This type of trampoline typically measures 20 feet long by 10 feet wide, giving you plenty of room to bounce around. Rectangle trampolines also tend to be a bit more stable than round ones, making them ideal for those who are just starting out or who don’t want to deal with a lot of instability.
Skywalker Rectangle Trampoline
Looking for a fun way to get your kids active this summer? Check out the Skywalker Rectangle Trampoline! This trampoline is great for kids of all ages and can provide hours of entertainment.
The Skywalker Rectangle Trampoline features a sturdy steel frame and safety enclosure netting to keep your kids safe while they play. With a jumping surface of over 100 square feet, there’s plenty of room for multiple jumpers. The spring-loaded legs provide a smooth bouncing experience, and the included ladder makes it easy for kids to get on and off the trampoline.
Order yours today and let the fun begin!
Jumpking Rectangular Trampoline
If you’re looking for a trampoline that will provide your family with hours of fun and exercise, the Jumpking Rectangular Trampoline is the perfect choice. This trampoline features a sturdy steel frame and mat that can support up to 250 pounds, making it great for both kids and adults. The mat is made from high-quality materials that are UV-resistant, so it will withstand sun exposure and wear and tear.
The frame also features rust-resistant coating, so it will last for years to come. With its large jumping surface, this trampoline is perfect for backyard fun.
Credit: www.homedepot.com
How Long Do Trampolines Take to Put Together?
It takes about 15 minutes to set up a trampoline. You will need to connect the frame together, stretch out the mat, and then secure the safety enclosure. Once you have done all of that, you are ready to start jumping!
How Do You Put a Rectangular Trampoline Together?
putting together a rectangular trampoline is not difficult, but there are a few things you need to know before you start. First, make sure that you have all the necessary parts. The frame, springs, mat and padding will all come in separate boxes or parts bags.
You will also need some tools, including a wrench and Phillips head screwdriver.
Next, follow the instructions that come with your trampoline. They will vary depending on the brand and model, but most involve attaching the Springs to the frame using bolts or similar hardware.
Once the Springs are in place, lay out the mat over them and secure it with more bolts around the perimeter of the trampoline.
Finally, add any desired padding around the edge of the mat. This is purely for safety reasons and is not required for use.
Once everything is assembled correctly, test it out by jumping on it lightly to make sure everything feels sturdy and secure before letting anyone else use it.
Can 1 Person Put Together a Trampoline?
It is possible for one person to put together a trampoline, but it will be much more difficult than if two people were working on it. It is important to follow the instructions carefully when assembling a trampoline, and it would be helpful to have someone else there to help hold things in place and offer assistance when needed.
How Long Does It Take to Put a 6Ft Trampoline Together?
It usually takes around two hours to put a 6ft trampoline together. However, this will depend on the brand and how easy the instructions are to follow. It is always best to have two people putting the trampoline together, as it can be quite difficult to do on your own.
Conclusion
If you’re looking for a trampoline that will provide hours of fun for the whole family, you may be wondering how long it will take to assemble a rectangular trampoline. While it may seem like a daunting task, most people can easily put together a rectangular trampoline in about an hour or two. Here’s what you’ll need to do:
1. Lay out all of the parts on a level surface. This will make it easier to identify each part and ensure that everything is accounted for.
2. Begin by attaching the legs to the main frame using the bolts provided.
Make sure that the legs are evenly spaced and that they’re tightened securely.
3. Next, attach the jumping mat to the frame using the hooks or straps provided. Again, make sure that everything is tight and secure before moving on.
4. Finally, stretch out the safety netting around the perimeter of the trampoline and attach it to the frame using the provided clips or ties.
Once all of these steps have been completed, your rectangular trampoline will be ready for use!