Assuming you would like a step-by-step guide on how to disassemble a Little Tikes trampoline:
First, remove the legs from the trampoline base by unscrewing the bolts that hold them in place. Next, take off the safety pad around the edge of the trampoline.
Once the safety pad is removed, cut the bungee cords that are holding the jumping mat in place. Be careful not to lose any of the small metal hooks that are attached to the bungee cords. Finally, remove the frame poles one by one and lay them down in a safe spot.
- Unplug the trampoline from any power sources
- Remove all of the bolts and screws that hold the frame together using a wrench or screwdriver
- Take apart the frame pieces and set them aside
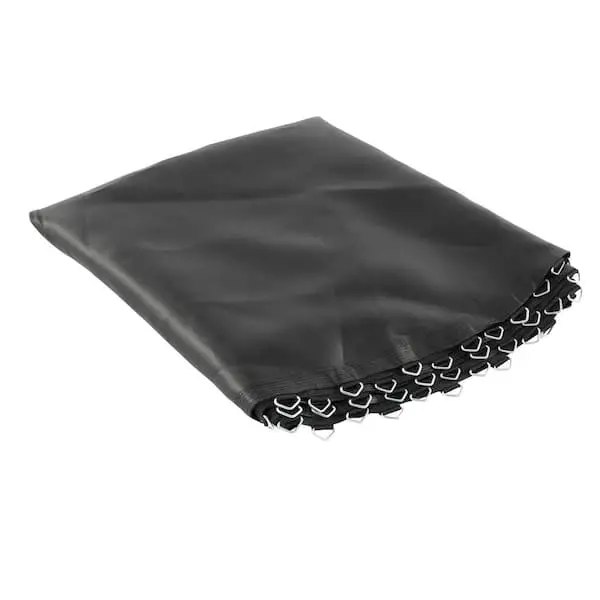
- Remove the jumping mat by undoing the hooks or straps that hold it in place
- Take out the spring coils one at a time, being careful not to lose any parts or springs
- Once all of the parts are removed, you can start cleaning each piece individually with soap and water
Little Tikes® 3 Foot Trampoline | Assembly Instructions
Little Tikes Easy Store 7′ Folding Trampoline Instructions
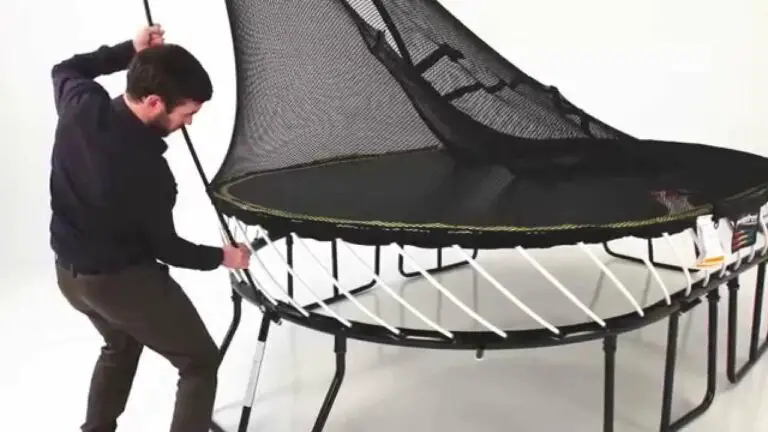
If you’re looking for a great trampoline that’s easy to set up and store, the Little Tikes Easy Store 7′ Folding Trampoline is a great option. Here are detailed instructions on how to set it up and take it down:
To set up the trampoline, first unfold the frame and legs.
Then, stretch out the mat over the frame and secure it with the included clips. Finally, Attach the safety netting around the outside of the frame.
To take down the trampoline, first remove the safety netting.
Then, unclip the mat from the frame and fold up the legs. The whole process takes just a few minutes and doesn’t require any tools.
Little Tikes Trampoline Instruction Manual
If you’re looking for a fun and easy way to get your kids active, a Little Tikes trampoline is a great option! But before you start bouncing around, it’s important to read the instruction manual carefully to ensure that everyone stays safe. Here are some key points to keep in mind:
– The maximum weight limit for the trampoline is 100 pounds (45 kg). This includes both the weight of the person jumping, as well as any additional weight from clothing or shoes.
– The trampoline should only be used by one person at a time.
Multiple people jumping on the trampoline at once can increase the risk of injury.
– Always make sure that there is someone nearby who can supervise while the trampoline is in use. An adult should always be within arm’s reach in case of an emergency.
– Inspect the trampoline before each use, and look for any signs of damage or wear and tear. Do not use the trampoline if it appears to be damaged in any way.
– When using the trampoline, always stay within reach of the safety netting surrounding it.
This will help prevent you from falling off if you happen to lose your balance.
By following these simple safety tips, you can help ensure that everyone has a fun and safe experience on your Little Tikes trampoline!
Little Tikes 3Ft Trampoline Parts
If you’re in need of Little Tikes 3Ft trampoline parts, you’ve come to the right place! Here at TrampolinePartsandSupply.com, we carry a wide variety of replacement parts for your Little Tikes 3Ft trampoline. From replacement nets and pads to springs and bolts, we have everything you need to keep your trampoline in tip-top shape!
Not sure which part you need? No problem! Our team of experts is here to help.
Give us a call at 1-800-872-6765 or send us an email at [email protected] and we’ll be happy to assist you in finding the right part for your needs.
Little Tikes 10′ Trampoline Instructions
The Little Tikes 10′ Trampoline is a great way to provide your kids with endless hours of fun and exercise. However, before they can start bouncing around, there are a few things you need to do to set it up. Here are the detailed instructions:
1. Start by attaching the legs to the trampoline frame. Make sure that the legs are evenly spaced and secure them with the included bolts.
2. Next, stretch out the bounce mat and hook it onto the frame at all of the designated points.
3. Finally, connect the safety enclosure netting to the frame and make sure that it is securely in place.
And that’s it! Your Little Tikes 10′ Trampoline is now ready for use.
Just make sure that your kids follow all of the safety guidelines while using it and have a ton of fun!
How to Store Little Tikes Trampoline
If you’re the proud owner of a Little Tikes trampoline, you might be wondering how to best store it when not in use. Here are some tips to help you keep your trampoline in tip-top shape:
1. If possible, store your trampoline indoors.
This will protect it from the elements and extend its lifespan.
2. If storing indoors is not an option, make sure to cover your trampoline with a tarp or other waterproof material.
3. Inspect your trampoline regularly for any signs of wear and tear.
Make sure all bolts are tight and that there are no rips or tears in the mat or frame.
4. When not in use, remove all accessories such as ladders or enclosures from the trampoline. These can add unnecessary weight and strain on the frame over time.
By following these simple tips, you can ensure that your Little Tikes trampoline will provide years of fun for your family!
Fisher Price Trampoline Assembly
If you’re looking for a fun, safe way for your kids to get their energy out, a trampoline is a great option. But before you can let your little ones loose on the bouncing fun, you’ll need to assemble it. Here’s a step-by-step guide to putting together a Fisher Price trampoline.
Before you start, make sure you have all the parts and tools you need. You’ll need the following:
– Trampoline frame
– Mat
– Springs
– Enclosure netting
– Pole caps
– Ground stakes (if using outdoors)
If any of these parts are missing, do not attempt to assemble the trampoline.
Contact Fisher Price customer service for replacement parts.
With all the parts gathered, lay out the trampoline frame on level ground. If you’re setting up the trampoline outdoors, make sure it’s in an area free from debris that could damage the mat or cause someone to trip and fall while jumping.
Once the frame is in place, attach the springs to each of its eight legs. There are three different sizes of springs – make sure each spring is hooked into corresponding holes on the legs so they’re evenly distributed around the frame. Next, stretch out the mat over top ofthe frame and secure it with clips at each corner and along its edges.
These clips will also keep the mat tight as it stretches over time with use. Now it’s time to put upthe enclosure netting which will keep jumpers safely insidethe bounds ofthe trampoline while they play…
Little Tikes Trampoline With Slide Instructions
Looking for some fun and active outdoor play for your little ones? Check out the Little Tikes Trampoline with Slide! This great trampoline features a built-in slide for even more fun.
And it’s perfect for smaller yards too.
The Little Tikes Trampoline with Slide is easy to assemble and comes with clear, step-by-step instructions. It’s also durable and built to last, so you can enjoy it for years to come.
Plus, it has a padded safety handlebar around the entire perimeter so kids can stay safe while they play.
So get outside and have some fun with the Little Tikes Trampoline with Slide!

Credit: www.littletikes.com
How Do I Take Apart My First Trampoline?
If you’re looking to take apart your first trampoline, there are a few things you’ll need to keep in mind. First, make sure that you have all of the necessary tools. You’ll need a screwdriver, a wrench, and a hammer.
Next, locate the four screws that hold the frame together. These are typically located at the corners of the frame. Use your screwdriver to remove these screws.
Once the screws are removed, gently tap on the frame with your hammer until it comes apart. Finally, use your wrench to loosen and remove the bolts that hold the springs in place. With all of these steps complete, your trampoline should now be dismantled!
Can You Fold Little Tikes Trampoline?
Assuming you mean the Little Tikes 3′ Trampoline:
Yes, you can fold the Little Tikes 3′ Trampoline for storage. Folding the trampoline will reduce the overall footprint so it takes up less space in your home.
It’s easy to do and only takes a few minutes. Simply remove the legs from the mainframe of the trampoline and then fold the frame in half. The legs can be reattached when you’re ready to use the trampoline again.
How Much Weight is the Little Tikes Trampoline For?
Assuming you are referring to the Little Tikes 3′ Trampoline, it has a weight limit of 55lbs.
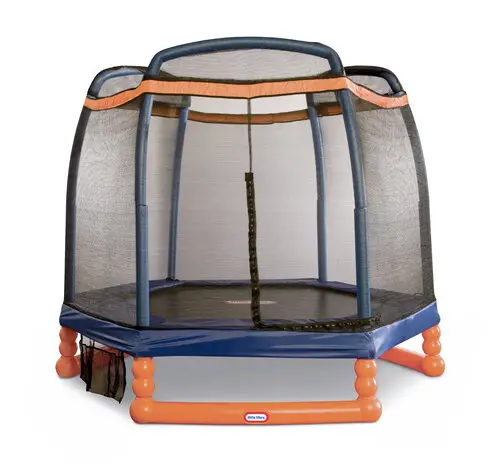
What Age is the Little Tikes Trampoline For?
The Little Tikes trampoline is designed for children aged three and up. It has a weight limit of 75 pounds, so it can accommodate most kids in that age range. The trampoline has a padded frame and mat, making it safe for younger kids to use.
It also comes with a safety net enclosure, so parents can be sure their child is safe while using the trampoline.
Conclusion
If you’re looking for a fun activity to do with your kids, consider getting them a Little Tikes trampoline. But before you let them loose on the backyard bouncing fun, it’s important to know how to properly disassemble the trampoline. Here’s a step-by-step guide on how to do just that:
1. Start by removing the legs of the trampoline by unscrewing the bolts that hold them in place.
2. Once the legs are removed, fold up the mat and secure it with the Velcro straps that are attached to the frame.
3. Next, remove the safety netting by unclipping it from the frame and folding it up.
4. Finally, fold up the frame itself and store everything in a dry, safe place until next time!