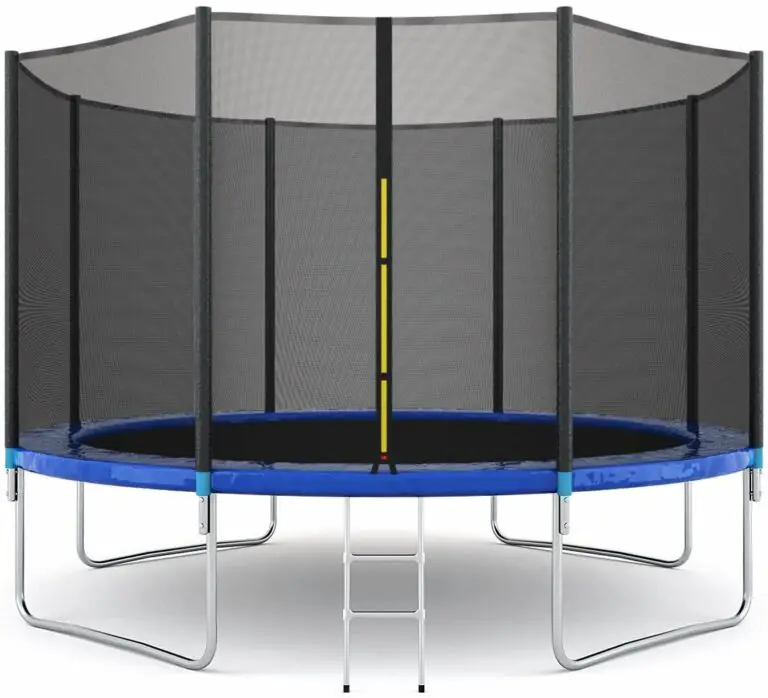
If your trampoline springs are beginning to show signs of wear, it’s important to replace them as soon as possible. Not only will this prolong the life of your trampoline, but it will also ensure that you and your family can continue to enjoy it for years to come. Here’s a quick guide on how to do trampoline springs.
- Gather your tools and materials
- You will need a screwdriver, a pair of pliers, and a trampoline spring
- Locate the screws that hold the spring in place on the trampoline frame
- Unscrew the screws with your screwdriver and remove the old spring
- Place the new spring in the same position as the old one and screw it in place with your screwdriver
- Use your pliers to stretch out the new spring so that it is tight against the frame
Trampoline Springs- Easy HACKS to INSTALL Trampoline SPRINGS
How to Take Trampoline Springs off Without Tool
If you need to take your trampoline springs off, but don’t have a tool handy, don’t worry! There’s an easy way to do it without one.
First, remove the mat from the trampoline frame.
Then, take a look at the end of each spring where it’s hooked onto the frame. You’ll see a small gap between the spring and theframe. Use your fingers to pry that gap open just a bit wider.
Now comes the tricky part. You need to get a hold of the very end of the spring (the part that’s not hooked onto anything) and pull it up and over the top of the frame. It takes a little bit of dexterity, but it can be done!
Once you’ve got the first spring off, repeat with all remaining springs until they’re all detached from the frame.
Trampoline Spring Hacks
If you’re looking for ways to get the most out of your trampoline, you’ve come to the right place! Here are five trampoline spring hacks that will help you achieve optimal performance and longevity:
1. Keep an eye on the condition of your springs.
Over time, they will start to wear down and lose their elasticity. This can impact both the performance of your trampoline and its safety. Regularly check for signs of wear and tear, such as rusting or fraying, and replace any damaged springs as soon as possible.
2. Use a trampoline cover. A cover helps protect your trampoline from the elements, including UV rays which can deteriorate the quality of your springs over time. It also keeps debris from accumulating on top of your trampoline, which can cause premature wear and tear.
3. Store your trampoline in a cool, dry place when not in use. Extreme temperatures can damagetrampoline springs, so it’s important to store them in a location that won’t put them at risk. A garage or shed is typically a good option.
4 . Avoid using excessive force when jumping on your trampoline . The more force you exert ,the greater the strain on your springs .
This can cause them to stretch beyond their normal limits or even break completely . If you find yourself needing more height or airtime , try adding additional weight ( such as sandbags )to increase the amount of tension in the springs .
5 .
Have multiple people use the same jump mat simultaneously . When multiple people are jumping onthe same mat , they share the load evenly among all of the Springs , rather than putting allof The stress On a few individual ones . This hack is particularly useful if you have young children who may not be able To safely jump by themselves yet but still want to join in onThe fun !
How to Remove Trampoline Springs
If you’re like most people, you probably don’t give much thought to your trampoline springs. But if they become damaged or broken, they can pose a serious safety hazard. That’s why it’s important to know how to remove them properly.
Springs are under a lot of tension, so it’s important to use the right tools and take precautions when removing them. First, make sure you have a pair of pliers and a socket wrench that fit the size bolts on your trampoline. Next, disconnect the spring from the frame by loosening the nuts that hold it in place.
Once the nuts are loose, carefully remove the spring from its housing. Be careful not to let the spring snap back into place, as this could cause serious injury.
Once the spring is removed, dispose of it properly (consult your local waste disposal guidelines).
Then, inspect the remaining springs and replace any that show signs of wear or damage. This will help keep your trampoline safe for years to come!
How to Put Springs on a Rectangular Trampoline
Most rectangular trampolines come with the springs already attached. However, if you need to replace a spring or attach springs to a new trampoline, it is not difficult to do. This article will show you how to put springs on a rectangular trampoline.
You will need:
-Springs (number will vary depending on size of trampoline)
-A friend or family member to help
-Pliers
-Measuring tape
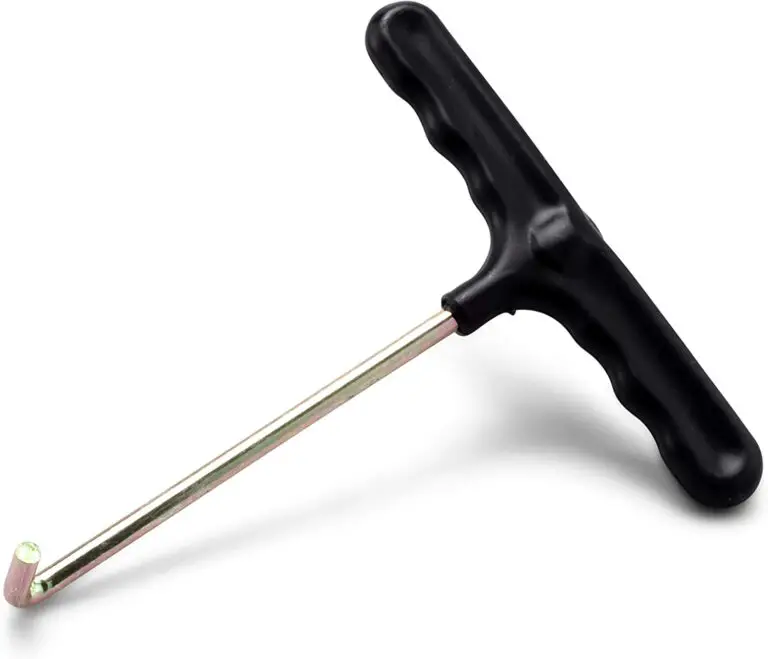
Trampoline Spring Tool
A trampoline spring tool is a great way to prolong the life of your trampoline and keep it looking its best. By regularly checking and tightening the springs, you can ensure that your trampoline will be safe and fun to use for years to come.
The first step is to identify which springs need to be tightened.
You can do this by gently pressing down on the mat in various places. If there is a lot of give in the mat, then that means the spring needs to be tightened. Once you have identified all of the loose springs, it’s time to get started on tightening them.
To do this, you’ll need a trampoline spring tool. This is a simple device that looks like a large pair of pliers. It has two arms that are slightly different sizes so that they can fit over the top and bottom of the spring.
There is also a rotating knob in the middle of the tool which helps you tighten or loosen the spring as needed.
To tighten a spring, simply place the arms of the tool over the top and bottom of the spring and turn the knob clockwise until you feel resistance. Then, remove the tool and test out The Trampoline by jumping on it in various places to make sure The tension Is Evenly Distributed .
Once you’re satisfied with how tight The Springs Are , move onto The Next One .
It’s important not To Overtighten The Springs , as this can cause damage and reduce their lifespan significantly . When In Doubt , It’s Always Better To Go Too Loose Than Too Tight .
If you find that some Of The Springs Are Broken Or damaged In Any Way , then it’s time to replace them entirely . You can purchase replacement springs at most sporting goods stores or online retailers specializing in Trampoline Parts & Accessories . Be sure To Get The Correct Size And Length For Your Model Of Trampoline Before Proceeding With Installation .
With just a little bit of regular maintenance using A Trampoline Spring Tool , you can keep your trampoline functioning properly for many years to come !
How to Attach Springs
Springs are a great way to add tension and support to a variety of projects. By attaching springs to your project, you can create a more sturdy and reliable product. Here is a step-by-step guide on how to attach springs to your project:
1. Begin by measuring the length of the spring that you will need for your project. It is important to get the right size spring so that it provides the correct amount of tension and support.
2. Cut two pieces of wire that are each twice the length of the spring.
These pieces of wire will be used to attach the spring to your project.
3. Wrap one end of each piece of wire around opposite sides of the spring. Make sure that the wires are wrapped tightly so that they do not come loose.
4. Use pliers to twist the ends of the wires together until they are secure. Trim any excess wire so that it does not stick out from your project.
5 .
Attach the other end of each wire to your project in whatever way makes sense for your design (screws, nails, etc.). Again, make sure that these connection points are secure so that the spring does not come loose over time.
How to Tighten Trampoline Springs
If your trampoline springs are beginning to sag, it’s time to tighten them up! This process is relatively simple and only requires a few tools. Here’s how to do it:
1. First, remove the mat from the trampoline frame. This will give you better access to the springs.
2. Next, use a wrench or pliers to loosen the bolts that hold the spring in place.
Be careful not to completely remove the bolts, as you’ll need them to reattach the spring later on.
3. Once the bolts are loosened, you can begin tightening the springs using a ratchet or another similar tool. Start with just one turn of the ratchet before moving onto the next spring.
Repeat this process until all of the springs have been tightened equally.
4. Finally, reattach the mat to the frame and enjoy your newly tightened trampoline!
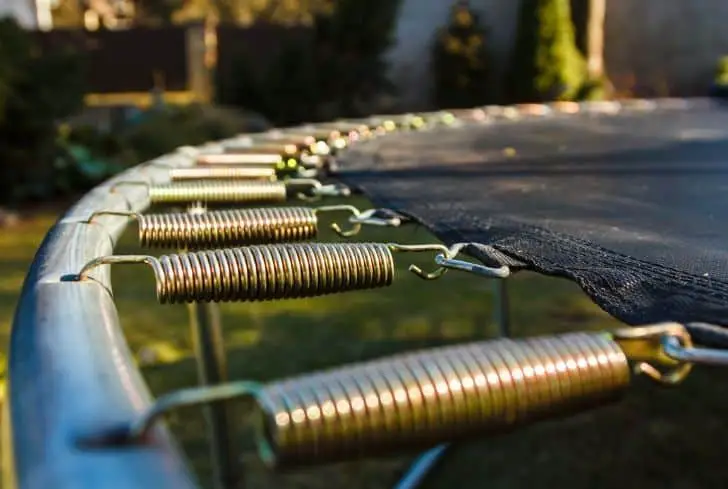
Trampoline Spring Cover
Trampoline spring covers are an essential piece of safety equipment for any trampoline. They help to prevent injuries by keeping the springs covered and enclosed. Spring covers also protect the trampoline mat from wear and tear, and extend its life.
Credit: www.trampolineproshop.com
What Order Do You Put the Springs on a Trampoline?
There are typically three different types of springs used on a trampoline – V-shaped, W-shaped and zigzag springs. The order in which you put these springs on a trampoline will depend on the make and model of your particular trampoline. However, as a general rule, you should start with the V-shaped springs first, followed by the W-shaped springs and then finally the zigzag springs.
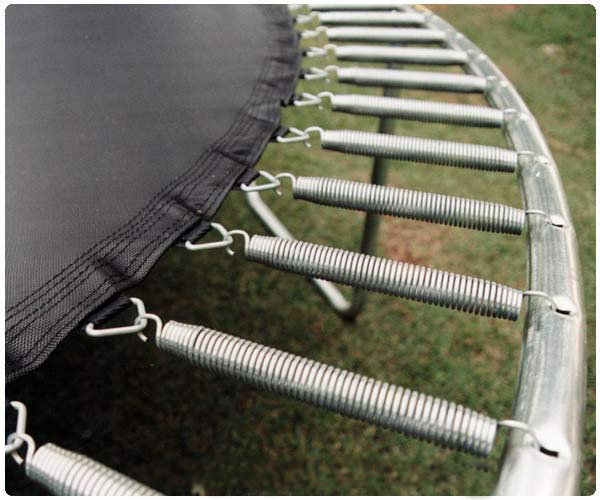
How Do You Put a Spring Back on a Trampoline?
If your trampoline has lost its springiness, it’s probably because the springs have become stretched out or broken. Luckily, it’s easy to replace the springs on a trampoline. You’ll just need to purchase new springs and follow these instructions:
1. Remove the old springs: Unhook the old springs from the frame of the trampoline using a spring hook or pliers. Be careful not to lose any of the small metal clips that hold the springs in place.
2. Install the new springs: Hook one end of each new spring onto the frame where the old ones were attached.
Then stretch the other end of the spring across to the opposite side of the frame and hook it on there as well. Repeat this process until all of the new springs are in place.
3. Replace any missing clips: If you’re missing any of those small metal clips, simply put them back in place before you start using your newly-sprung trampoline again!
How Do I Put Strings on a Trampoline?
There are a few things you need to do in order to put strings on a trampoline. You will need to gather your materials, which include the trampoline, the strings, and something to secure the strings (such as zip ties or nylon cord). Once you have your materials, follow these steps:
1. Tie one end of the string around the outside edge of the trampoline frame. Make sure that this knot is secure and tight.
2. Wrap the string around the frame several times, making sure that each wrap is snug against the previous one.
The number of times you wrap the string around the frame will depend on how wide you want your jump area to be.
3. When you reach the other side of the trampoline frame, tie another knot to secure the string in place. Again, make sure that this knot is tight and secure.
4. Repeat steps 1-3 for each additional string that you want to add to the trampoline frame. Once all of your strings are in place, use zip ties or nylon cord to secure them in place so they don’t come loose while you’re jumping.
That’s it!
Now you know how to put strings on a trampoline!
How Do You Put Springs on a Trampoline Hack?
If you have a trampoline that needs new springs, or if you simply want to give your old trampoline a little tune-up, putting on new springs is a relatively easy process. You’ll just need to gather a few tools and materials before getting started.
To put springs on a trampoline, you’ll need:
– A ladder or step stool
– A pair of pliers
– New springs (the number will depend on the size and make of your trampoline)
– A friend or family member to help
Putting Springs on Your Trampoline:
1. Have one person hold the ladder while the other climbs up to the top of the trampoline frame.
2. Using the pliers, remove the old spring from its anchor point at the top of the frame. Be careful not to lose any small pieces that may have come loose with the old spring.
3. Attach one end of the new spring to the anchor point, making sure it’s facing in the correct direction so that it will stretch properly when in use.
4. Have your helper hold onto the other end of the spring while you climb down and insert it into its corresponding slot at the bottom ofthe frame (this will be easier if you’ve already removed all ofthe other springs).
5a. If your trampoline has W-shaped legs, there will be an additional hole near each corner where another spring can be anchored; repeat steps 2-4 for these corners as well.
5b. For U-shaped legs, there should only be two additional holes total for both back legs; again, follow steps 2-4 for these as well6 .
Conclusion
If your trampoline springs are beginning to show signs of wear and tear, it’s important to replace them as soon as possible. Not only will this ensure that your trampoline is safe to use, but it will also help extend the life of your trampoline. Here are a few tips on how to do trampoline springs replacement:
1. Begin by removing the old spring using a drill or a screwdriver. If the spring is particularly tight, you may need to use a wrench or pliers.
2. Once the old spring is removed, measure the length of the new spring using a tape measure.
It’s important that you get an accurate measurement so that the new spring will fit correctly.
3. Use a hacksaw to cut the new spring to size, if necessary. Then, attach one end of the new spring to the frame of the trampoline using a drill or screwdriver.